
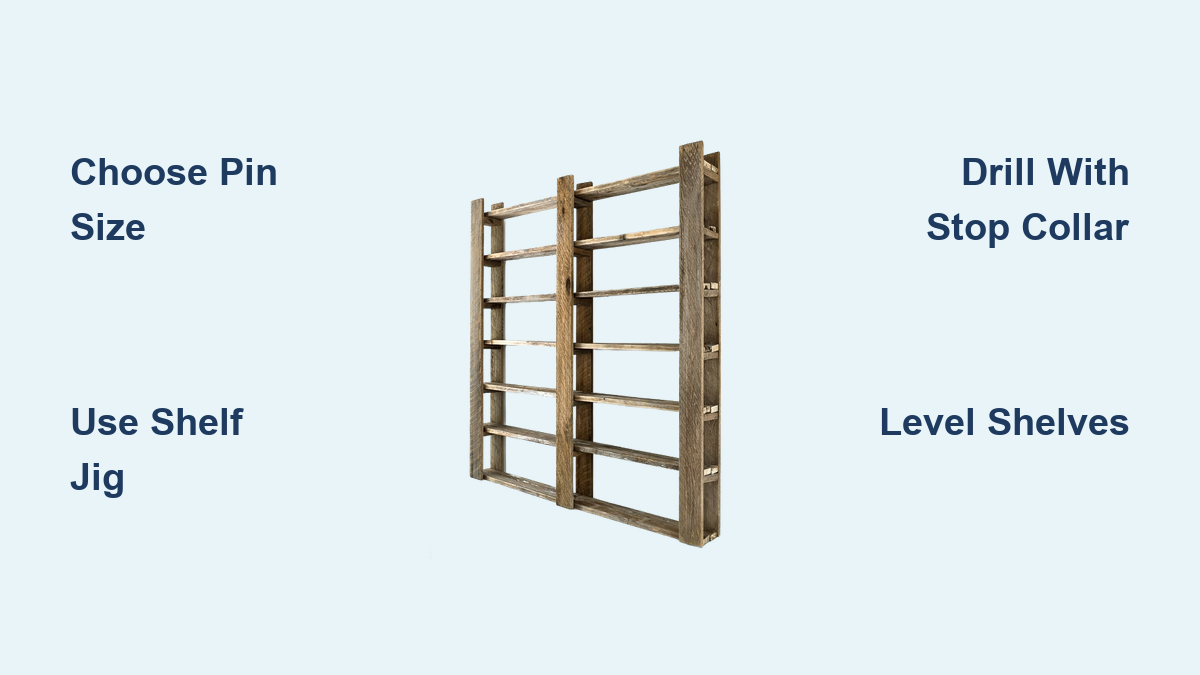
How to Install Adjustable Shelves in Cabinets
Have you stared into a cabinet that no longer fits your needs? Boxes stacked awkwardly, bottles tipping over, or shelves too high for everyday items. You are not alone. The solution lies in adjustable shelves, a simple upgrade that transforms rigid storage into flexible, customizable space. Installing them might seem daunting, but with the right tools and method, it is a weekend project anyone can master. This guide walks you through every step of how to install adjustable shelves in cabinets, from choosing hardware to drilling precise holes and leveling your new shelves.
We will focus on the most popular and effective method: using shelf pin holes with a jig. This approach guarantees accuracy, saves time, and delivers professional-looking results without advanced woodworking skills. Whether you are upgrading a kitchen pantry, retrofitting a bookshelf, or building custom storage, this process ensures clean, level, and durable results every time.
Choose the Right Shelf Pin System
Before picking up a drill, select the support system that fits your cabinet type and usage needs.
Shelf Pins vs. Metal Standards
Two main systems hold adjustable shelves: shelf pins and metal standards. Shelf pins are small metal or plastic dowels inserted into pre-drilled holes on cabinet sides. They are discreet, easy to install, and perfect for face-frame or frameless cabinets. Metal standards, also called pilasters, are vertical tracks screwed into the cabinet walls, offering infinite adjustability but more visible hardware. They are common in utility or garage cabinets where appearance matters less than function.
For most home applications, especially kitchens, pantries, and built-ins, shelf pins are ideal. They maintain a clean look and allow quick reconfiguration.
Select Matching Pins and Drill Bits
Shelf pins come in two standard sizes: 5 mm and ¼ inch. The size must match your drill bit exactly.
Key sizing requirements include:
- A 5 mm pin will not hold securely in a ¼ inch hole
- A ¼ inch pin will not fit into a 5 mm hole
- Most shelf pin jigs include a compatible drill bit and stop collar
- Some jigs even store a second bit on the back for future flexibility
Choose metal spoon-style pins. They cradle the shelf edge better than straight rods and resist wobbling under load.
Pro Tip: Buy extra pins. You will likely need spares for future adjustments or replacements.
Gather Tools and Materials
Having the right gear makes the job faster, safer, and more accurate.
Essential Tools for Installation
You will need these core tools:
- Drill (cordless or corded)
- Shelf pin jig (such as Kreg or Craig)
- Clamps to secure the jig
- Tape measure
- Level
- Allen wrench (usually included with jig)
- Scrap wood blocks for alignment and spacing
Supplies You Will Need
Gather these materials before starting:
- Shelf pins (metal recommended)
- Wood shelves (¾ inch plywood, solid wood, or MDF)
- Drill bit matching pin size
- Stop collar to limit drilling depth
- Painter’s tape to prevent tear-out
- Sandpaper (220 grit)
Warning: Never skip the stop collar. Drilling too deep can weaken the cabinet wall or cause pins to protrude.
Set Up the Shelf Pin Jig
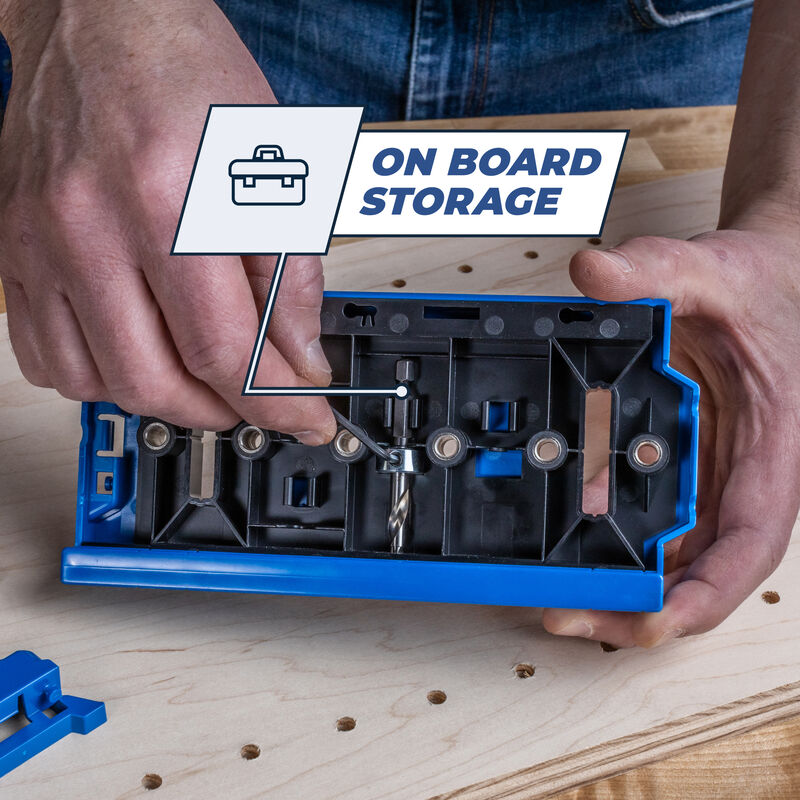
The jig is your secret weapon for straight, evenly spaced holes.
Attach the Fence Correctly
Your jig has a removable fence, a guide that ensures consistent alignment. Attach it based on which side you are drilling.
Fence positioning guidelines:
- Use the left fence when drilling front-left or back-right walls
- Use the right fence when drilling front-right or back-left walls
- Remove the fence if face frames or back panels block flush contact
Align the Jig for First Holes
Start drilling 6 inches from the bottom of the cabinet. This height avoids base molding and allows space for tall items.
To position the jig correctly:
- For back holes, align the jig edge with the back interior edge of the cabinet side
- For front holes, place the jig 1 inch less than shelf depth from the back (for example, 11 inches from back for a 12-inch shelf)
- Use scrap wood blocks along the front or back edge to keep the jig square and prevent rotation
Expert Note: Place a ½-inch spacer block under the jig if you do not want visible holes near the cabinet base.
Drill Precision Holes in Cabinet Sides
Accuracy here ensures level, stable shelves.
Drill the First Set of Holes
Follow this step-by-step process:
- Clamp the jig firmly to the cabinet side
- Start with the top hole, using the longest guide to keep the bit perpendicular
- Drill all holes in the jig pattern
- Insert the indexing pin into the top drilled hole
- Slide the jig up until the pin engages, which locks vertical alignment
- Clamp and drill the next set
- Repeat until you are one jig length below the top
Time-Saver: Use the count method. Ensure both sides have the same number of holes above or below the shelf to guarantee alignment.
Avoid Common Drilling Mistakes
Protect your work by avoiding these issues:
- Tear-out: Apply painter’s tape over drilling points and use a sharp bit
- Angled holes: Clamp the jig tightly and drill slowly
- Misaligned sides: Measure from the same reference point (such as bottom) on both sides
- Over-drilling: Always use a stop collar and test depth on scrap wood first
Pro Tip: On thin panels (½ inch or less), offset hole positions between sides to prevent overlapping and weakening the wall.
Install Shelves and Level for Stability
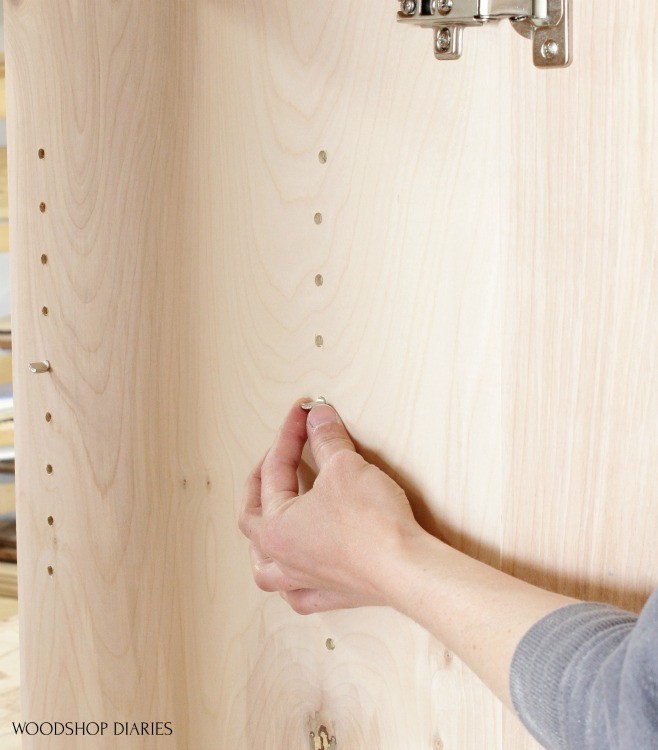
Now for the satisfying part: seeing your work come together.
Insert Shelf Pins Properly
For each shelf, you need four pins, one at each corner.
Pin placement locations:
- Front-left
- Front-right
- Back-left
- Back-right
Gently tap pins into place with a hammer if needed. Ensure they are fully seated but not forced.
Visual Cue: All pin tops should be level when viewed from the side.
Cut and Place the Shelf
Precise measurements ensure proper fit.
Shelf sizing requirements:
- Width: Subtract ¼ inch from interior cabinet width (for example, 23¾ inches for a 24-inch cabinet) to allow ⅛ inch clearance on each side
- Depth: Match cabinet interior depth exactly
To install the shelf:
- Hold the shelf at a slight angle
- Slide the front edge onto the front pins
- Lower the back edge onto the rear pins
If the opening is tight, insert pins after placing the shelf. Just lift and set carefully.
Shortcut: Use a second person to help with long or heavy shelves.
Plan Smart Shelf Spacing Layout
Design for function, not just symmetry.
Use Equal Division Method
Divide total interior height by the number of shelf spaces plus one.
Example calculation:
- Cabinet height: 42 inches
- Number of shelves: 2
- Calculation: 42 divided by (2 + 1) equals 14 inches between shelves
Mark every 14 inches from the bottom for balanced spacing.
Flex Tip: Adjust spacing based on contents. Wider gaps work better for blenders, while narrow ones suit spices.
Recommended Vertical Spacing
Follow these spacing guidelines:
- Standard hole spacing: 1 to 2 inches apart
- Minimum clearance: 1 to 2 inches from top and bottom
- Avoid crowding: Do not drill holes too close together as they weaken the side panel
Maximize Load Capacity and Safety
Do not overload your new shelves. Plan for strength.
Understand Weight Limits
Most ¾-inch plywood shelves on ¼-inch metal pins support 30 to 50 pounds, depending on span and number of supports.
Factors affecting strength include:
- Pin material (metal outperforms plastic)
- Hole fit (tight is better)
- Shelf thickness (¾ inch is ideal)
- Span (longer spans are weaker)
Warning: The shelf board usually fails before the pins pull out. For heavy loads like books or appliances, reduce shelf span or add a center support.
Reinforce Weak Panels
If using particleboard or MDF:
- Pre-drill carefully to avoid splitting
- Consider filling old holes with wooden dowels and glue, then re-drilling for a tighter fit
For high-traffic cabinets, switch to metal standards for greater durability.
Finish and Customize for Style
Make your upgrade look intentional and polished.
Sand and Seal Before Final Assembly
Lightly sand drilled edges to remove splinters. If staining or painting, finish before drilling holes because paint can clog pin holes. Touch up drilled areas carefully with a small brush.
Design Tip: Match pin finish to cabinet hardware such as brushed nickel or matte black.
Explore Custom Shelf Options
Consider these upgrade ideas:
- Glass shelves work well for display cabinets
- Reversible shelves offer laminate one side and wood the other
- Adjustable lighting adds LED strips under upper shelves
Idea: Use adjustable shelves in a home office armoire to switch between monitor stands and file storage.
Retrofit Existing Cabinets Easily
You do not need to rebuild to upgrade.
Modify Assembled Furniture
The shelf pin jig works on fully assembled cabinets. No disassembly is needed.
Retrofit steps:
- Remove doors if they block access
- Use a compact jig or remove the fence for tight spaces
- Align jig flush with the inside face frame or back panel
- Drill front and back hole rows as described
Success Key: Measure from the same reference point on both sides. This prevents crooked shelves.
Upgrade Old or Damaged Cabinets
Fill unwanted holes with these options:
- Wooden dowels and wood glue
- Matchstick filler for small gaps
- Decorative plugs
Sand smooth and refinish before drilling new holes.
Prevent Common Installation Errors
Avoid these pitfalls for a flawless result.
Crooked or Wobbly Shelves
Common causes include:
- Misaligned holes
- Uneven pin height
- Loose pins
Fix solutions:
- Recheck hole alignment with a level
- Replace worn or undersized pins
- Use indexing pin to maintain pattern continuity
Split or Damaged Cabinet Sides
Prevention methods:
- Use sharp drill bits
- Clamp jig securely
- Drill slowly through plywood edges
Emergency Fix: Fill splits with wood glue and clamps. Reinforce with a wooden cleat if necessary.
Key Takeaways for Installing Adjustable Shelves
Installing adjustable shelves in cabinets is one of the most impactful yet underutilized upgrades in home storage. With a shelf pin jig, you gain precision, speed, and professional results whether you are building from scratch or retrofitting an old unit. The key steps include selecting the right pin size (5 mm or ¼ inch), using a quality jig for consistent hole spacing, and drilling with a stop collar to prevent over-penetration. Remember to allow ¼ inch width clearance on shelves and plan spacing based on your actual storage needs.
By following these steps, you will create flexible, sturdy, and beautiful storage that adapts to your life, not the other way around. Now that you know how to install adjustable shelves in cabinets, it is time to reclaim your space.
Frequently Asked Questions About Installing Adjustable Shelves
How deep should shelf pin holes be?
Set the stop collar so the drill bit extends just beyond the length of the pin is insertable portion. Test on scrap wood. Ideal depth is ½ inch to ¾ inch, depending on pin length.
Can I use different sized pins later?
Only if you own multiple drill bits. Most jigs support either 5 mm or ¼ inch, but not both simultaneously. However, some models include storage for a second bit.
What causes pins to loosen over time?
Pins loosen when holes are drilled too deep, undersized pins are used, or low-density wood (such as particleboard) is used without reinforcement. Solution: Use wooden dowels to fill and redrill old holes, or switch to metal standards for high-use areas.
Do I need to drill holes all the way from bottom to top?
No. Start at a practical height (such as 6 inches from bottom) and stop about one jig length from the top. Add more rows only where needed.
Are shelf pins better than fixed shelves?
For adaptability, yes. Fixed shelves offer slightly more strength, but adjustable systems provide long-term flexibility and ease of reconfiguration.





