
How to Install LED Strip Lights on Shelves
Adding LED strip lights to shelves instantly transforms any space, whether it is a kitchen, bookshelf, closet, or home bar. The result is a seamless, built-in glow that highlights your items without harsh glare or visible wiring. This guide walks you through exactly how to install LED strip lights on shelves like a pro, from selecting high-CRI diffused strips to concealing wires and avoiding common mistakes.
You will learn how to achieve a clean, professional finish no matter your skill level. The key to success lies in choosing the right materials, using proper mounting techniques, and wiring for consistent brightness across all your shelves.
Choose the Right LED Strip for Your Shelves
Pick Diffused LEDs for Smooth Illumination
For a uniform glow without visible dots, always choose diffused LED strips. Non-diffused strips expose individual LEDs, creating that cheap “beer cooler” effect that causes glare and looks unprofessional. Diffused strips soften the light and eliminate hotspots completely. For accurate color rendering on bookshelves or display cabinets, use 90+ CRI strips. For art displays, makeup areas, or reading zones, go with 95+ CRI to ensure colors appear natural and vibrant.
Match Color Temperature to Your Space
Use warm white between 2700K and 3000K for cozy areas like living rooms, wooden shelves, or bars. This temperature complements warm-toned wood and creates a relaxing ambiance. Choose cool white between 3500K and 4000K for task lighting in kitchens, offices, or workspaces where enhanced visibility matters. Follow the warm-for-warm, cool-for-cool rule when pairing LEDs with shelf materials.
Select Voltage and IP Rating
For long shelf runs, 24V strips are superior because they resist voltage drop and can run at low brightness for extended lifespan. Twelve-volt strips are common in budget kits but may dim at the end if daisy-chained beyond 16 feet. Choose IP20 for dry indoor shelves and IP65 or higher for kitchens, bathrooms, or outdoor shelves where moisture is present.
Prepare the Shelf Surface Properly
Clean the Mounting Area Thoroughly
Remove all items from the shelf before starting. For best results, detach the shelves from the wall to access the back and edges completely. Wipe the mounting surface with alcohol wipes or degreaser to remove dust, grease, and residue. A clean surface ensures strong adhesion, which is critical for self-adhesive strips that will last for years.
Check Shelf Thickness and Material
Wood shelves, both solid and engineered, are ideal because they can support routed grooves and aluminum channels. Laminate or melamine shelves can chip during routing, so test cuts first. Glass or metal shelves require surface mounting with strong adhesives or brackets. For recessed installations, shelves must be at least three-quarters of an inch thick. Thinner shelves only support surface-mounted channels or adhesive strips.
Select Your Mounting Method

Use Adhesive Backing for Quick Setup
Most LED strips come with self-adhesive backing. Simply peel and stick, then press firmly along the entire length to bond properly. This method works best for temporary or lightweight setups. In humid environments or on cold surfaces, the adhesive may fail over time. Boost adhesion with VHB tape or a bead of hot glue along the strip center for permanent installations.
Install Mounting Clips for Durability
Plastic or metal clips snap onto the shelf edge and hold the strip securely. They are more durable than adhesive alone and allow for easy removal or replacement. This method is ideal for under-shelf lighting where vibration or accidental bumps could loosen adhesive-backed strips over time.
Cut a Recessed Groove for a Clean Look
For a professional, built-in appearance, route a groove into the shelf using a router set to approximately five-sixteenths inch depth. Position the cut three-quarters inch back from the front edge. Make three shallow passes to avoid chipping melamine or burning wood. Test-fit the strip as you widen the groove. Once ready, apply hot glue into the channel and press the strip in, positioning it just below the surface so light shines upward without being visible.
Use Aluminum Channels for Best Results
Aluminum channels, especially 45-degree black-painted ones, are the gold standard for shelf lighting. They hide LEDs completely, direct light backward or downward, reduce glare, and dissipate heat to extend LED life. Mount with VHB tape or small screws every 6 to 8 inches. Always snap the diffuser into the channel before cutting to prevent cracking. Trim the diffuser end by approximately one-eighth inch if wires need to pass through.
Position Lights Strategically on Your Shelves
Mount Under the Front Edge for Task Lighting
Place the strip under the front edge of the shelf to illuminate the area below. This placement is ideal for kitchen counters, book spines, or pantry shelves because it eliminates shadows and provides focused lighting where you need it most. For deeper shelves, use angled extrusions or Haloshelf Rotator brackets to direct the beam downward precisely.
Center the Strip for Balanced Illumination
Mounting in the middle of the shelf balances ambient and task lighting. Use high-density strips with more LEDs per foot for even brightness across the entire run. Add a diffuser to soften glare on reflective objects like glassware or framed photos.
Install at the Rear for Ambient Glow
Mount the strip along the back wall behind the shelf for indirect, floating lighting. This creates a soft wash of light perfect for bars, media consoles, or display shelves. Use warm tones like amber, pink, or soft yellow for a cozy atmosphere. The Haloshelf Rotator Corner Version works well for back-wall wash applications.
Top-Mount for Downward Lighting
In display cases or retail settings, top-mounted strips shine downward. Align carefully to avoid glare on eyes or reflective surfaces. This placement works best with aluminum channels and diffusers to soften the beam.
Wire Your LED System for Reliable Power
Size the Power Supply Correctly
All LED strips need a driver to convert AC to DC power. Calculate total wattage by multiplying length by watts per foot. For example, 16.4 feet at 4.8 watts per foot equals approximately 79 watts, so use a 100-watt driver for headroom. Use plug-in adapters for temporary setups or direct wiring for permanent installations.
Prevent Voltage Drop with Parallel Wiring
Daisy-chaining long runs causes voltage drop where LEDs at the end appear dim. After approximately 16 feet, switch to parallel wiring where each shelf gets its own wire from a central power point. Use a distribution block or solder point to connect all wires together. This ensures uniform brightness across all shelves without dimming at the ends.
Route Wires Neatly
Cut notches at shelf ends to route wires behind or through cabinets. For the bottom shelf, notch upward into the cabinet. For middle shelves, notch backward and down to the outlet. Use CL2 or CL3 in-wall-rated wire for safety. For multi-signal needs like RGB or data, Cat6 cable works well because its four twisted pairs handle power, ground, and control lines effectively.
Use Proper Wire Gauge
Select 16 AWG wire for runs up to 15 feet at 12V. Use 14 AWG for up to 25 feet at 12V. Use 12 AWG for runs over 25 feet. Always consult voltage drop charts to avoid under-sizing wire that could cause performance issues.
Make Secure Connections That Last
Avoid Tape-to-Tape Connectors
Plug-in tape-to-tape connectors are easy but unreliable with only about 50% success rate due to misalignment. They are not recommended for permanent installations where reliability matters.
Solder for Maximum Reliability
Tape-to-wire soldered connections are compact and strong. Use heat-shrink tubing with adhesive lining to seal joints and prevent moisture ingress. This method ensures long-term durability and is best for custom jumpers and final connections.
Use Solderless Clamps for DIYers
Mid-range kits like the POX all-in-one include soft solderless clamps and inline couplers. These are easier than soldering and work well for splicing and extending strips. They are ideal for multi-shelf setups where you need flexibility without specialized tools.
Add Smart Controls for Customization
Choose the Right Controller
For line-side dimming, use a dimmable driver combined with a wall dimmer for hardwired setups. RF remote controllers offer wireless 4-channel control without needing an app, which is great for multiple zones. Wi-Fi and app controllers provide full customization, scheduling, and color tuning. Voice control works with Alexa or Google Assistant for hands-free operation. Use a non-dimmable driver when dimming is handled by the controller rather than the power supply.
Upgrade to Independent Zone Control
The Shelly RGBW2 4-channel controller lets you control each shelf section independently. This is perfect for tunable-white or RGB setups where you want different brightness levels or colors on different shelves. No bundled power supply is included, so pair it with a compatible driver.
Step-by-Step Installation Process
Plan Layout and Measure First
Decide on placement whether front, middle, or rear and calculate the total length needed. Mark the power source location. For RGB or tunable-white strips, plan for controller placement where it can receive signals.
Cut and Test the Strip
Cut the LED strip only at marked lines, usually every 2 to 4 inches. Always test before final installation by connecting to the driver and verifying all segments light up with correct color and brightness.
Install Aluminum Channel
Snap the diffuser into the channel, cut to size with a metal blade, and file sharp edges. Position in the routed groove or on the shelf edge. Secure with small screws or VHB tape.
Adhere the LED Strip
Peel the backing and center the strip in the channel. Press firmly along its entire length. For extra hold, add hot glue or VHB tape at intervals for permanent installation.
Snap in the Diffuser
Slide the diffuser into the channel from one end. Ensure wires are tucked into the one-inch end gap. Check for full, even illumination with no dark spots before finishing.
Route and Conceal Wires
Cut notches at shelf ends. Feed wires through and secure with clips or tape. Use a cord cover or wire management tray for exposed runs to maintain a clean appearance.
Connect to Power and Controller
Attach wires to the driver and controller. For multi-section setups, connect each strip to the Shelly or splitter. Plug in and test all functions.
Final Testing
Turn on the system and check for flickering, dimming, or control issues. Adjust beam angle if using rotators. Confirm all zones respond to remote or app control.
Avoid Common Installation Mistakes
Do Not Install the Strip Too High
If the strip is mounted too close to the shelf top, it will not illuminate the area below effectively. Test the light spread before finalizing placement because lower positioning usually provides better visibility.
Do Not Expose LED Dots
Bare strips create harsh glare that ruins the clean look. Always use diffused strips, aluminum channels, or recessed grooves to hide individual LEDs completely.
Do Not Daisy-Chain Long Runs
Beyond 16 feet, daisy-chaining causes noticeable dimming at the end of the run. Use parallel wiring instead with each shelf powered directly from a central point.
Do Not Leave Wires Exposed
Visible wires ruin the professional aesthetic. Always route through notches or conceal behind shelves. Use black wire to blend in with dark backgrounds.
Do Not Ignore Adhesion Issues
Poor cleaning or cold surfaces cause strips to peel over time. Clean with alcohol, warm the strip before applying, and use VHB tape or hot glue for extra hold in challenging environments.
Recommended LED Strip Upgrades
Budget Kit Option
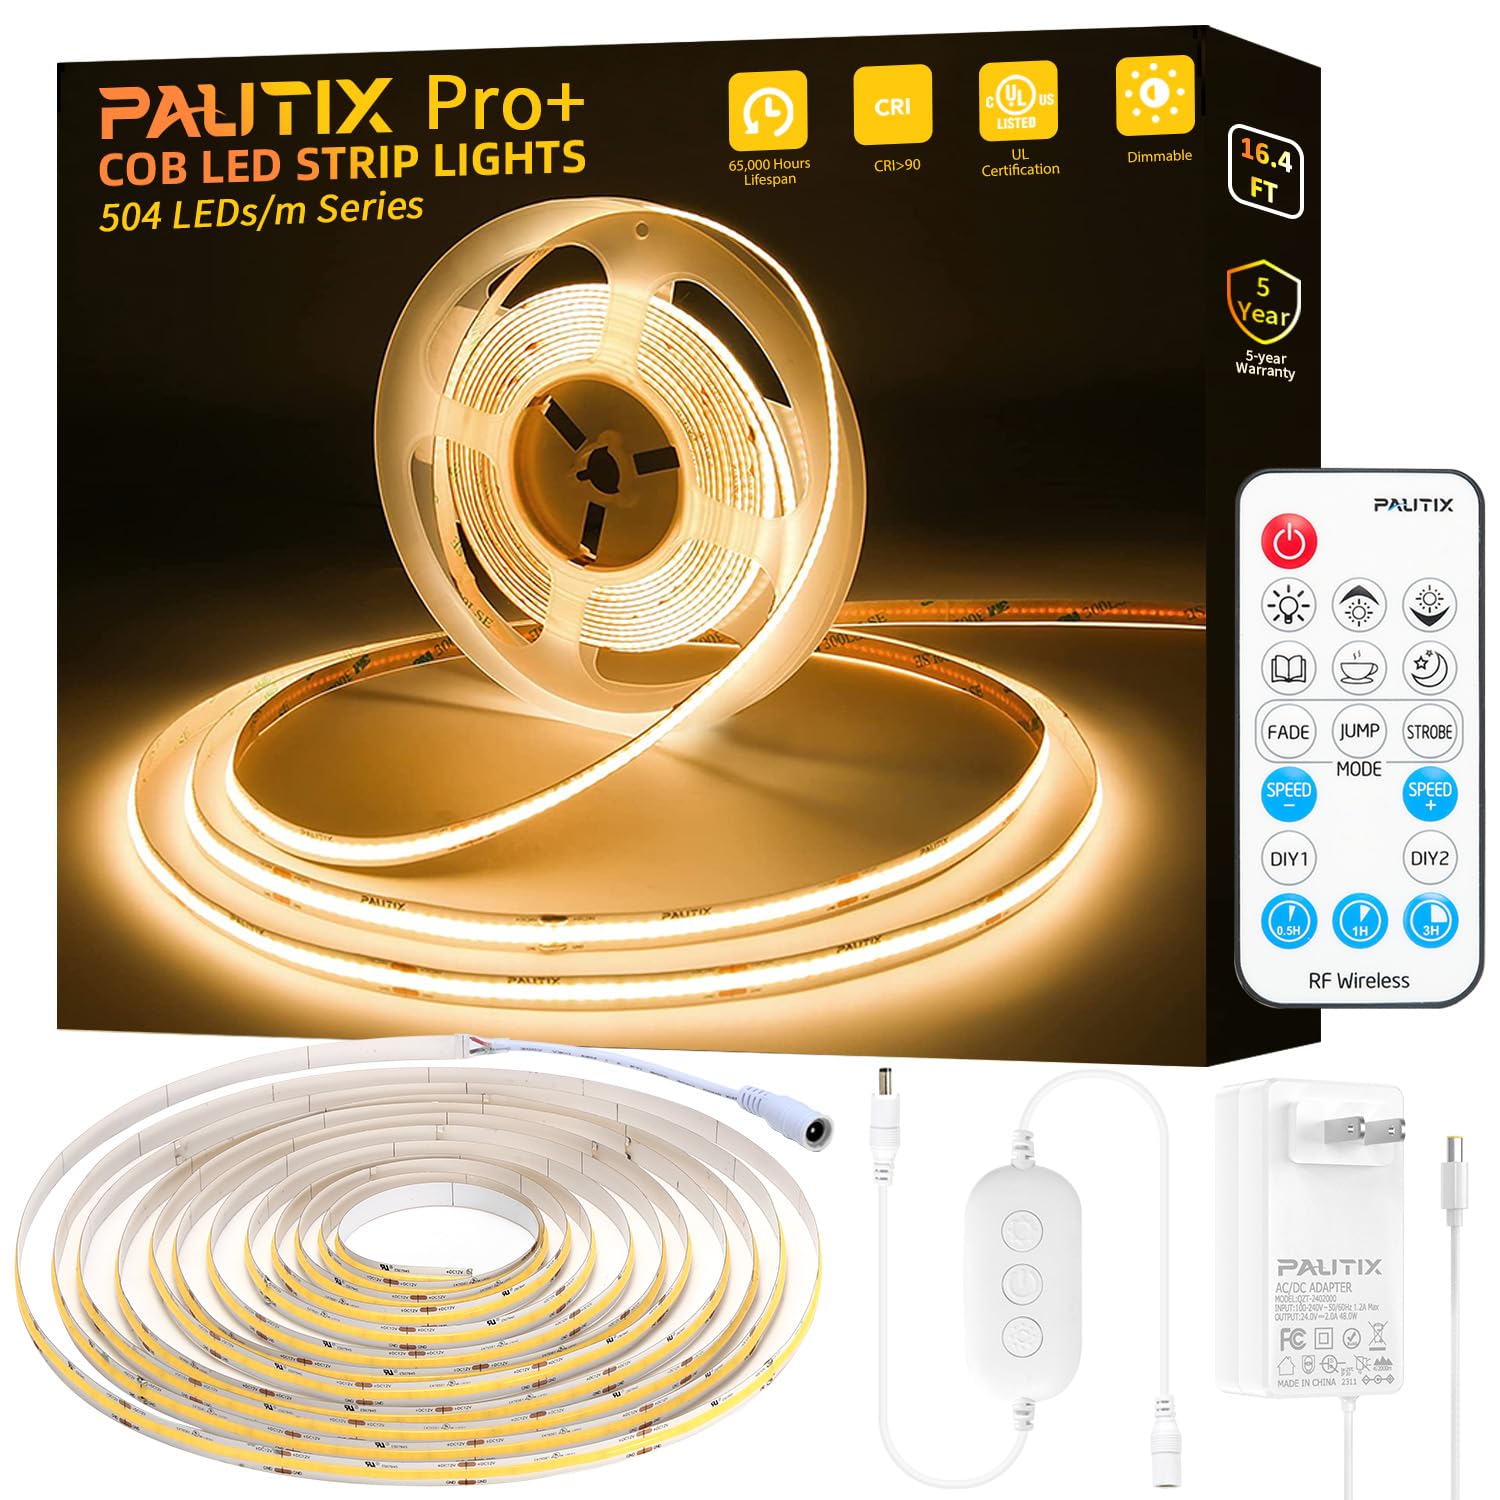
A $19 tunable-white kit is easy to install but lacks accessories like extensions, splicers, or diffusers. Visual quality is poor, making it suitable only for quick, temporary jobs rather than permanent installations.
Mid-Range Kit Upgrade
The $60 POX all-in-one kit includes high-brightness strips, solderless clamps, couplers, and extension wires. This enables splicing, gap jumping, and multi-shelf routing. It offers the best value for serious DIYers who want better performance without professional pricing.
Professional System Build
For long-lasting, professional results, use Joyet 24V UL-listed strips run at low brightness. Pair with black 45-degree aluminum channels and diffusers. Add a Shelly RGBW2 controller for independent control and Haloshelf Rotator brackets for beam adjustment. This combination mimics factory-integrated lighting.
Final Tips for Long-Lasting Results
Aluminum channels dissipate heat and extend LED lifespan significantly. Seal gaps with electrical tape to prevent light bleed and maintain clean lines. Check connections annually and replace drivers if flickering occurs. For hardwired setups, consult a licensed electrician to ensure code compliance and safe installation.
Frequently Asked Questions About Installing LED Strip Lights on Shelves
What is the best placement for LED strips on shelves?
The best placement depends on your lighting goals. Under the front edge provides task lighting and eliminates shadows. The middle balances ambient and task lighting. The rear creates ambient glow for a floating effect. Choose based on whether you need functionality or atmosphere.
How do I prevent voltage drop on long shelf runs?
Prevent voltage drop by switching from daisy-chaining to parallel wiring after approximately 16 feet. Each shelf should receive its own dedicated wire from a central power point. Use a distribution block to connect all wires and ensure uniform brightness across all strips.
Can I install LED strips on any type of shelf material?
Wood shelves work best for all mounting methods including recessed grooves. Laminate or melamine can chip during routing, so test first. Glass and metal require adhesive or bracket mounting. Ensure shelves are at least three-quarters inch thick for recessed installations.
Do I need special tools to install aluminum channels?
Basic tools suffice including a measuring tape, screwdriver, and level. For recessed installations, you need a router or table saw to cut the groove. Snap the diffuser into the channel before cutting with a metal blade to prevent cracking.
How long do LED strip lights last on shelves?
LED strips can last over 50,000 hours when properly installed. Using 24V strips at low brightness below 30% extends lifespan significantly. Aluminum channels help dissipate heat and protect the strip, potentially outlasting the furniture itself.
Key Takeaways for Installing LED Strip Lights on Shelves
Installing LED strip lights on shelves requires selecting diffused, high-CRI strips that match your color temperature needs. Choose between adhesive backing for quick setups, mounting clips for durability, recessed grooves for a clean look, or aluminum channels for professional results. Position strips under the front edge for task lighting, in the middle for balance, or at the rear for ambient glow. Wire using parallel connections beyond 16 feet to prevent voltage drop, and use proper wire gauge based on run length. Solder connections for reliability, and add smart controllers for customization. With proper planning and execution, you can transform basic shelves into sleek, professionally lit features that enhance any space.





