
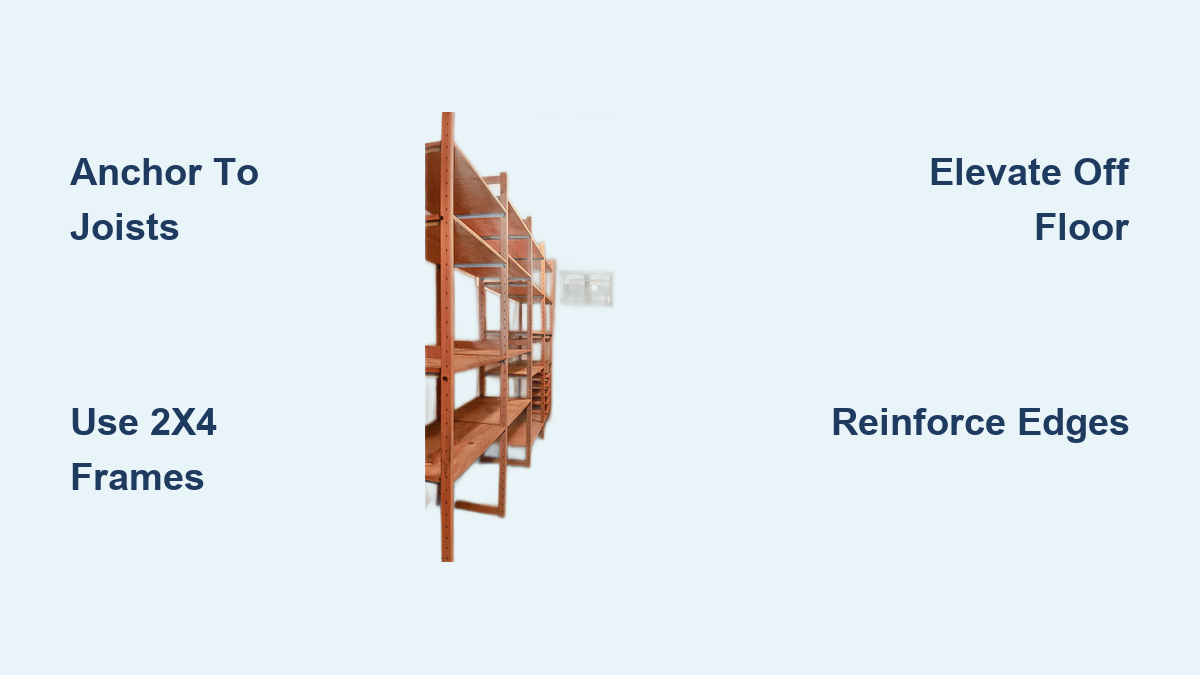
How to Build Shelves in Unfinished Basement
If your unfinished basement is a dumping ground for totes, tools, and holiday decorations, building custom shelves can transform it into a highly organized, functional storage space. Unlike store-bought units, DIY basement shelves let you design for heavy loads, fit odd layouts, and anchor securely. This is especially critical in basements with concrete walls and no studs. This guide walks you through every step from choosing materials to anchoring to joists, so you know exactly how to build shelves in an unfinished basement that are safe, strong, and built to last.
Plan Your Basement Shelving Layout
Match Shelves to Your Storage Needs
Before cutting wood, define what you will store. Heavy-duty basement shelves differ greatly depending on whether you are holding 27-gallon plastic totes, power tools, or seasonal gear. Design with these priorities:
• Weight capacity: Frame systems must support 100+ lbs per shelf
• Bin compatibility: Space shelves to fit your tote heights
• Clearance: Allow room for air conditioners, ceiling pipes, or floor obstructions
• Access: Wider spacing on lower shelves for bulky items
Most builds use 24-inch depth to match standard 4×8 sheet goods and deep bins. Eight to 12-foot widths align with common joist spans and board lengths, minimizing waste.
Choose the Right Shelving Design
Not all basement shelves are built the same. Pick a design based on your ceiling, wall type, and load needs:
• Freestanding box frames: Self-supporting units like large crates, ideal for open spaces
• Ladder-style supports: Vertical 2×3 or 2×4 ladders with rungs, lightweight and easy to level
• Wall-supported L-shaped: Anchored into floor joists above, perfect for corners and long walls
• Joist-mounted verticals: Posts attached directly to overhead joists for maximum strength
For basements with concrete walls and no studs, wall-supported designs that tie into floor joists are essential for stability.
Select Strong, Moisture-Resistant Materials

Use 2×4 or 2×3 Lumber for Frames
The frame is the skeleton of your shelving. Use 2×4s for primary vertical and horizontal supports. Use 2×3s in ladder-style builds to save cost and weight. Higher-grade studs cost more but offer better strength if you are storing heavy gear.
A typical cut list for a 10-ft shelf includes eight 10-ft 2×4s for top/bottom rails and verticals, plus twelve 21-inch 2×4s for cross bracing.
Pick the Best Shelf Surface Material
Your shelf surface affects durability, cost, and appearance. Compare these options:
• OSB (½” or 5/8″): Budget-friendly, good with framing, may sag over time, high moisture risk
• Plywood (5/8″ or thicker): Best for heavy loads, resists sagging, medium moisture risk, seal edges for protection
• Melamine-coated board: Clean modern look, easy wipe-down, surface strong but core less so, resists spills
Pro Tip: Use 5/8″ plywood for heavy items like tools or full totes. Choose melamine if you want a clean, paint-free finish.
Secure With the Right Fasteners
Screws beat nails for strength and adjustability. Use 2½” self-tapping flat-head screws for assembling frame corners. Use 3″ screws to anchor supports into floor joists. Use 1¼” to 2″ screws for attaching shelves to frames. Use 1″ screws or brad nails for melamine or OSB to allow future disassembly. Always pre-drill pilot holes in plywood and melamine to prevent splitting.
Gather Essential Tools and Safety Gear
Power Tools You Will Need
You will need a cordless drill/driver and impact driver for fast, clean screw installation. A circular saw or table saw cuts OSB, plywood, and melamine. A reciprocating saw handles future modifications or removal.
Hand Tools and Measuring Aids
Keep these on hand:
• Tape measure for accurate cuts and spacing
• Speed square or angle square to ensure 90° corners
• Clamps to hold frames square during assembly
• Mallet for fine adjustments when joining tight pieces
Safety Equipment
Always wear work gloves, ear protection, and safety glasses when cutting or drilling.
Warning: Never skip eye protection. Dust and wood chips fly fast when cutting sheet goods.
Build Freestanding Box Frame Shelves
Cut and Assemble the Base Frame
Start on the floor for easier handling. Cut two 10-ft 2×4s for long sides and four 21-inch 2×4s for ends and middle braces. Lay out a 24-inch deep by 10-ft long rectangle. Drill pilot holes and secure corners with 2½” screws.
Square the Frame Before Fastening
Misaligned frames cause wobbly shelves. To square, measure diagonals from corner to corner. Adjust until both measurements are equal. Clamp in place before driving final screws.
Add Middle Bracing Every 2–3 Feet
Install three 21-inch cross braces at 2.5 ft, 5 ft, and 8 ft from one end. Place a brace at the 8-ft mark to support the seam where two OSB sheets meet. Secure with two 2½” screws per joint.
Install Vertical Support Posts
Use five 2×4 vertical posts, one at each end and three in between. Mark shelf heights on each post. Lay the base frame face down. Attach back posts first, then front. Use 2½” screws, four per connection, for strength. Clamp stubborn joints into alignment.
Pro Tip: Work with a partner. Lifting and aligning large frames is much easier with two people.
Attach Shelf Surfaces Securely
For OSB or plywood, place 2×4 ft or 2×8 ft sheets on the frame. Secure with 1″ screws at edges to allow future disassembly. Add 2½” screws along the front edge for extra rigidity. For melamine, use 2″ brad nails or 1¼” screws and pre-drill to avoid chipping.
Install Ladder-Style Shelving for Lightweight Builds
Build 2×3 Ladder Supports
Create four vertical supports from 2×3×8 pine. Cut two double-sided and two single-sided ladders. Attach 2-ft rungs every 18″ on center. Keep each ladder square for flat shelf contact.
Anchor Ladders to Floor Joists
Maximize strength by securing tops to overhead joists. Position ladders directly under joists. Use 3″ screws through the top rung into the joist. Elevate off the floor using bricks or concrete blocks under ladders to prevent water damage.
Why it works: Anchoring to joists transfers weight upward, not into the concrete wall. This is critical for earthquake and tip resistance.
Span OSB Across Rungs
Cut 4×8 OSB into 2×4 ft sections. Rest on ladder rungs. Secure with 1¼” screws every 8–12 inches. For heavy loads, add 2×4 edge framing or horizontal stretchers between ladders.
Mount L-Shaped Shelves on Concrete Walls

Attach Side Supports to Joists
Since concrete walls have no studs, anchor side boards to overhead floor joists. Use 2×4×8 boards as side supports. Install three sets, one in the corner and one on each wall. Space boards 14″ apart, 2″ from the wall. Secure with angle brackets and 3″ screws into joists. Use a scrap 2×4 as a spacer on one side to align full 8-ft shelves.
Build and Install Shelf Frames
Assemble 24″×96″ frames from 2×4s. Mark shelf heights on vertical supports, such as 20″ from floor, then every 24¼”. Drill pilot holes 1¾” above each line. Align frame bottom with mark and screw through support into frame. Work from bottom to top, checking level after each shelf.
Join Corner Units Securely
For L-shaped builds, attach the right shelf frame to the left with four 2½” screws at the junction. Reinforce with corner brackets if needed.
Top With Melamine for a Clean Finish
Use pre-ripped 24″×96″ melamine boards. Place on frame. Secure with 2″ brad nails. No sanding or painting needed. Ready to use immediately.
Anchor Shelves for Maximum Stability
Secure to Joists, Not Just the Floor
The strongest anchor point in a basement is the floor joist above, not the concrete wall. Always use 3″ screws to connect supports to joists. Position supports directly under joists. Use spacers if joists are uneven.
Elevate Shelves Off the Floor
Prevent water damage during floods. Place bricks, cinder blocks, or plastic pedestals under supports. This raises shelves 1–2 inches off concrete. Helps with load distribution and airflow.
Add Wall Bracing for Seismic Safety
Even freestanding units should be anchored. Use L-brackets to tie the top of the unit to wall studs or joists. This prevents tipping during earthquakes or accidental bumps.
Strengthen Shelves for Heavy Loads

Frame Shelf Edges With 2×4s
Prevent sagging on long spans. Attach 2×4s around the perimeter of OSB or plywood shelves. This creates a boxed edge that resists bending. Especially important for 8-ft wide shelves.
Install Horizontal Stretchers
Add rigidity between vertical posts. Use 2×4s between front and back posts at mid-height. This reduces sway and increases load capacity. There is a slight trade-off in storage space.
Over-Engineer for Safety
Basement shelves should be stronger than necessary. Use more screws than minimum. Add extra bracing. Choose thicker materials even if not required.
Pro Tip: A shake test after assembly should reveal zero wobble. Your unit should feel like a brick.
Avoid Common DIY Mistakes
Do Not Misalign Support Braces
If a cross brace does not sit under a seam in the OSB or plywood, the shelf will sag. Always plan cuts so seams land on a 2×4 brace. Mark the 8-ft point clearly during framing.
Do Not Skip the Square Check
A frame that is not square leads to crooked shelves and misaligned posts. Always measure diagonals before final screwing. Clamp until perfect.
Do Not Skip Pilot Holes in Plywood or Melamine
These materials split easily. Always pre-drill screw holes. Use a bit slightly smaller than the screw shaft.
Do Not Anchor Only to Concrete Walls
Concrete anchors alone are not enough for tall, heavy shelves. Always tie into floor joists above. Use angle brackets and long screws.
Do Not Place Shelves Directly on the Floor
Even minor flooding can ruin wood and stored items. Always elevate with bricks or blocks. Leave a gap for air circulation.
Maintain and Upgrade Your Shelves
Seal or Paint for Moisture Protection
In damp basements, paint frames with moisture-resistant paint. Seal plywood edges with wood sealer. Avoid OSB if moisture is a known issue.
Inspect Annually for Wear
Check for loose screws, warping or sagging, pest activity, and rust on fasteners. Tighten or replace as needed.
Design for Future Disassembly
Use screws instead of nails so you can move shelves later, replace damaged boards, or modify heights.
Pro Tip: Label shelves or take photos before disassembly for easy reassembly.
DIY vs. Pre-Made Shelves: Which Wins?
| Factor | Pre-Made Shelves | DIY Shelves |
|---|---|---|
| Cost | $100–$300 per unit | $40–$130 for full system |
| Strength | Varies, often under-rated | Fully customizable and over-built |
| Fit | Standard sizes only | Tailored to your space |
| Anchoring | Often weak on concrete | Joist-anchored equals superior stability |
| Customization | Limited | Full control over size, spacing, materials |
Bottom Line: DIY wins for cost, strength, and fit, especially in unfinished basements.
Frequently Asked Questions About Building Basement Shelves
What is the strongest material for basement shelves?
Plywood at 5/8″ or thicker provides the best strength for heavy loads. It resists sagging better than OSB and handles moisture better when sealed. Melamine works well if you want a clean, finished look.
How do you anchor shelves to concrete walls without studs?
Since concrete walls lack studs, anchor shelves to floor joists above instead. Use 3″ screws and angle brackets to secure side supports directly into the joists. This provides the strongest hold possible.
How much weight can DIY basement shelves hold?
Well-built DIY shelves can support 100+ lbs per shelf. Using 2×4 frame construction, 5/8″ plywood, and proper bracing ensures heavy loads like tool chests and full totes are safe.
Should I use OSB or plywood for basement shelves?
Use plywood for heavy items or long-term builds. OSB works for budget builds in dry basements only. Plywood resists moisture better and does not delaminate like OSB can when wet.
How do I prevent basement shelves from sagging?
Frame shelf edges with 2×4s to create a boxed perimeter. Install middle bracing where sheet seams meet. Use 5/8″ plywood instead of OSB. Add horizontal stretchers between vertical posts for extra rigidity.
Key Takeaways for Building Basement Shelves
Building shelves in an unfinished basement is about more than just storage. It is about reclaiming your space, reducing clutter, and creating a system that works for your specific needs. The right materials, proper joist anchoring, and smart design will give you shelves that last for years, hold heavy loads, and transform a chaotic basement into a functional, organized extension of your home.
Start by planning your layout based on what you need to store. Choose 2×4 lumber for frames and select plywood or melamine for shelf surfaces. Anchor everything to floor joists, not just concrete walls. Elevate off the floor to prevent water damage. Over-engineer your build for safety and longevity. With basic tools and this guide, you can build something that truly fits your space and your life.





