
How to Install Floating Shelves with Command Strips
You love the sleek look of floating shelves but do not want to drill holes, especially in a rental. That is where Command Strips come in. With the right technique, you can mount lightweight floating shelves without damaging walls. But there is a catch: they only work safely under strict conditions. Used wrong, they fail, dropping your decor or worse, causing injury.
This guide reveals exactly how to install floating shelves with Command Strips the right way. You will learn which strips to use, how to prep surfaces, where to place them for maximum hold, and what not to put on them. We will also cover real user successes, expert warnings, and when to skip strips entirely. By the end, you will know whether your shelf idea is safe or a risk waiting to happen.
Choose the Right Command Strips for Floating Shelves

Use Heavy-Duty Strips Only
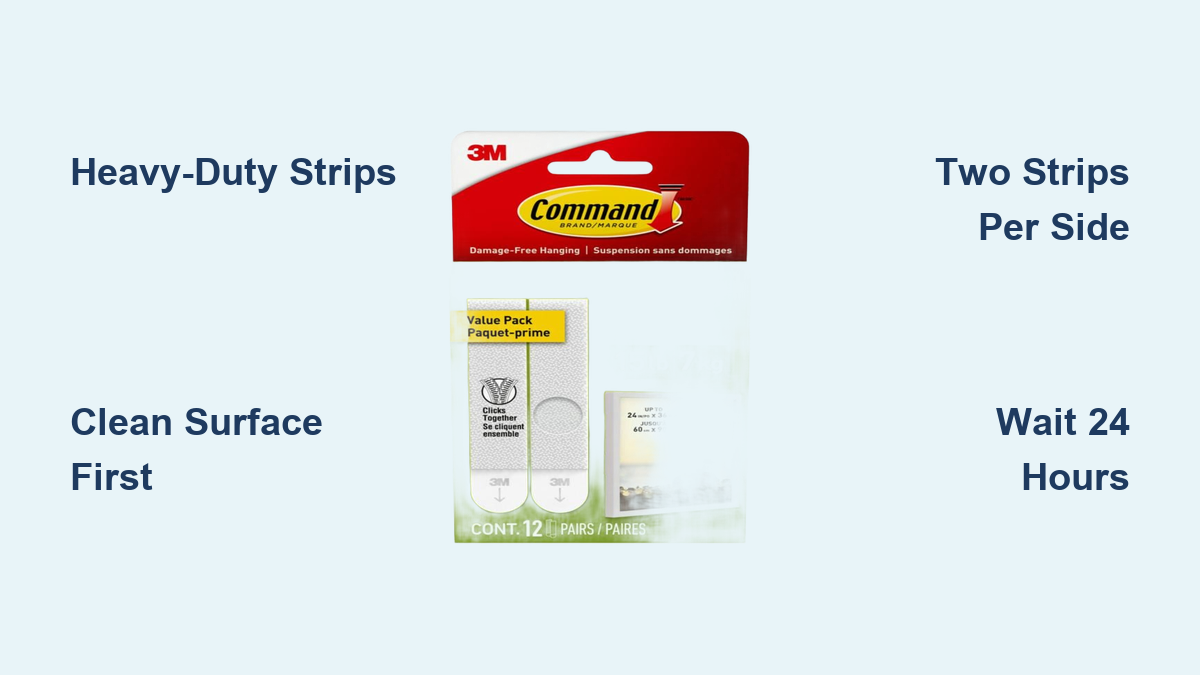
Standard picture-hanging Command Strips max out at 16 pounds, but they are designed for vertical loads, not the shear forces shelves create. For floating shelves, always use heavy-duty Command Strips rated for 20 pounds or more.
Look for “Heavy Duty” or “Industrial Strength” on the packaging. These have stronger adhesives and wider surface contact. Avoid small picture strips. Even if the weight seems within range, the pull force from a shelf overhang can break the bond at the top edge, like peeling Velcro apart.
Double Up for Shear Load Protection
A shelf sticking out from the wall creates torque: weight pulling down at the front tries to rotate the shelf, peeling the top of the strip off the wall. To fight this, use at least two strips per side. Place one near the top and one near the bottom of the shelf back. This creates a moment arm that resists rotation.
One user mounted PC speakers weighing 3.6 pounds each using two strips per unit, one top and one bottom. They stayed secure for 6 years, even with vibration. This proves the technique works when done correctly.
Prepare the Surface Correctly

Clean with Rubbing Alcohol
Adhesive failure almost always starts with poor surface prep. Command Strips need clean, dry, smooth surfaces. Wipe both the wall and the back of the shelf with rubbing alcohol, also known as isopropyl alcohol. Do not use water or household cleaners because they leave residues that weaken bonding. Let surfaces dry completely before applying strips.
Dust, grease, or leftover soap film can cut adhesion by 50 percent or more. This simple step is the difference between a shelf that stays up for years and one that falls within days.
Check Wall Type and Condition
Not all walls work. Command Strips stick best on smooth painted drywall with flat or semi-gloss finishes, glass, metal, tile, wood, and laminate. Avoid textured or stippled walls because strips cannot make full contact. Avoid plaster unless it is smooth and intact. Avoid concrete because it is too porous; use epoxy instead. Avoid bathrooms with high humidity because steam weakens adhesive over time.
Also inspect for peeling paint or cracks. If the paint lifts when you press tape, do not use Command Strips because the bond will fail.
Install Floating Shelves Step-by-Step
Weigh Shelf and Contents First
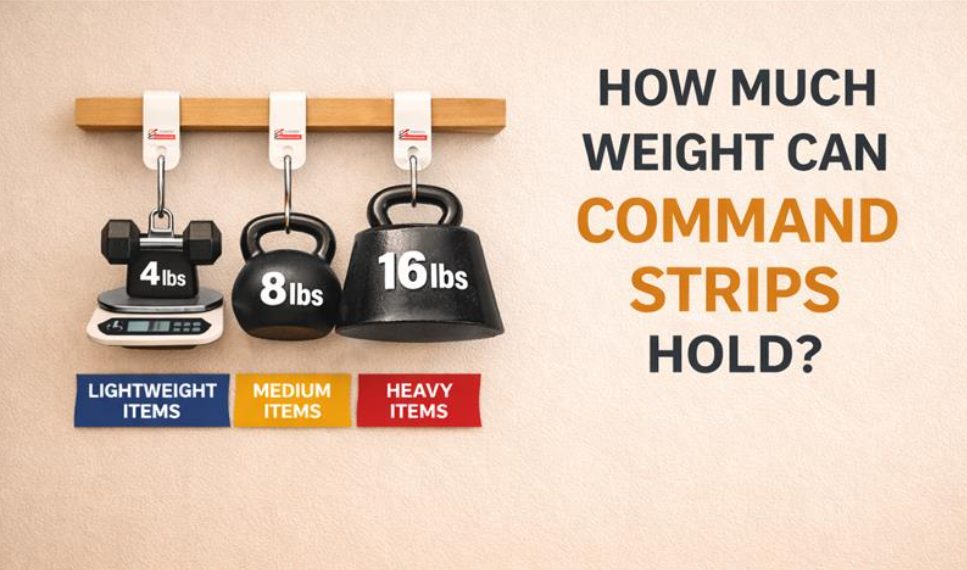
Before buying strips, calculate total load. Add the shelf weight plus the heaviest likely items. Then apply a 50 percent safety margin. If strips are rated for 16 pounds, limit load to 8 pounds or less.
For example, a small wooden shelf weighing 2 pounds holding two books at 3 pounds each equals 8 pounds total. That is the maximum for 16-pound strips, and only with perfect conditions.
Apply Strips to Shelf First
Follow these numbered steps for proper installation:
- Attach strips to the back of the shelf. Press firmly for 30 seconds to activate adhesive. Use multiple strips per side, top and bottom.
- Peel off the paper backing from the wall-side adhesive.
- Position shelf on wall. Use a level to align. Mark light pencil lines first if needed.
- Press shelf firmly onto wall. Hold in place for 30 seconds. Apply even pressure across all strip locations.
The key move here is simple: do not just tap the shelf on. Press hard and hold, like you are sealing a lunchbox.
Wait Before Loading
Wait at least 1 hour before placing anything on the shelf. For maximum strength, wait 24 hours. This gives the adhesive time to fully cure. Start with light items like a candle or small plant, then monitor for slippage over days before adding heavier objects.
Use Only for Lightweight, Non-Critical Storage
Ideal Items for Command Shelf Setups
These shelves work best for decorative displays like photo frames and figurines. They work well for small plants in light pots totaling under 5 pounds. They are perfect for bathroom essentials like soap dispensers, cotton balls, and toothbrush holders. They work for kitchen items like spice jars, coffee pods, and lightweight utensils. They also work for office supplies like pens, notepads, and small organizers.
A wooden shelf with a small plant under 5 pounds stayed up for more than 3 months using heavy-duty Command Strips. This is exactly the type of use case that succeeds.
Avoid Heavy or Hazardous Items
Never use Command Strips for glass shelves because of high risk of breakage if they fall. Never use them for heavy books or electronics because they exceed safe load fast. Never use them for appliances or breakables because of danger if the shelf drops. Never use them in high-traffic zones because bumping weakens the bond.
One expert stated plainly: “I would not risk hanging a glass shelf with those strips. It is almost guaranteed to end in broken glass.” Even if the weight seems okay, cantilevered loads, items sticking far out, increase torque and make failure more likely.
Troubleshoot Common Problems
Shelf Will Not Stick
The causes include surface not cleaned properly, residue from water-based cleaners, and cold or humid air during installation. To fix these issues, re-clean with rubbing alcohol. Warm the wall and strips to room temperature. Press harder and longer, up to 60 seconds. Add extra strips for redundancy.
In humid climates, run a dehumidifier or wait for a dry day before installing.
Shelf Falls Off After Days
This happens due to exceeded weight limit, using standard instead of heavy-duty strips, poor surface prep, or shear force pulling the top of the strip loose. To solve these problems, replace with heavy-duty Command Strips. Use two strips per side, top and bottom. Re-clean and reinstall. Reduce load immediately.
User feedback confirms this often happens due to exceeding the weight limit or improper installation.
Remove Safely Without Damaging Walls
To remove Command Strips properly, grab the strip tab and pull straight down, parallel to the wall. Stretch slowly. Do not yank. Pulling up or at an angle can peel paint.
If residue remains, wipe with rubbing alcohol or use a gentle adhesive remover. Avoid sharp tools that scratch surfaces. Done right, no patching is needed, and landlords will not know you had shelves.
When to Skip Command Strips Entirely

Use Screws Instead If
The shelf extends more than 6 to 8 inches from the wall. The load exceeds 10 pounds. You are mounting in a bathroom with steam. You are using glass, stone, or heavy wood shelves. You need a long-term permanent installation.
In these cases, screws into wall studs are safer and stronger. For renters worried about damage, drill small holes and patch with spackle and paint. The cost is about $3 for paint samples, and you avoid $50 or more repair fees.
| Feature | Command Strips | Screws + Anchors |
|---|---|---|
| Wall Damage | None (if removed correctly) | Small holes (repairable) |
| Tools Needed | None | Drill, screwdriver, level |
| Max Load | 20 lbs (heavy-duty) | 50+ lbs |
| Shear Resistance | Low | High |
| Best For | Rentals, decor, light items | Permanent, heavy storage |
Recommended Shelves and Kits
SpryInterior Lightweight Shelves
SpryInterior makes Command Strip-compatible shelves designed for adhesive mounting. They feature ultra-light materials, clean backs for full strip contact, multiple colors and finishes, and pre-matched Command Strip spacing. These are purpose-built for the task.
Hassle-Free Installation Kits
Some brands offer kits with pre-measured heavy-duty Command Strips, leveling tools, and step-by-step visual guides. This removes all guesswork. You simply stick and go.
Final Checklist Before You Start
Before you begin your installation, verify these items:
- Total weight (shelf plus items) is less than 50 percent of strip rating
- Wall is smooth, clean, dry, and undamaged
- Using heavy-duty Command Strips
- Applied two strips per side (top and bottom)
- Pressed firmly for 30 seconds each
- Waited 1 to 24 hours before loading
- Starting with light items and monitoring
Key Takeaways for Installing Floating Shelves with Command Strips
You can put up floating shelves with Command Strips if you follow the rules. They are perfect for rentals, dorms, or temporary decor where drilling is not allowed. But they are not structural. Use them only for lightweight, low-risk setups. Never trust them with glass, heavy loads, or wet areas. When in doubt, drill. A few small holes are worth the safety.
Prioritize safety over convenience. Command Strips are a clever hack but not a replacement for real mounting hardware. Use them smartly, and your shelves will stay up.
Frequently Asked Questions About Installing Floating Shelves with Command Strips
Can Command Strips hold a floating shelf?
Yes, Command Strips can hold a floating shelf if you use heavy-duty strips, keep total weight under 10 pounds, and install them correctly with two strips per side. The key is understanding that shelves create shear force, so proper placement matters.
How much weight can Command Strips hold on a shelf?
Heavy-duty Command Strips can hold 20 pounds or more, but you should limit load to 50 percent of that rating for safety. That means a 10-pound maximum for a 20-pound rated strip. This accounts for the shear force that shelves create.
Do Command Strips work on textured walls?
No, Command Strips do not work well on textured or stippled walls. They need full surface contact to bond properly. Textured walls prevent the adhesive from making complete contact, leading to early failure.
How long do Command Strips last on floating shelves?
When installed correctly with heavy-duty strips, Command Strips can hold floating shelves for years. One user reported PC speakers mounted for 6 years without issues. However,寿命 depends on weight, humidity, and whether the strips are disturbed.
Can I use Command Strips in the bathroom?
You should avoid using Command Strips in bathrooms with high humidity or steam. Moisture weakens the adhesive over time. For dry bathrooms, they may work, but monitor for loosening.
What is the safest alternative to Command Strips for heavy shelves?
Screws mounted into wall studs are the safest alternative for heavy shelves. They handle 50 pounds or more and resist shear force properly. Patch the holes with spackle when moving out.





