
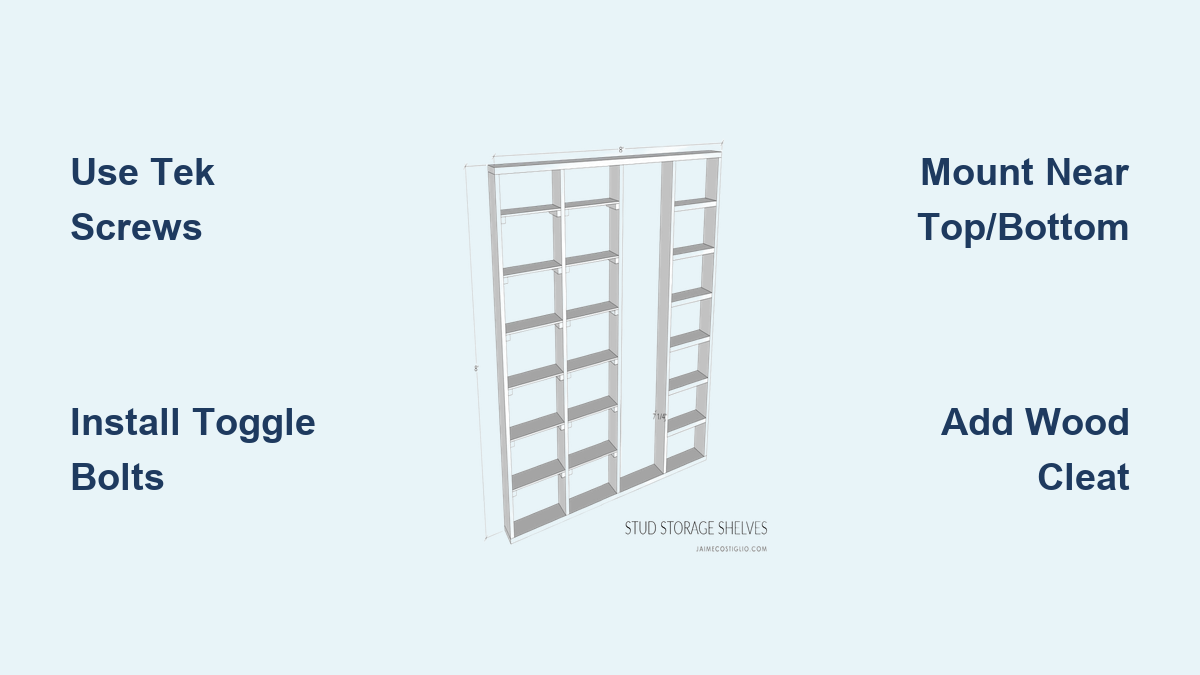
How to Hang Shelves on Metal Studs
Hanging shelves on metal stud walls can be frustrating if you are used to working with wood framing. Unlike wooden studs, metal studs are thinner, more flexible, and can bend outward under concentrated loads, a phenomenon called “bellying.” But with the right tools, fasteners, and techniques, you can securely mount everything from lightweight bookshelves to heavy cabinets on metal stud walls.
This guide walks you through every step, from locating studs to choosing the best hardware, so your shelves stay level, strong, and safe for years to come. Whether you live in an apartment with steel framing or are renovating a commercial space, you will learn proven methods backed by expert insights and real-world testing.
Find Metal Studs Accurately
Finding metal studs is not as simple as using a regular stud finder. Standard electronic models often struggle with metal framing because they detect density changes, rather than metal itself. Instead, use methods designed specifically for steel.
Use a Magnetic Stud Finder
A magnetic stud finder detects the drywall screws or nails that attach the drywall to the metal studs. Since these fasteners are aligned along the stud center, this method is more reliable than electronic sensors.
• Slide the magnet slowly across the wall surface.
• When it sticks, mark the spot. This indicates a screw head and the stud center.
• Find at least two screw heads in a vertical line to confirm stud location.
Mark Both Edges and Centerline
Once you have located one side of the stud, run the finder horizontally to locate both front and back edges of the flange. Pencil in both edges, then draw a centerline between them. This ensures your screws hit the strongest part of the stud flange.
Pro Tip: Metal studs are typically spaced 16 or 24 inches apart, just like wood studs. Start measuring from a corner or outlet box, which are usually mounted on studs, to predict the next stud position.
Choose the Right Fasteners for Metal Stud Walls
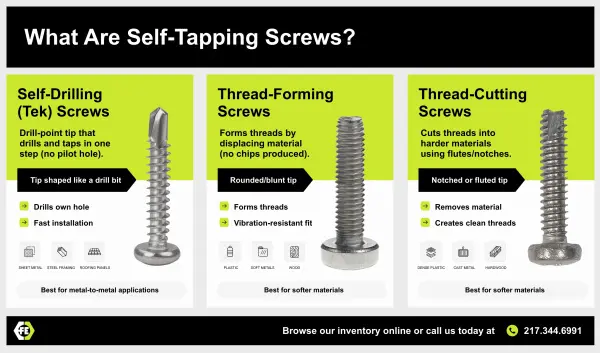
Using the wrong screw or anchor is the most common cause of shelf failure on metal stud walls. Here is what works and what does not.
Use Self-Drilling Tek Screws
Tek screws are specifically engineered for metal. They have a sharp drill-point tip and coarse threads that cut into steel without pre-drilling.
• Size: #8 or #10 gauge, 1 to 1.25 inches long
• Best for: Direct bracket attachment into metal stud flanges
• Advantage: No pilot hole needed; creates its own thread
Drive Tek screws straight into the stud flange for clean penetration and firm hold.
Avoid standard wood screws, which strip or snap when hitting metal.
Skip Coarse-Thread Drywall Screws for Heavy Loads
While coarse-thread drywall screws can go into metal studs, they are brittle and prone to shearing under load. They work only for very light-duty brackets under 20 pounds and should never support heavy shelves.
Expert Warning: “Avoid relying solely on screws in metal studs. They are not designed for heavy point loads.”
Mount Brackets Directly to Studs for Light Loads
If your shelf weighs less than 50 pounds, direct mounting with Tek screws is a fast and effective option, especially near the top or bottom of the wall where studs are braced.
Install Brackets with Tek Screws
- Position the shelf bracket and mark screw holes on the wall.
- Pre-drill a 1/8-inch pilot hole through drywall and into the metal stud (optional but recommended for cleaner entry).
- Drive #8 or #10 Tek screws (1 to 1.25 inches) through each hole into the stud flange.
- Ensure screws penetrate at least 1 inch into the metal.
- Attach the shelf to the bracket.
Load Capacity: Up to 50 to 100 pounds per screw, depending on stud gauge and screw depth.
Best Practice: Mount brackets within 12 inches of the ceiling or floor. The top and bottom plates provide lateral support, reducing the risk of stud bending.
Use Toggle Bolts for Heavy Shelves on Metal Studs
When you cannot hit a stud, or need to support more than 60 pounds, toggle bolts are your best bet. These anchors expand behind the drywall, transferring load directly to the metal-to-metal connection.
Pick High-Strength Toggle Anchors
• Snap Toggle (Toggler brand): Supports over 200 pounds per anchor in half-inch drywall.
• Hilti-style all-metal toggle bolts: Even stronger, with superior pull-out resistance.
• Plastic toggle bolts: Effective up to 200 pounds if installed correctly.
Use Snap Toggle anchors for 60-plus pound loads. They transfer force via metal, not plastic.
Install Toggle Bolts Step-by-Step
- Hold the bracket against the wall and mark screw locations.
- Drill a half-inch hole through drywall using a metal-rated bit.
- Insert the toggle bolt through the bracket and into the hole.
- Tighten the screw until the toggle wing expands behind the drywall and seats flush.
- Repeat for all mounting points.
- Attach the shelf.
Visual Cue: The toggle flange should lie flat behind the drywall with no tilting. If it wobbles, the anchor will not hold.
Warning: Never use toggle bolts in ceilings or high-vibration areas unless rated for overhead use.
Reinforce with Wood Cleats for Heavy-Duty Shelves
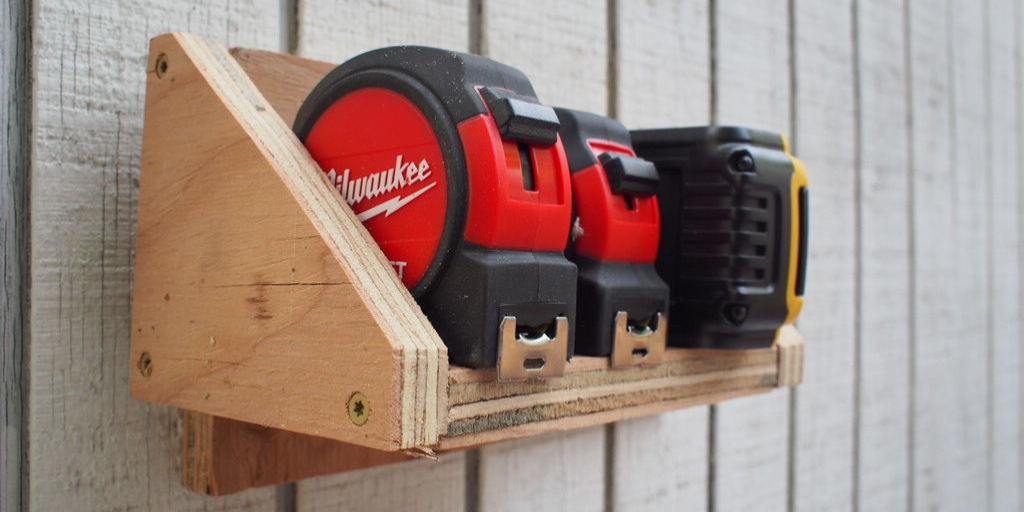
For heavy shelves, cabinets, or dynamic loads like kids climbing, a wood cleat provides a solid nailing base and spreads the load across multiple anchors.
Build a 2×4 Mounting Rail
- Cut a 2×4 or 1×3 board to the desired shelf length (for example, 48 inches).
- Hold it at shelf height and mark toggle bolt positions every 12 to 16 inches.
- Drill half-inch holes through drywall at each mark.
- Insert toggle bolts and secure the wood rail to the wall.
- Attach shelf brackets directly into the wood.
- Mount the shelf.
Advantage: Wood distributes stress, prevents localized drywall failure, and allows standard woodworking fasteners.
Install Plywood Backing for Cabinets and Large Units
For built-in cabinets, entertainment centers, or anything that moves (like a pull-down shelf), full-panel plywood backing offers unmatched rigidity.
Apply 3/4-Inch Plywood Over Multiple Studs
- Measure and cut three-quarter-inch plywood to cover the entire shelf or cabinet area.
- Position it on the wall and mark locations for screws or toggle bolts.
- Drill holes and fasten the plywood into metal studs with Tek screws every 12 inches, or into drywall with toggle bolts if stud alignment is off.
- Mount shelf brackets or cabinets directly into the plywood.
Load Capacity: Over 500 pounds when properly anchored.
Ideal For: Kitchens, bathrooms, media walls, or commercial installations.
Prevent Stud Bellying with Smart Mounting
Metal studs can bend outward under mid-wall loads, a phenomenon called bellying. This weakens the wall and may lead to anchor failure.
Mount Near Top or Bottom Plates
Studs are braced at the top and bottom plates, making these zones the stiffest and most stable.
• Avoid placing heavy shelves in the middle third of the wall.
• Instead, install them within 12 inches of the ceiling or floor.
If you hang a shelf in the middle of the wall, you will generate a belly because the stud will warp.
Use Long Shelf Tracks Across Multiple Studs
Heavy-duty shelf tracks span several studs and distribute weight evenly.
• Install the track near the ceiling or base.
• Use a screw in every hole, ensuring each hits a metal stud.
• Slide shelf standards into the track.
Best Practice: A 4-foot track across four studs supports 200 to 400 pounds of evenly distributed weight.
Avoid These Common Mistakes
Never Rely on Adhesives Alone
Some suggest using construction adhesive like Liquid Nails to boost shelf strength. But experts agree that adhesive alone will not hold.
Skip the liquid nails. All you will be gluing to is the paper on the drywall, and that is not very strong. If the bolts fail, the glue is not going to hold them up.
Additional Mistakes to Avoid
• Relying on drywall screws alone for structural support.
• Mounting heavy shelves in the middle of the wall.
• Using plastic anchors for loads over 50 pounds.
• Skipping leveling, which stresses fasteners over time.
Weight Limits by Mounting Method
Choose your mounting method based on shelf weight and usage:
| Method | Max Load | Best For |
|---|---|---|
| Tek Screws into Stud | 50 to 100 lbs per screw | Light shelves near top or bottom |
| Snap Toggle Anchors | 200+ lbs per anchor | Medium to heavy shelves |
| Wood Cleat with Toggles | 300+ lbs | Heavy-duty DIY shelves |
| Plywood Backing (3/4″) | 500+ lbs | Cabinets, media units |
| Shelf Track (4+ studs) | 200 to 400 lbs | Garages, pantries, offices |
Rule of Thumb: The heavier the load, the more anchors or studs you need, and the closer to structural supports you should mount.
Frequently Asked Questions About Hanging Shelves on Metal Stud Walls
Can I use a regular stud finder for metal studs?
Standard electronic stud finders often struggle with metal framing because they detect density changes rather than metal itself. A magnetic stud finder is more reliable because it detects the drywall screws that indicate stud locations.
What is the strongest way to hang shelves on metal studs?
The strongest method depends on your load. For maximum strength, install three-quarter-inch plywood backing across multiple studs, then mount your shelf brackets directly into the plywood. This method can support over 500 pounds.
Can metal studs support heavy cabinets?
Yes, metal studs can support heavy cabinets if you distribute the load properly. Use plywood backing or mount the cabinet cleat near the top plate where the stud is braced. Avoid mounting heavy cabinets in the middle of the wall where studs can belly.
Do I need to pre-drill holes for Tek screws?
Pre-drilling is optional but recommended for cleaner entry. Use a one-eighth-inch metal-rated bit to pre-drill through the drywall and into the metal stud before driving the Tek screw.
Can I use construction adhesive instead of screws?
Never rely on construction adhesive alone. It only bonds to the paper facing on drywall, which is not strong enough to support shelf weight. Use adhesive only as a supplement to mechanical fasteners.
What happens if I mount a heavy shelf in the middle of the wall?
Mounting heavy shelves in the middle of the wall can cause stud bellying, where the metal stud bends outward under load. This weakens the wall and may lead to anchor failure over time. Always mount heavy shelves within 12 inches of the ceiling or floor.
Key Takeaways for Hanging Shelves on Metal Stud Walls
Hanging shelves on metal stud walls is entirely doable with the right approach. The most important factors are using the correct fasteners (self-drilling Tek screws for direct stud attachment, toggle bolts when studs are inaccessible), distributing weight across multiple studs or anchors, and mounting near the top or bottom plates where studs are braced.
For light loads under 50 pounds, direct mounting with Tek screws works well. For heavier shelves, use toggle bolts, wood cleats, or plywood backing to distribute stress and prevent stud deformation. Never rely on adhesives alone, and avoid mounting heavy items in the middle of the wall.
By following these expert-backed methods, you will ensure your shelves stay secure, level, and long-lasting, no matter what is behind your walls.





