
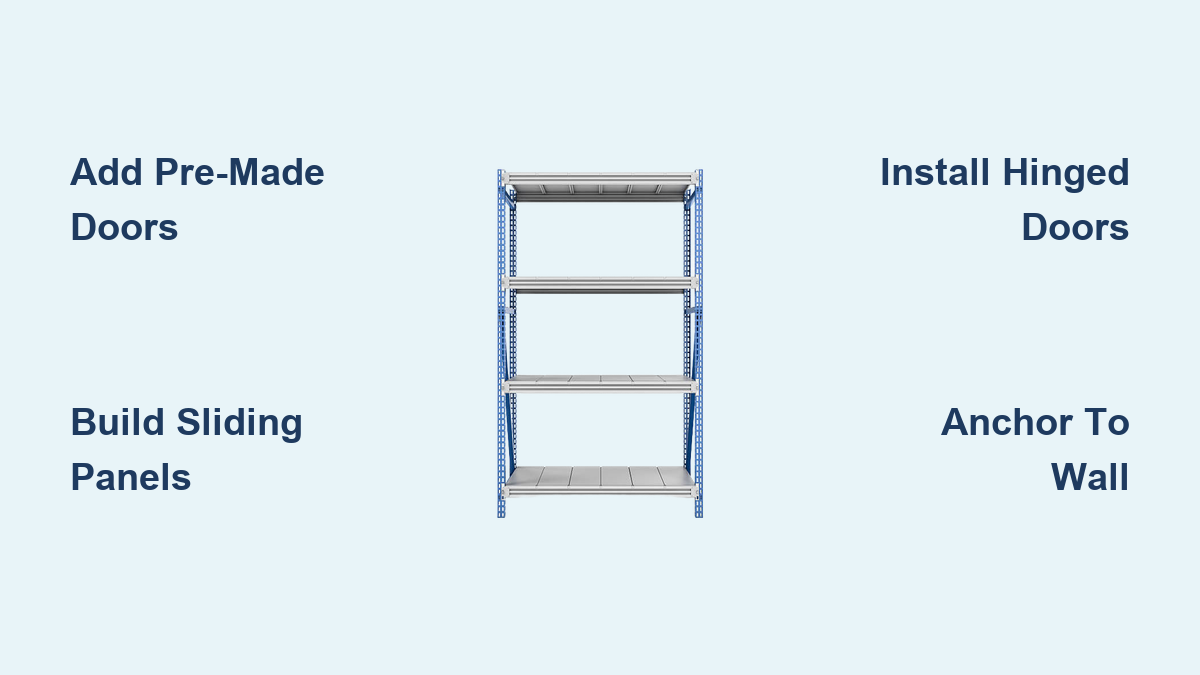
How to Add Doors to Metal Shelves
Is your metal shelving unit looking a little too open? Exposed tools, cleaning supplies, or pantry items collecting dust? You’re not alone. Many homeowners and workshop users are turning to how to add doors to metal shelves as a smart way to upgrade storage without replacing entire units. The good news: you do not need a full renovation. With the right materials and methods, you can transform wire or steel racks into sleek, enclosed cabinets in just a few hours.
Whether you prefer no-tools pre-made enclosures, DIY sliding panels, or custom hinged doors, there is a solution that fits your budget, skill level, and space. This guide delivers actionable steps, real user insights, and proven techniques to help you add doors safely and effectively. You will learn how to choose the best materials, avoid structural mistakes, and install doors that last.
Pre-Made Enclosures: No Tools Needed
For users who want a clean, fast upgrade without power tools or carpentry, ready-made PVC enclosures are the easiest fix. These snap-on solutions transform open shelving into enclosed cabinets in minutes, making them perfect for homeowners who want results without the complexity of custom builds.
Ready-to-Install PVC Door Kits
Shelving.com offers PVC wire shelving enclosures that clip directly onto standard metal racks. These kits include swing or sliding doors and come in over 20 size options, from 18″x18″x18″ to 24″x72″x18″. No drilling, no screws. Just snap them on.
Key features:
• Durable, moisture-resistant PVC construction
• Available in multiple colors to match your space
• Includes full assembly guide for easy setup
• Ideal for garages, pantries, closets, and utility rooms
Best for: Light storage only. Not recommended for heavy tools or custom-sized shelves.
When to Choose Pre-Made Solutions
If your shelf matches a standard size and you want instant results, go with a pre-made kit. These are perfect for hiding cleaning supplies, seasonal items, or pantry overflow. Just unbox, align, and clip into place.
Limitation: Only fits exact dimensions. Measure your unit carefully before ordering.
DIY Sliding Doors with Whiteboard Panels
Want a workshop cabinet that doubles as a command center? This method turns basic shelves into a functional, writable storage unit. The dual-surface doors let you write cut lists, to-do items, and project notes while keeping contents hidden.
Build a Sliding Track System
Start by creating vertical tracks using 2×3 lumber. Cut two boards to match the height of your shelf. Use a router to cut a ¼-inch groove along the full length of each board. This groove will guide the door smoothly up and down.
Mount the Tracks
• Position one 2×3 on each side of the shelf unit
• Align vertically and secure with screws into the metal frame
• Ensure both tracks are parallel and plumb using a level
Install Reversible Panel Doors
Cut a whiteboard/blackboard combo panel to fit snugly between the grooves. Slide it in from the top. The panel can flip, giving you a whiteboard for notes on one side and a blackboard for sketches or branding on the other. Use spray paint to add custom logos.
Pro tips:
• Paint the shelf unit black for a professional, cohesive look
• Add rubber bumpers at the bottom to reduce noise when sliding
• Leave ½-inch clearance at top and bottom for smooth operation
Why it works: No hinges, no floor contact, fully reversible, and adds practical utility to your workspace.
Swing Doors: Plywood vs IKEA
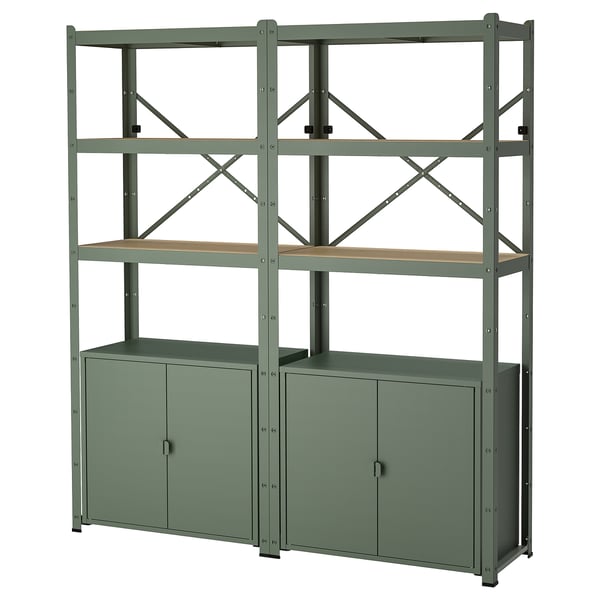
For full enclosure and heavy-duty use, swing doors are the most practical DIY option. You have two main paths: build from plywood or use pre-finished IKEA doors. Both approaches create sturdy enclosures that can handle daily use.
Plywood Panels: Budget-Friendly and Strong
Use ½-inch CDX plywood for rigidity. Thinner 3/8-inch boards may flex over time, especially on tall doors exposed to gravity and repeated opening.
Cost and Materials
• One sheet costs approximately $20 and covers multiple doors
• Requires 6 to 12 heavy-duty hinges depending on configuration
• Can be painted, stained, or covered with contact paper for customization
Tip: Paint panels before installation for easier access and cleaner results.
IKEA Doors: Plug-and-Play Finish
The Haggeby door (40″x24″) costs about $11 each. They are pre-finished and consistent, but require more hinges (3 per door) and side panels for proper installation.
Cost Comparison
| Option | Total Cost (Est.) | Best For |
|---|---|---|
| Plywood (full enclosure) | ~$40 + hardware | Budget builds |
| IKEA doors + plywood sides | ~$66+ | Polished look |
Winner: Plywood for cost savings, IKEA for aesthetics and finish quality.
Install Hinged Doors: Step-by-Step
Adding swing doors requires precision and strong mounting. Follow these steps to avoid sagging or instability. Proper installation ensures your doors operate smoothly for years.
Step 1: Add Side and Back Panels
Before installing doors, enclose the sides of your shelf unit. Cut ½-inch plywood to match shelf depth and height. Attach using carriage bolts, washers, and nuts. Drill through shelf uprights and align with bracket holes for secure mounting.
Optional: Add a pegboard back panel for tool organization and ventilation.
Step 2: Choose the Right Hinges
Use 6-inch zinc-plated heavy strap hinges (e.g., National Hardware 282BC). These distribute weight evenly across the door surface and resist corrosion in garage or basement environments.
Why not basic hinges? Standard cabinet hinges can bend under the weight of plywood doors. Heavy strap hinges are designed for this application.
Step 3: Mount the Hinges
• Install three hinges per door: top, middle, and bottom
• Attach hinges to vertical steel uprights, not shelf brackets
• Position hinges 2 to 3 inches from top and bottom edges
Never mount to shelf supports. They are not load-rated for door weight and will fail over time.
Step 4: Hang the Door
• Place a cardboard spacer under the door during install (1/8-inch gap from floor)
• Screw hinges into the edge of the plywood door
• Test swing: door should open smoothly without binding or dragging
Pro tip: Use a level to ensure hinges are aligned perfectly. Misaligned hinges cause doors to sag.
Alternative Methods: Fast and Flexible
Not all solutions require wood or heavy tools. These alternatives are ideal for lightweight or temporary enclosures. They offer quick installation when full cabinet conversion is not necessary.
Piano Hinge with Rivets
Use a continuous (piano) hinge and attach with rivets instead of screws. This method works well for thin panels where screws might strip the metal.
Steps:
• Cut a thin plywood or hardboard panel to size
• Attach piano hinge along one edge of the panel
• Use a rivet gun to secure hinge to metal upright
Best for: Lightweight panels and flexible installation. Rivets will not strip like screws in thin metal.
2×2 Sliding Track (Per-Shelf Panels)
This experimental method uses 2×2 lumber as top and bottom tracks. Attach 2x2s to the front of your shelf unit, then slide in thin plywood or pegboard panels for each shelf. Panels move horizontally for access to individual levels.
Limitations: Risk of sagging over time. Not tested for long-term heavy use. Best for light, non-critical storage only.
Door Design: Size and Configuration
Choosing the right door layout affects cost, stability, and daily usability. Consider how often you need access to stored items and choose accordingly.
Single Tall Doors vs Multiple Small Doors
| Option | Pros | Cons |
|---|---|---|
| One tall door per side | Fewer hinges, easier install, more stable | Full opening required for access |
| One door per shelf | Selective access to specific items | More hardware, alignment issues |
Recommendation: Use one or two large doors per side for simplicity and structural strength.
Material Comparison
| Material | Weight | Durability | Best Use |
|---|---|---|---|
| ½-inch Plywood | Heavy | High | Full enclosure, heavy-duty storage |
| 3/8-inch Plywood | Medium | Medium | Budget builds, light use |
| IKEA Door | Medium | High | Finished look, pre-finished |
| Pegboard | Light | Low | Breathable storage, tools |
| Whiteboard Panel | Medium | High | Workshop command center |
Structural Safety: Anchor and Secure
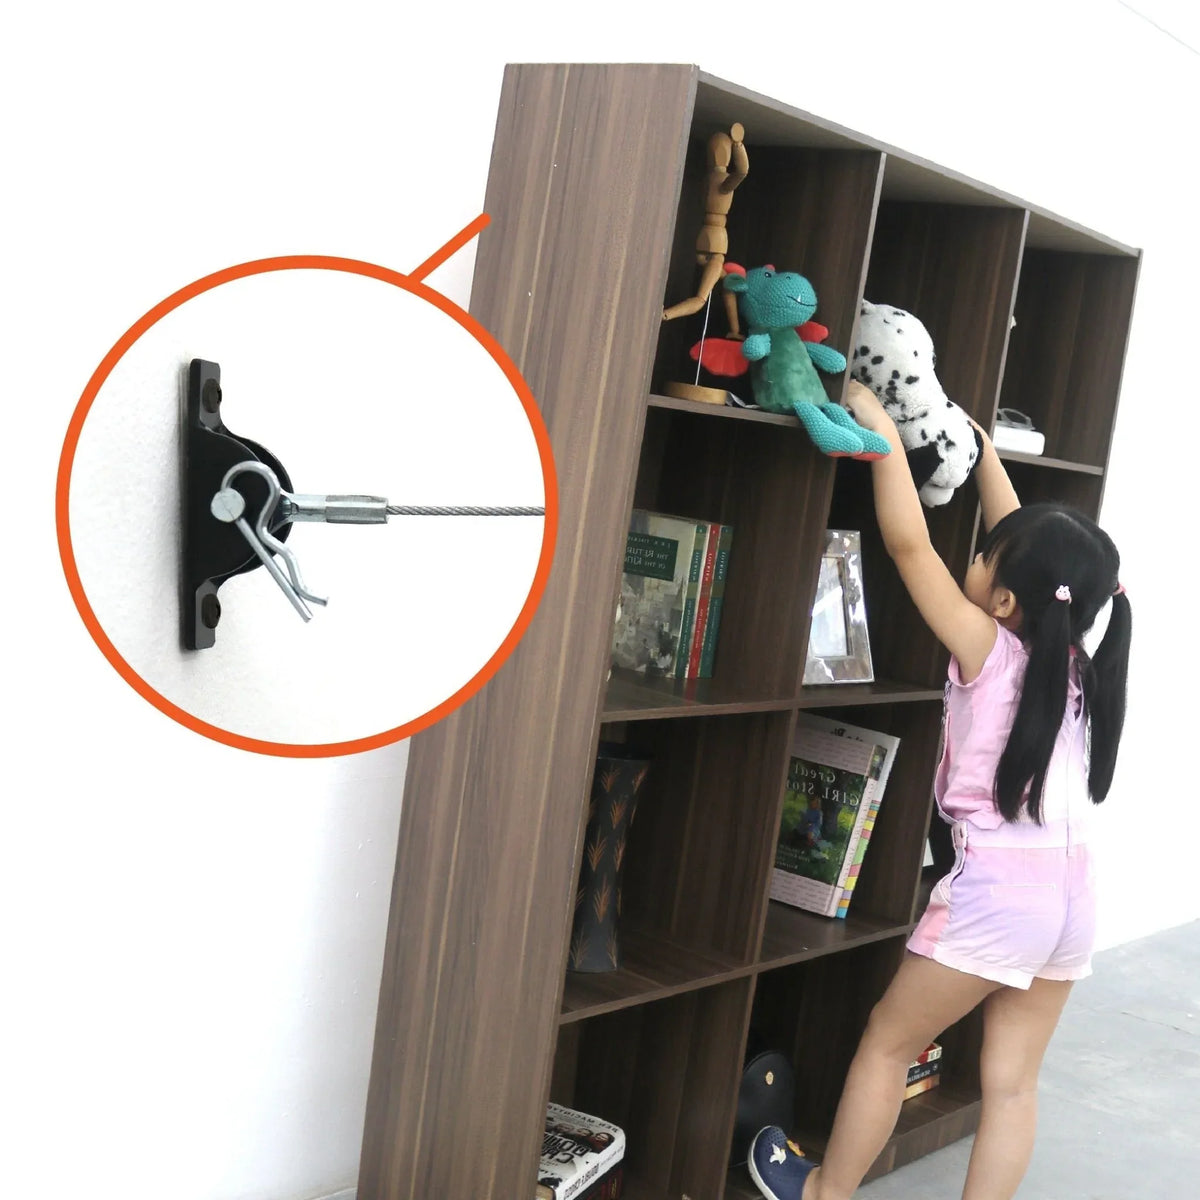
Doors add significant weight, especially plywood. Without proper support, your shelf could tip forward when doors are open. Safety should be your top priority throughout this project.
Anchor Shelves to the Wall
Always use L-brackets or anti-tip kits to secure the unit to wall studs. This prevents forward lean when doors are open, tipping during use or earthquakes, and injury from falling shelves.
User warning: “Opening both doors at once can make the rack unstable.” (rbunch4468)
Mount Hinges to Uprights Only
Shelf brackets and standards are not designed to hold door weight. Only attach hinges to vertical steel uprights. Use carriage bolts or rivets for maximum strength when attaching panels to metal.
Final Tips for Success
Avoid common mistakes with these expert-backed best practices. Taking time to do it right the first time saves repairs later.
Measure with precision:
• Leave 1/8-inch clearance on all sides for swing or slide
• Double-check height, width, and depth before cutting any materials
Test fit first:
• Dry-fit doors to check movement and alignment
• Adjust hinges or trim edges as needed before final mounting
Finish before installing:
• Paint, stain, or cover doors before mounting
• This saves time and prevents damage to existing shelving
Add catches or magnets:
• Use magnetic cabinet latches to keep doors closed
• Prevents accidental swinging in high-traffic areas
Choose moisture-resistant materials:
• For garages or basements, use sealed plywood or PVC panels
• Prevents warping and extends the life of your investment
Frequently Asked Questions About Adding Doors to Metal Shelves
Can I add doors to any metal shelving unit?
Most standard wire shelving and steel rack systems can be modified with doors. However, you must ensure the vertical uprights are sturdy enough to support hinge hardware and door weight. Light-duty wire shelving may require additional reinforcement or may not be suitable for heavy plywood doors.
What is the easiest way to add doors to metal shelves?
The easiest method is using pre-made PVC enclosures from Shelving.com. These clip directly onto standard wire shelving units without tools. They come in sliding or swing door configurations and over 20 size options. The tradeoff is they only fit exact dimensions.
How much does it cost to add doors to metal shelves?
Costs range from $40 for a basic plywood build to $150+ for pre-made enclosures with premium features. Plywood swing doors cost approximately $40 plus hinges. IKEA doors with sides run $66 or more. Pre-made PVC enclosures vary by size but typically fall in the $50 to $150 range.
Do I need to anchor my metal shelf before adding doors?
Yes. Adding doors significantly increases the weight and changes the center of gravity. Always anchor shelves to wall studs using L-brackets or anti-tip kits. This prevents tipping when doors are open and ensures safe daily use.
Can I use standard cabinet hinges for plywood doors on metal shelves?
No. Standard cabinet hinges are not designed to handle the weight of plywood doors. Use heavy-duty strap hinges (6-inch zinc-plated recommended) that distribute weight evenly. Mount three hinges per door to the vertical steel uprights, not to shelf brackets.
How do I prevent doors from sagging over time?
Prevent sagging by using ½-inch plywood (not thinner), installing three hinges per door at proper intervals (2 to 3 inches from top and bottom), mounting hinges directly to vertical steel uprights, and ensuring the shelf unit is anchored to the wall. Avoid opening both doors fully at the same time on unanchored units.
Key Takeaways for Adding Doors to Metal Shelves
Transforming open metal shelving into enclosed cabinets is a achievable weekend project with the right approach. Pre-made PVC enclosures offer the fastest solution for standard-sized units, while DIY plywood or IKEA doors provide customization and heavy-duty performance. Sliding whiteboard panels add functionality for workshops by combining storage with a writable surface.
Regardless of method, success depends on three critical factors. First, always anchor your shelf to wall studs to prevent tipping. Second, mount hinges and hardware to vertical steel uprights, never to shelf brackets. Third, choose materials appropriate for your storage needs and environment. Plywood handles heavy items while PVC works for light household storage.
Measure twice, plan your door configuration, and select hardware rated for door weight. With proper installation, your enclosed shelves will provide years of organized, dust-free storage.





