
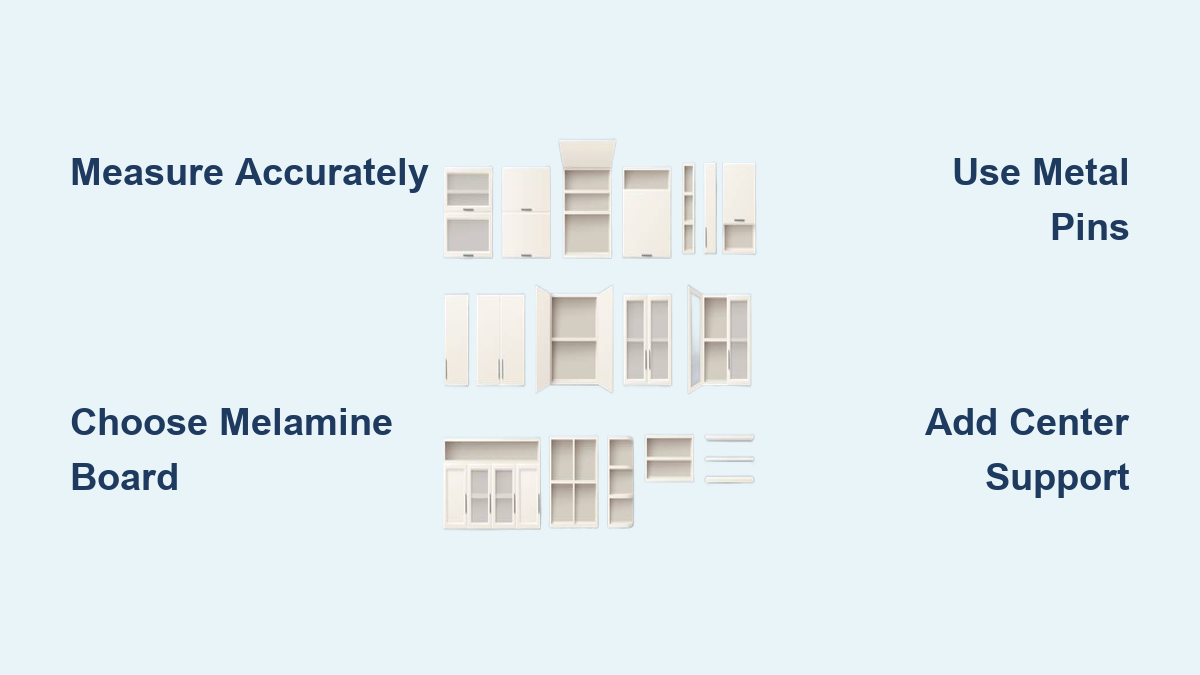
How to Add Extra Shelves to Kitchen Cabinets
Is your kitchen cabinet overflowing, with items stacked haphazardly or tucked behind others you can never reach? You’re not alone. Most cabinets come with just one or two shelves, leaving valuable vertical space unused. The good news: how to add extra shelves to kitchen cabinets is a simple, low-cost DIY project that can double your storage in under an hour. Whether you own modern adjustable units or older fixed-shelf cabinets, there’s a method that fits your needs, no major renovation required.
Adding shelves isn’t just about more space, it’s about smarter organization. You can create dedicated zones for spices, appliances, or backup dishes, making daily routines faster and clutter-free. Best of all, you can do it for as little as $8 per shelf using materials from any hardware store. This guide walks you through every step: measuring your cabinet, choosing the right material, selecting support systems, and installing shelves safely.
Measure Cabinet Interior Accurately
Before buying materials, measure your cabinet precisely. Even slight variations can prevent a shelf from fitting properly and cause problems during installation.
Check Width, Depth, and Obstructions
Measure at three points: top, middle, and bottom for width. Do the same left, center, and right for depth. Cabinets often aren’t perfectly square, so always use the smallest measurement to ensure the shelf slides in smoothly.
For example, if the top width is 28.5 inches but the middle is 28.25 inches, cut your shelf to 28.25 inches. Also check for obstructions like hinges, drawer slides, or plumbing that could block shelf placement.
Avoid Common Measuring Mistakes
Don’t assume all cabinets are the same, even in the same kitchen. Measure each one individually. Use a steel tape measure and a carpenter’s square to keep lines straight. Mark dimensions clearly before cutting.
Pro Tip: Write down each measurement directly on the cabinet with a sticky note to avoid mix-ups when purchasing materials.
Choose the Right Shelf Material
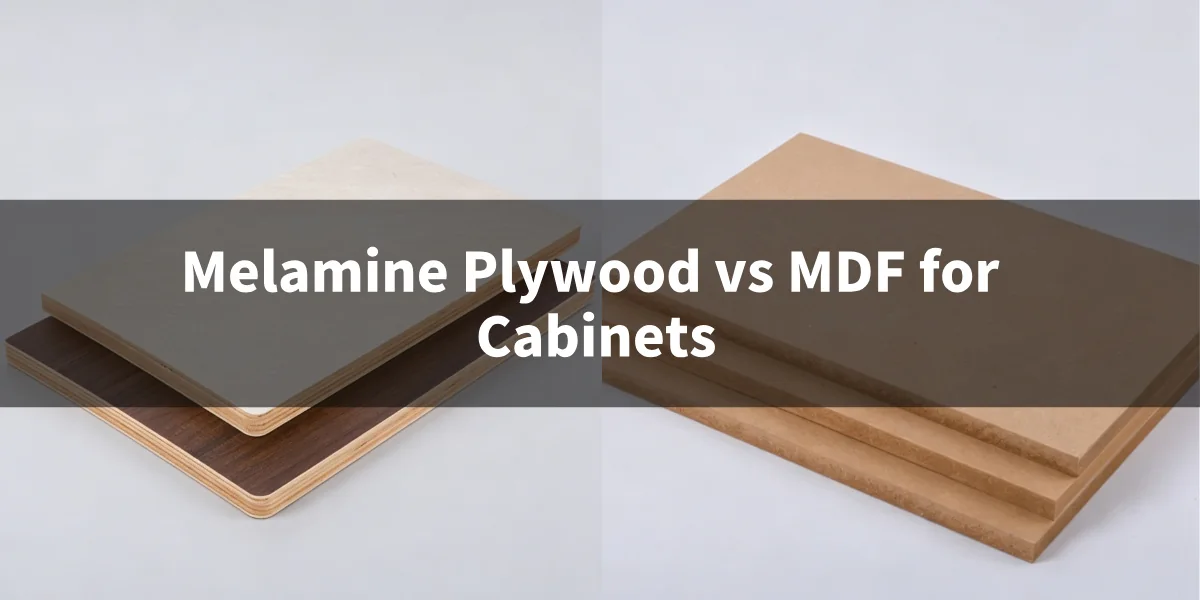
The material affects strength, durability, cost, and appearance. Pick one that matches your storage needs.
MDF: Affordable and Paintable
Nine-millimeter or three-eighths-inch MDF is strong enough for light to medium loads like canned goods or shoes. It’s smooth, easy to cut, and paintable for seamless integration. However, avoid using it in moist areas because it can swell if exposed to water.
Expert Choice: EricL from Bunnings Workshop recommends nine-millimeter MDF for added shelves due to its balance of strength and affordability.
Plywood: Strong for Heavy Items
Use three-quarter-inch plywood for heavy cookware or small appliances. It resists warping and supports longer spans. Seal the edges with iron-on banding or paint to prevent moisture damage and improve appearance.
Melamine Board: No-Finish, Durable Option
This pre-finished particle board has a moisture-resistant coating and bull-nosed rounded edges. It’s ideal for general kitchen use and requires no painting. Available at Lowe’s, Home Depot, and Bunnings.
Avoid Glass, Tile, and Plexiglass
Tempered glass looks sleek but is expensive and hard to cut DIY. Ceramic tiles and plexiglass are brittle or prone to sagging, not recommended for added shelves.
Best Overall: For most users, three-quarter-inch melamine board offers the best mix of durability, moisture resistance, and ease of use.
Use Existing Shelf Pins (Peg-Hole Method)
If your cabinet has vertical holes in the side walls, you already have a ready-made shelf system that makes adding shelves straightforward.
Confirm Hole Spacing Standard
Most modern cabinets use 32mm European standard or one-inch 25.4mm spacing. IKEA models like Brimnes follow this pattern. Measure the distance between two holes to confirm.
Ensure new shelves align with matching holes on both sides. If not, consider drilling new ones or using a different method.
Install Shelves with Metal Pins
Plastic pins can bend under weight. For better support, use metal shelf pins. Insert them into the holes, then place your pre-cut shelf on top.
Visual Cue: Pins should sit flush and support the shelf evenly at both ends.
Match IKEA Shelf Dimensions
For Brimnes or similar models, cut shelves to 370mm wide by 325mm deep. Slight undersizing one to two millimeters ensures smooth insertion.
Good to Know: Bunnings and Home Depot can cut MDF or melamine to this size. Bring exact measurements when you visit.
Install No-Hole, Tool-Free Shelves
Renters or anyone avoiding permanent changes can add shelves without drilling. This method uses friction and simple support pieces.
Build Floating Shelf with Side Supports
Cut one shelf to your measured length and depth, then cut two support pieces that are about eight inches long with the same depth as the shelf. Use the same melamine board for consistency. Orient the shelf with the bull-nosed edge facing outward for safety and a finished look.
Assemble Without Tools
Place the vertical supports against the left and right interior walls. Rest the shelf on top. The friction and snug fit hold it in place.
Time Saver: This method takes under 30 minutes and costs about $8 per shelf.
Stabilize with Command Strips
In older or uneven cabinets, apply adhesive Command strips between the support and wall. This prevents sliding and adds security, especially useful in homes with pets or kids.
Renter-Friendly: Leaves no marks and is fully removable.
Add Fixed Shelves with Brackets or Cleats
For permanent, heavy-duty storage, install shelves using supports that require drilling but provide maximum stability.
Use L-Brackets for Light Support
Attach metal L-brackets to both side walls at the desired height. Place the shelf on top and screw through the bracket into the shelf bottom. Use wall anchors if screwing into particleboard to prevent stripping.
Install Cleats for Maximum Strength
A cleat is a wooden strip, such as one-inch by two-inch, screwed horizontally into the cabinet sides. It provides full-depth support, ideal for heavy pots or appliances.
Cut the cleat to fit, pre-drill holes, and secure with screws. Then place the shelf on top and optionally screw it down from below.
Pro Tip: Paint the cleat to match the cabinet interior for a seamless look.
Optimize Shelf Placement and Use
Where you place shelves matters as much as how you install them. Strategic placement improves access and efficiency.
Store Items by Frequency and Weight
Consider these placement guidelines when organizing your new shelves.
Eye-level works best for daily dishes, glasses, and spices. Waist to chest height suits mixing bowls and blenders. Below waist is ideal for heavy pots and slow cookers. The top shelf should hold light, rarely used items like guest dishes or holiday decor. The bottom works for bulky bins or appliances.
Create a Back-Row Access Shelf
Install a narrow shelf about 5.5 inches deep behind the front row. This lets you store backup items like extra mugs or lids without blocking access.
Design Hack: Think of grocery store displays, front items in view and backups within reach.
Dedicate Zones for Specific Tasks
Create specialized areas for different functions. A spice zone near the stove works well with a shallow shelf. A baking station can store bowls, sheets, and tools together. An appliance garage uses deep lower cabinets with multiple shelves for blenders and mixers.
Ensure Stability and Load Safety
Even well-installed shelves can fail if overloaded or poorly supported. Follow these limits to keep your storage secure.
Do Not Exceed Weight Limits
Different materials have different load capacities. Nine-millimeter MDF supports 20 to 30 pounds at spans up to 24 inches. Three-quarter-inch plywood handles 40 to 60 pounds at spans up to 36 inches. Melamine board holds 25 to 50 pounds at spans up to 30 inches. Wire shelves support 15 to 25 pounds at spans up to 24 inches.
Avoid placing heavy appliances on shelves over 30 inches long unless you add a center support like a vertical divider or middle bracket.
Prevent Sagging and Sliding
Use metal pins instead of plastic. Add center support for long spans. Keep the shelf level using a small spirit level during installation. Apply shelf liner vinyl or adhesive to prevent items from sliding.
Warning: Overloading narrow or unsupported shelves can lead to collapse. Always test with light items first before adding heavy contents.
Maintain and Upgrade Over Time
A well-installed shelf can last years with minimal care if you follow proper maintenance practices.
Clean Without Damaging Material
Wipe with a damp cloth and mild detergent. Never soak MDF or melamine because moisture causes swelling. Avoid abrasive cleaners that scratch melamine or glass shelves.
Inspect Supports Every 6-12 Months
Check shelf pins for bending. Check brackets for loose screws. Check supports for wear. Tighten screws and replace worn hardware promptly.
Label and Organize for Long-Term Use
Use clear bins or label shelves to keep contents visible and organized. This prevents clutter from returning.
Pro Tip: Purge unused items annually to maintain efficiency.
Compare Shelf Options and Costs
Not all storage upgrades are equal. Here’s how adding shelves stacks up against other solutions.
| Solution | Cost | Install Time | Reversibility | Best For |
|---|---|---|---|---|
| Add-on Shelves | $8-$15 | 30-120 min | High | DIYers, renters |
| Pull-Out Drawers | $100-$300 | 2-4 hrs | Low | Permanent upgrades |
| Plastic Bins | $20-$50 | 10-30 min | High | Light organization |
| Cabinet Refacing | $1,000+ | Days | None | Full remodels |
Bottom Line: Adding shelves delivers the highest storage gain for the lowest cost, ideal for quick, effective kitchen improvements.
Frequently Asked Questions About Adding Kitchen Cabinet Shelves
Can I add shelves to any kitchen cabinet?
Most cabinets can accommodate extra shelves. Cabinets with existing peg holes are easiest. Fixed-shelf cabinets require brackets or cleats. No-hole cabinets work with the tool-free floating method.
How much does it cost to add extra shelves?
Materials cost $8 to $15 per shelf. Melamine board and MDF are the most affordable options. In-store cutting services at Home Depot or Lowe’s often charge around $8 per cut.
Do I need special tools to install shelves?
The no-hole method requires no tools. The peg-hole method needs only shelf pins. Fixed-shelf installation requires basic tools like a drill, level, and screws.
Can renters add shelves without permission?
The no-hole, tool-free method is fully reversible and leaves no marks. This makes it ideal for renters who cannot modify their cabinets permanently.
How much weight can cabinet shelves hold?
Weight capacity depends on material and span. Three-quarter-inch plywood supports 40 to 60 pounds. Nine-millimeter MDF holds 20 to 30 pounds. Melamine board supports 25 to 50 pounds.
What is the best material for kitchen cabinet shelves?
Three-quarter-inch melamine board offers the best combination of durability, moisture resistance, and ease of use. It requires no finishing and resists stains.
Key Takeaways for Adding Extra Kitchen Cabinet Shelves
Adding extra shelves transforms how you use your kitchen by doubling accessible storage in under an hour. Measure your cabinet interior at multiple points and always use the smallest dimension when cutting shelves to ensure a proper fit. Choose melamine or nine-millimeter MDF for the best balance of cost, durability, and moisture resistance. Use metal shelf pins for heavy loads and consider adding center support for spans over 30 inches. The no-hole floating method works perfectly for renters or temporary installations, while fixed brackets suit permanent heavy-duty storage. Test stability before loading shelves with heavy items and inspect supports every six to twelve months. For less than $10 per shelf, you can eliminate clutter, improve access, and make the most of every inch in your kitchen.





