
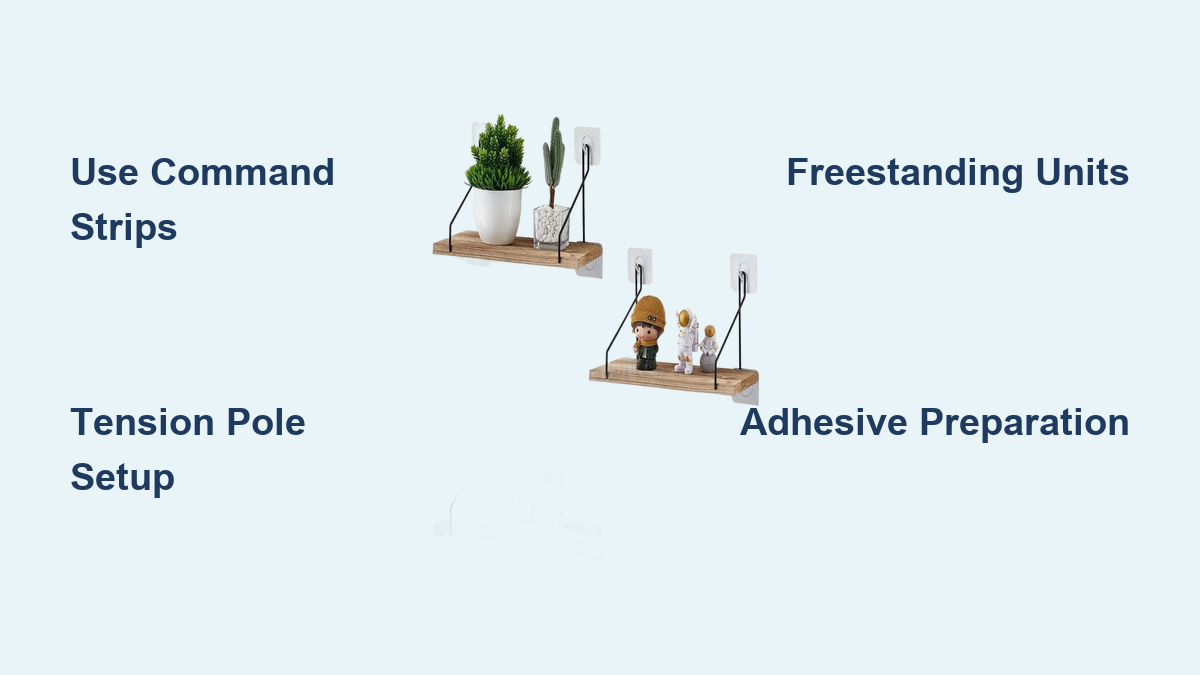
How to Install Wall Shelves Without Drilling
You love your apartment’s clean walls but hate the clutter. You want stylish, functional storage, yet you’re not allowed to drill holes. You’re not alone. Millions of renters and temporary dwellers face the same challenge: how to put shelves on a wall without drilling. The good news? There are smart, secure, damage-free ways to add shelves that look great, hold real weight, and come down cleanly when it’s time to move.
From invisible adhesive strips to tension poles and freestanding designs, modern solutions let you install shelves without screws, anchors, or drywall repair. Whether you need a spot for books, decor, or your mini projector, no-drill shelving keeps your space organized and your landlord happy. In this guide, you’ll learn proven methods, weight limits, best practices, and clever workarounds so you can choose the right system for your wall type, load, and lifestyle.
Install Shelves with Heavy-Duty Adhesive Strips
Adhesive strips are the go-to solution for no-drill shelf mounting, especially 3M Command Strips, which bond strongly yet remove cleanly. They’re ideal for lightweight shelves in rentals, dorms, or minimalist homes where you need temporary storage without permanent modifications.
Choose the Right Strip Strength
Not all strips are equal. Match the strip capacity to your shelf weight for safe mounting.
- Light-duty strips handle up to 3-5 lbs, perfect for photo frames and small plants
- Medium-duty strips support up to 16 lbs, suitable for books under 1 lb and small electronics
- Specialty strips go up to 25 lbs, designed for larger decor and collectibles
For shelves, use multiple heavy-duty strips in parallel to increase support and distribute load evenly across the mounting surface.
Apply Strips Correctly for Maximum Hold
Success depends entirely on surface preparation and proper technique. Follow these steps for the best results.
- Clean wall and shelf back with isopropyl alcohol to remove oils and residue
- Dry completely, ensuring no moisture or dust remains on the surface
- Peel and press the strip onto both the wall and shelf bracket firmly
- Hold in place for 30-60 seconds to activate the adhesive bond
- Wait 1 hour before loading the shelf, or 24 hours for full strength
Position the pull tabs below brackets so they remain accessible later for clean removal without tools or damage.
Remove Adhesive Strips Without Wall Damage
When it’s time to take down the shelf, proper technique prevents paint peeling and drywall damage.
Warm the adhesive with a hairdryer on low heat for about 30 seconds. Pull the tab slowly at a 180-degree angle straight down from the surface. Use dental floss to slice through any stubborn adhesive remaining on the wall. Wipe residue clean with rubbing alcohol. Never yank the strips quickly, as this can tear paint or damage the drywall surface.
Mount Floating Shelves with Construction Adhesive
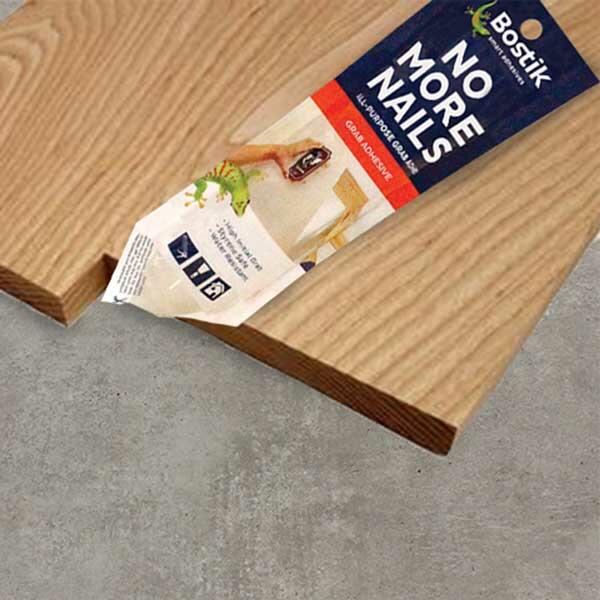
For longer-term installations in non-rental spaces, construction-grade liquid adhesives like Bostik No More Nails offer strong, semi-permanent shelf mounting. This method works best on smooth surfaces like painted drywall, tile, or glass where you need a more secure hold than adhesive strips can provide.
Apply Glue for Secure Floating Shelf Installation
This method creates a permanent bond, so ensure you’re happy with your shelf placement before proceeding.
- Mark the shelf position and check with a level to ensure proper alignment
- Apply a thick bead of adhesive along the back edge and all corners of the shelf
- Press the shelf firmly into place, maintaining even pressure across the entire surface
- Support with tape or braces for 24 hours while the adhesive cures completely
Avoid using liquid adhesives on older plaster walls, as removal may pull loose hazardous materials like asbestos. This method holds 20-30 lbs depending on contact area, but it’s not removable without potential wall damage.
Build Adhesive Bracket Shelves Like a Pro
A popular DIY approach inspired by filmmaker Casey Neistat uses 3D-printed brackets combined with Command strips for a sleek, modern shelf design. This method gives you custom sizing while maintaining full repositionability.
Use PETG Brackets with Wood Base
White PETG plastic works best because transparent PETG doesn’t bond well with adhesives. The design should feature a reinforced center and double-wide base to maximize adhesive surface area. Attach the brackets to a 1×6 pine board using wood screws for a solid foundation.
Mount the assembly by cutting and sanding the wood to your desired size. Clean the bracket backs thoroughly with alcohol. Apply Command strips to the bracket backs and press the entire assembly onto the wall, holding firmly for 60 seconds. This approach supports 20-25 lbs with even load distribution and removes completely without wall damage.
Install Tension Pole Shelves for Maximum Stability

Tension shelves use vertical pressure between floor and ceiling, requiring no wall adhesion at all. This makes them perfect for bathrooms, closets, pantries, and narrow spaces where wall-mounted options might fail.
Choose a Quality Telescoping Pole System
IKEA STOLMEN poles are popular and reliable for this application. Extend the pole until it’s snug between floor and ceiling, then twist to lock it in place. Ensure both floor and ceiling are flat and non-slippery for stable support.
Add shelves at your desired heights by clipping or screwing them onto the pole. Use rubber caps on the ends to prevent slippage on smooth surfaces. Well-installed tension pole systems support 30-50+ lbs depending on the pole quality and shelf design. Avoid this method on vaulted ceilings, thick carpet, or uneven floors where the pole cannot achieve stable tension.
Use Magnetic Shelves on Metal Surfaces
Strong neodymium magnets let you mount shelves instantly on metal walls or appliances without any adhesive or drilling. This works on steel studs, metal panels, or refrigerators, providing a completely damage-free mounting option.
Install on Ferromagnetic Surfaces
For standard drywall, attach a steel backing plate first using adhesive or clips, then mount magnetic shelves to the plate. The shelf must have embedded magnets or a metal frame to work properly. Keep heavy items centered on the shelf and avoid exceeding 25 lbs even with strong magnets.
This method isn’t suitable for standard drywall without adding metal backing first, but it works excellently in kitchens, workshops, and modern interiors with integrated steel elements.
Choose Freestanding Shelf Units for Heavy Loads
Freestanding shelf units sit entirely on the floor with no wall contact, offering the highest stability and load capacity of any no-drill option. These are the safest choice when you need to store heavy items like books, appliances, or large decor collections.
Pick the Right Type for Your Space
- Bookcases work best for books, decor, and storage bins
- Ladder shelves provide a space-saving modern look
- Cube storage offers modular and customizable organization
- Corner racks maximize unused space in awkward areas
Freestanding units easily hold 50-100+ lbs and can be moved or reconfigured whenever needed. They’re the ideal solution for renters who need serious storage without committing to wall-mounted options that might violate lease agreements.
Try Under-Furniture Shelves for Hidden Storage
A clever way to hide a projector or small device is using a C-shaped shelf that slips under and behind a couch. This solution holds 2-5 lbs, perfect for projectors, streaming devices, or small electronics you want hidden from view.
Install in Minutes with No Wall Contact
Slide the shelf into place behind your sofa, keeping it within 1-2 inches of the wall for stability. The couch back provides the support needed to keep the shelf from tipping forward. Secure with friction alone, no adhesives or hardware required. This approach is invisible from the front and creates zero wall impact while giving you easy access to devices.
Prepare Walls for Best Adhesion Results
Even the strongest adhesive fails on a dirty or glossy wall. Surface preparation determines whether your no-drill shelf stays secure or comes crashing down.
Clean and Test Your Wall Surface
Wipe the wall with rubbing alcohol or mild soap to remove all dust and oils. Dry for 10-15 minutes before applying any adhesive. For glossy paint, lightly sand with 220+ grit paper and remove all dust with a dry cloth.
Apply a small test strip or dab of adhesive and wait 1 hour before testing the bond. This tells you whether the surface will hold before you commit to full installation. Avoid textured walls, wallpaper, brick, or unpainted plaster, as these surfaces provide poor adhesion and high failure risk.
Match Your Method to Weight Requirements
Choosing the right system depends on what you’re storing and where. Use this guide to match your load to the appropriate method.
| Load Type | Recommended Method | Maximum Weight |
|---|---|---|
| Under 5 lbs | Command Strips | 5 lbs |
| 5-16 lbs | Bracket plus Command | 16 lbs |
| Over 16 lbs | Tension or freestanding | 50+ lbs |
| Projector around 1 lb | Under-couch shelf | 3-5 lbs |
| Books and appliances | Freestanding unit | 100+ lbs |
Only load shelves to 50-70% of their rated capacity for safety and longevity. Heavier items should always go on freestanding units rather than adhesive-mounted shelves.
Follow Critical Installation Best Practices
Level Every Shelf
Use a bubble level or smartphone app to ensure your shelf is perfectly horizontal. Mark positions with pencil before applying adhesive to avoid mistakes.
Distribute Weight Evenly
Place heavy items close to the wall or support points. Use non-slip shelf liners to prevent items from sliding around, especially on smooth surfaces.
Allow Full Cure Time
Wait 24 hours for liquid adhesives before loading. Wait 1 hour for Command Strips before placing any items on the shelf.
Reinforce Long Shelves
Add center support with extra strips or brackets for shelves over 24 inches. Use hidden gussets underneath to reduce stress on adhesive points.
When to Skip No-Drill Methods Entirely
Some situations demand drilling or floor-standing solutions instead of adhesive mounting.
Avoid no-drill methods for heavy loads like books and appliances, high vibration areas near doors or washers, humid environments unless using moisture-rated products, textured or fragile walls, and mounting valuable or dangerous items like glassware or children’s climbing supports. Floor-standing units remain the safest alternative in these scenarios.
Frequently Asked Questions About Putting Shelves on a Wall Without Drilling
Can Command Strips hold shelves with books?
Command Strips can hold lightweight shelves, but standard strips are rated only for 3-16 lbs depending on the product. For books, use heavy-duty strips and limit loading to under 10 lbs total. For heavier book collections, use a freestanding bookshelf instead of wall-mounted adhesive shelves.
Do adhesive shelves damage walls when removed?
Properly removed adhesive strips should not damage walls. Use a hairdryer to warm the adhesive, then pull slowly at a 180-degree angle. Liquid adhesives like Bostik No More Nails may damage walls upon removal, so only use them where you plan to leave the shelf permanently.
What is the strongest no-drill shelf mounting method?
Tension pole shelving systems offer the highest weight capacity without drilling, supporting 30-50+ lbs. Freestanding units can hold 100+ lbs. Adhesive methods are best for lightweight items under 25 lbs.
Can I use these methods in a bathroom?
Standard Command strips and adhesives fail in high-humidity environments. Use moisture-rated products specifically designed for bathrooms, or choose tension pole systems which work well in bathrooms and don’t rely on adhesive bonds.
How do I know if my wall is suitable for adhesive mounting?
Smooth painted drywall works best. Avoid textured walls, wallpaper, brick, concrete, and unpainted plaster. Clean the surface with isopropyl alcohol and test with a small strip first before committing to full installation.
Key Takeaways for Installing Shelves Without Drilling
No-drill shelving offers practical solutions for renters and anyone wanting flexible storage. Adhesive strips like 3M Command work well for lightweight items up to 16 lbs when properly installed on smooth walls. Tension pole systems provide stronger support for heavier loads without any wall contact. Freestanding units remain the safest choice for heavy books, appliances, or long-term storage needs.
Always clean surfaces thoroughly before applying adhesives, allow full cure time before loading shelves, and stay within 50-70% of rated weight capacity for safety. Pick your method based on your wall type, weight requirements, and whether you might need to remove the shelf later. With the right approach, you can enjoy beautiful functional shelves without a single hole in your wall.





