
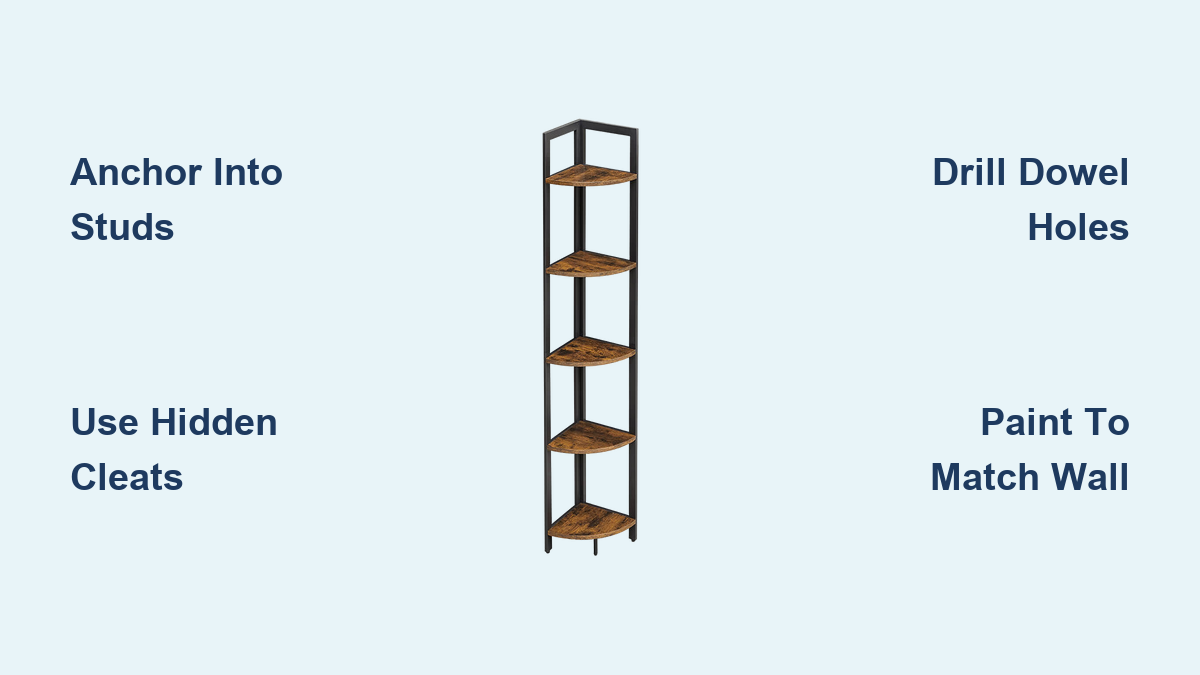
How to Install Corner Shelves Without Brackets
You have probably seen them in modern kitchens and sleek bathrooms floating corner shelves that appear to defy gravity with no visible brackets or supports. The secret lies in clever engineering, not magic. Learning how to put up corner shelves without brackets opens up a world of minimalist design possibilities for your home. This guide covers proven DIY-friendly methods using concealed cleats, dowel pins, embedded steel, and other smart techniques that deliver professional results without hiring a contractor.
Whether you are organizing glassware in a kitchen corner or building vertical storage in a bathroom, you will learn how to anchor shelves securely into studs, hide supports within the design, and finish them to blend perfectly with your walls.
Hidden Cleat System for Floating Corner Shelves
:max_bytes(150000):strip_icc()/tech6-df9a56d3ca104b98bf6364fc21ce7996.jpg)
A cleat is one of the most reliable ways to mount a corner shelf without visible brackets. It works by attaching a wooden or metal strip to the wall, then sliding the shelf over it for a snug, invisible hold.
Install Wall-Mounted Cleats
Cut a straight piece of pine, hardwood, or MDF to match the thickness of your shelf, typically ¾” to 1¼”. For an L-shaped corner shelf, install two cleats perpendicular to each other, aligned at a perfect 90° angle. Use a laser level or spirit level to mark a level line on both walls where the shelf will sit. Pre-drill 6mm pilot holes through the cleat and secure it to wall studs using screws and wall plugs for added grip. Always hit studs for heavy loads rather than relying solely on drywall.
Slide Shelf Onto Cleat
Once the cleat is secure, slide your pre-finished shelf over it. For extra stability, drive a screw down through the top edge of the shelf into the cleat. This keeps the shelf from lifting but allows removal later if needed. Sand any exposed cleat ends flush with the shelf edge and fill with wood filler for a seamless look.
Dowel Pin Method: Invisible Rod Supports
For a truly hidden support system, dowel pins act like invisible tenons inserted into the wall and supporting the shelf from behind.
Drill Holes in Wall Studs
Use a stud finder to locate framing behind drywall. At your desired shelf height, drill horizontal ½” holes into the studs about 2″ deep. Wrap tape around your ½” brad point or Forstner bit to mark depth and prevent over-drilling. Position three holes per shelf: one in the center and one 2″ from each end.
Insert Glued Dowels
Cut 4″ hardwood dowels, oak or maple recommended, and apply wood glue before hammering them into the wall holes. Let the glue cure fully before mounting the shelf. These dowels become permanent wall anchors.
Mount Shelf on Dowels
Drill matching ½” holes in the back edge of your shelf. Slide the shelf onto the dowels like a puzzle piece. Ensure it is level before finalizing. For safety, consider drilling a small pilot hole through one dowel into the shelf or wall to prevent accidental lifting.
Steel Angle Frame: Heavy-Duty Hidden Support
When you need maximum strength for heavy glassware or ceramic collections, embed a steel L-angle into the wall structure.
Mount Steel L-Bracket to Studs
During a renovation or when walls are open, attach ¾” × ¾” × 1/8″ steel angle iron directly to wall studs using structural screws. The horizontal flange should project into the room, ready to support the shelf frame. Steel angles can support 75 to 100+ lbs depending on length and stud engagement, making them ideal for kitchen corner shelves above countertops.
Box In With Plywood and Wood
Build the shelf carcass around the steel frame using ½” Baltic birch plywood and solid wood edging. The steel disappears inside the structure, leaving no visible hardware. Assemble and finish the unit off-site, then mount it as one piece.
French Cleat for L-Shaped Corners
For thicker shelves over ¾”, a French cleat offers superior strength and easy installation.
Cut 45° Bevels
Use ¾” plywood or solid wood to cut two cleats at a 45° angle. One attaches to the wall, the other to the back of the shelf. When joined, they lock together like a dovetail.
Mount Perpendicular Cleats
In a corner, install two wall cleats at 90° to each other. Attach the mating cleats to the underside of an L-shaped shelf. Slide the shelf down onto the wall cleats. The steeper the angle, the more resistant it is to pulling out. Greater surface contact means higher load capacity up to 100 lbs if anchored to multiple studs.
Torsion Box Design for Self-Supporting Shelves

A torsion box is a lightweight yet rigid panel made of a grid core and thin skins, perfect for long spans without sagging.
Build L-Shaped Box Frame
Construct a hollow frame from ½” plywood with internal ribs every 6 to 8″. Cover the top and front with veneer or solid wood. The box resists twisting and distributes weight evenly.
Fasten Through Back Panel
Mount the entire unit by driving long screws through the vertical back edge into wall studs. No front supports are needed. The rigidity comes from the box structure itself, making this ideal for thick, modern shelves where minimalism meets function.
Tools and Materials Checklist
Must-Have Tools
• Stud finder
• Drill with ½” and 6mm bits
• Spirit or laser level
• Table saw or circular saw
• Sander with 100 to 400 grit
• Speed square
• Caulking gun
Key Materials
• Pine or hardwood cleats, ¾” thick
• ½” hardwood dowels, 4″ long
• Steel L-angle, ¾” × ¾” × 1/8″
• MDF, plywood, or oak boards
• Wall plugs and 2″ screws
• Wood glue, filler, and caulk
• Spray polyurethane or varnish
Load Capacity by Support Type
Different mounting methods offer varying weight capacities. Cleats anchored into studs support 50 to 75 lbs, best for general display and books. Dowel pins glued into studs handle 30 to 50 lbs, suitable for lightweight decor. Steel angle supports carry 75 to 100+ lbs, ideal for glassware and kitchen items. French cleats range from 50 to 100 lbs depending on thickness and stud engagement. Wall anchors only should be limited to 25 to 50 lbs for light shelves.
Always anchor into studs for heavy or frequently used shelves. Avoid drywall-only anchors unless using heavy-duty toggle bolts.
Design and Dimension Planning
Choose the Right Size
Standard corner shelf depth ranges from 7″ to 8″, enough to display items without crowding the space. Thickness should be ¾” minimum, with 1.5″ being better for heavy loads. L-shaped lengths typically measure 15″ × 30″ but are customizable. For vertical spacing, 15″ works well for bathroom storage.
Level Both Axes
In corners, leveling matters on two planes. Use a laser level to ensure both cleats or dowel rows are perfectly horizontal and aligned at the corner. Misalignment will cause gaps or wobbling that ruin the floating effect.
Finishing for Invisible Integration
Paint to Match Walls
Use the exact same paint as your wall, including same brand, sheen, and color. A silk or eggshell finish blends best. Many hardware stores offer precise color matching services.
Hide Gaps With Caulk
Apply white decorator’s caulk along the top edge where the shelf meets the wall. Smooth with a wet finger for a seamless joint. Sand and repaint if needed.
Add Trim for Thickness
Attach a 1×3 front edge to a ¾” shelf to simulate a thicker, more substantial look. This also provides a lip to prevent items from sliding off.
Common Mistakes to Avoid
• Skipping the stud finder: Drywall alone cannot support weight.
• Uneven drilling: Misaligned dowel holes prevent the shelf from seating properly.
• Rushing finish work: Sanding and staining before installation saves time and avoids wall damage.
• Ignoring wall imperfections: Plaster bulges or gaps ruin the floating illusion. Use filler or caulk to address these issues.
Special Use Cases
Kitchen Corner Above Countertop
No end walls? Use L-shaped cleats or dowels on both walls. Ideal for storing oils, spices, or wine glasses. Anchor into studs because this area sees frequent use.
Full-Height Bathroom Storage
Install multiple shelves from floor to ceiling. Space them 15″ apart. Use glued dowels on 1×12 oak boards for strength and style that lasts.
Display Shelves That Disappear
Make shelves vanish by painting them the same color as the wall. Use MDF for a smooth, paint-ready surface. This draws focus to plants or art rather than the shelf itself.
Frequently Asked Questions About Installing Corner Shelves Without Brackets
What is the strongest method for hanging corner shelves without brackets?
Steel angle support embedded in the wall provides the highest load capacity, supporting 75 to 100+ lbs. This method requires wall access during renovation but creates completely invisible support ideal for heavy kitchen items.
Can I install floating corner shelves myself as a beginner?
Yes, the dowel pin method and hidden cleat system are both beginner-friendly. Both use basic tools and cost under $10 for materials. The key is locating wall studs accurately and ensuring level installation.
How do I make my floating shelf look seamless against the wall?
Paint the shelf the exact same color as your wall using the same brand and sheen. Apply white decorator’s caulk along the top edge and smooth with a wet finger. This creates a clean line with no visible gaps.
Do floating corner shelves hold as much weight as bracketed shelves?
When properly anchored into wall studs, floating shelves support comparable weight to bracketed versions. A cleat system into studs handles 50 to 75 lbs, while steel angles support 75 to 100+ lbs. The key is proper stud engagement rather than the mounting style.
Can floating corner shelves be removed after installation?
Yes, if you secure the shelf with screws through the top edge into the cleat or dowel. Simply remove the screws and lift the shelf off. This makes repositioning or repainting easier without damaging the wall.
Key Takeaways for Installing Corner Shelves Without Brackets
Installing corner shelves without brackets is entirely achievable with the right method and tools. Whether you choose cleats, dowels, steel frames, or torsion boxes, the fundamental principle remains the same: anchor securely into wall studs and finish with precision for a seamless look.
The hidden cleat system works best for beginners due to its simplicity and strength. The dowel pin method offers the most budget-friendly option at under $10 for multiple shelves. For heavy-duty applications like kitchen storage, steel angle frames provide industrial-strength support that disappears completely into the wall structure.
Take time to finish your shelves before mounting them. This protects against damage and ensures a clean, professional appearance. Match your wall paint exactly and use caulk to fill any gaps. With these techniques, you can create sleek, floating shelves that blend into your walls, delivering both function and beauty without visible hardware.





