
How High to Hang Floating Shelves Above Countertop
You’ve picked out the perfect floating shelves, your tools are ready, and you’re about to drill, but one question stops you: how high to hang floating shelves above countertop? Getting this measurement wrong means either knocking your coffee mug every time you reach for it or storing your favorite dishes on a shelf you can’t even see. The good news is there’s a reliable standard to start with, plus clear adjustments for your specific kitchen. This guide gives you the exact measurements, real-world examples, and safety rules you need to hang shelves that look great and work perfectly.
The Standard Height: 18 Inches From Countertop
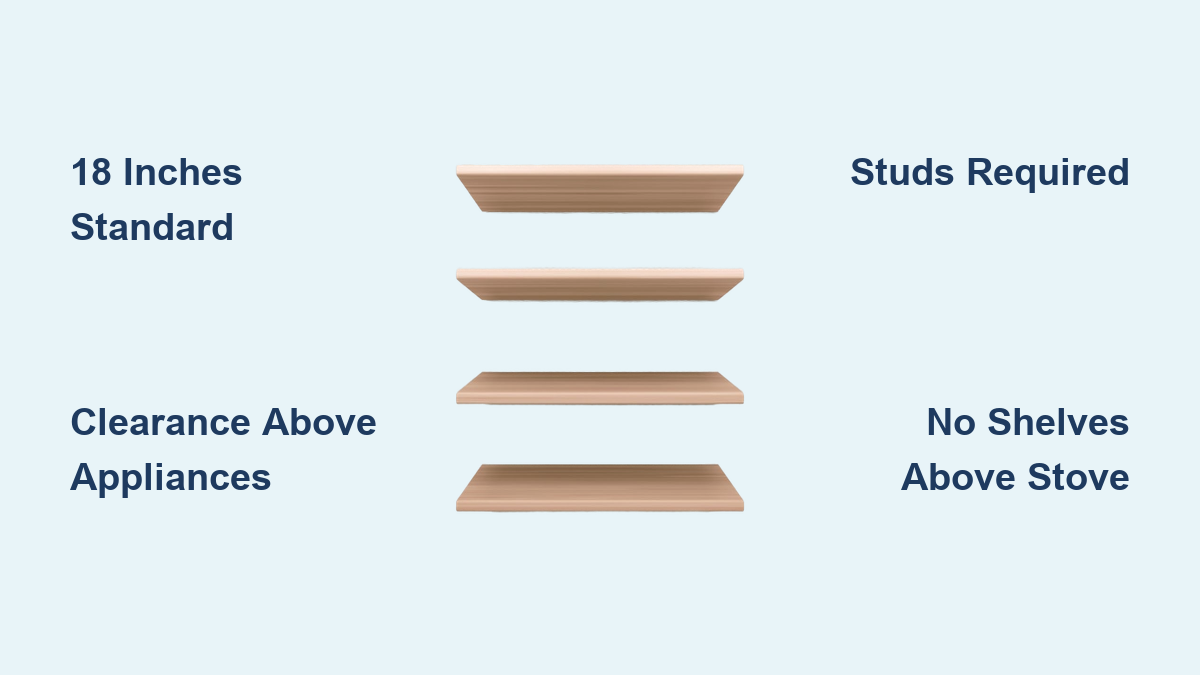
The go-to measurement for hanging floating shelves above a kitchen countertop is 18 inches from the countertop surface to the bottom of the shelf. This places the shelf at 54 inches from the floor, which aligns with standard upper cabinet heights and works for most adults.
Why 18 Inches Works Best
A typical kitchen countertop sits at 36 inches from the floor. Adding 18 inches brings your shelf bottom to 54 inches, a height that most people aged 5’3″ and taller can reach comfortably without stretching. With a standard shelf thickness of 1.5 to 2 inches, the top surface sits around 55.5 to 56 inches, well within daily reach. This height also creates a clean visual break between your countertop and ceiling, especially in kitchens with 8-foot ceilings.
Adjust Based on Who Uses Your Kitchen
For shorter household members or anyone with mobility challenges, lower the shelf to 15 to 16 inches above the countertop. This small adjustment dramatically improves accessibility for daily items like dishes and cooking tools. Taller users, particularly those 5’10” and above, often prefer 20 to 22 inches, especially when storing large appliances or decorative items underneath.
The 72-Inch Rule for Daily Use
Regardless of your ceiling height, keep the top of your highest daily-use shelf at or below 72 inches from the floor. According to CDC anthropometric data, only about 10% of adults can comfortably reach above this height without a step stool. Anything higher should be reserved for decorative objects or items you access only occasionally.
Real-World Heights: What Actually Works in Kitchens
While 18 inches is the standard recommendation, real kitchen installations show a much wider functional range. These examples demonstrate that flexibility exists, as long as function comes first.
Installed Heights From Actual Kitchens
| Installer | Counter to Shelf Bottom | Space Between Shelves | Use Case |
|---|---|---|---|
| Aniko (Place of My Taste) | 23.5 inches | 15 inches | Tall vases, decorative display |
| Megan (Every Davis Moments) | 21 inches | 17 inches | Coffee bar with exposed brackets |
| Kasey Durbin | 13.5 inches | 12 inches | Low profile beside window |
| Bridget (@becrowbe) | 16 inches | 11 inches | Clears espresso machine |
| @kassandradekoning | 18 inches | 12 inches | Balanced everyday use |
| Anonymous (8-foot ceiling) | 18 inches | 12.5 inches | Standard installation |
These examples confirm that 13.5 to 23.5 inches is a fully functional range. Lower heights work best in compact kitchens or when appliances sit below. Higher placements suit decorative setups or kitchens with tall ceilings where you want more negative space.
Spacing Between Multiple Shelves
The distance between your shelves determines what you can store on them and how visually balanced your installation looks.
The 12 to 14 Inch Standard
The recommended vertical spacing is 12 to 14 inches from the top surface of the lower shelf to the bottom of the shelf above. This range accommodates most kitchen items while maintaining visual rhythm.
What Fits at Each Spacing
12 inches spacing fits:
- Dinner plates (10.5 inches)
- Coffee mugs (4 to 5 inches)
- Spice jars (4 to 5 inches)
- Small plants (4 to 6 inches)
- Water glasses (6 to 7 inches)
14 inches spacing adds room for:
- Tall water bottles (10 to 12 inches)
- Wine glasses (8 to 9 inches)
- Oil and vinegar bottles (10 to 12 inches)
- Small cutting boards (12 to 14 inches)
16 inches spacing only works in kitchens with 9-foot ceilings or higher. In standard 8-foot ceilings, spacing wider than 16 inches creates awkward gaps and makes shelves look disconnected.
How Many Shelves Fit in Your Kitchen
The number of shelves you can install depends on your ceiling height and how high you’re willing to reach.
Two Shelves Is the Sweet Spot
For most kitchens, two floating shelves provide enough storage and display space without overwhelming your wall. With 12 to 14 inch spacing, two shelves use about 26 to 30 inches of vertical space, leaving plenty of room above and below.
Three Shelves: Proceed With Caution
You can fit three shelves under an 8-foot ceiling, but only if you use 12-inch spacing and your top shelf stays below 72 inches from the floor. With three shelves, the top shelf may sit at 66 inches or higher, which becomes difficult to access for shorter users. Too many shelves also creates visual clutter and reduces the usability of lower shelves.
Tall Ceilings: More Options Available
In kitchens with 9-foot or higher ceilings, you can install three or four shelves with balanced spacing while keeping everything within reach. This setup works well for layered styling, mixing dishes, plants, and decorative art.
Appliance Clearance: Measure Before You Mount
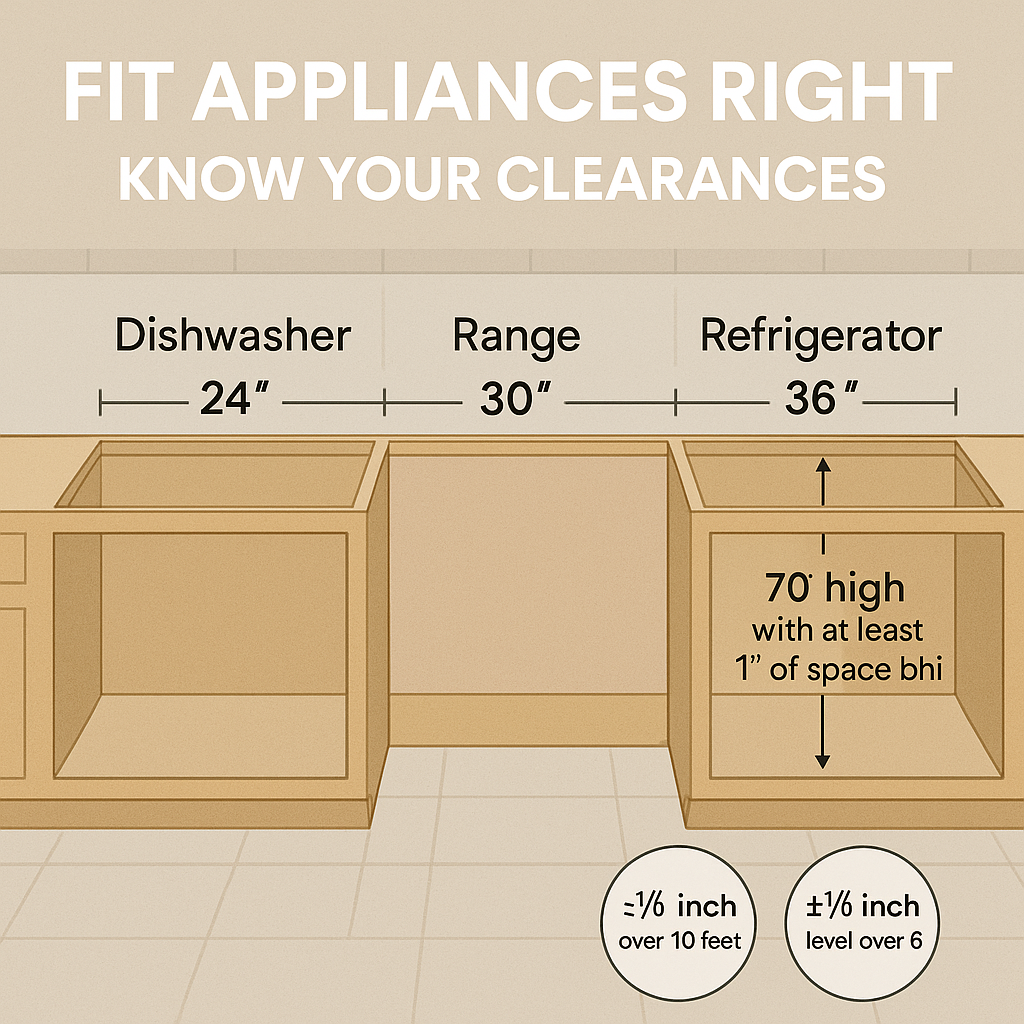
Your tallest countertop appliance determines the minimum shelf height. Never assume 18 inches is safe. Always measure first.
Minimum Clearance by Appliance
| Appliance | Height | Minimum Shelf Clearance | Notes |
|---|---|---|---|
| Coffee maker | 12 to 14 inches | 15 to 17 inches | Add 2 to 3 inches for carafe removal |
| Keurig | 12 to 13 inches | 15 to 17 inches | Space needed for pod access and steam |
| Stand mixer | 14 inches | 17 to 18 inches | 3 to 4 inches for bowl and pouring |
| Toaster oven | 10 to 12 inches | 14 to 18 inches | 4 to 6 inches for heat dissipation |
| Blender (Vitamix) | 17 to 18 inches | 20 to 21 inches | 3 inches for lid removal |
| Knife block | 13 to 16 inches | 15 to 18 inches | 2 inches for smooth access |
Key rule: Always measure your appliance in its tallest operating state, with lids open and bowls attached. Then add 2 to 3 inches for hand clearance. For example, a 14-inch stand mixer needs at least 17 inches of clearance, so your shelf must sit 17 or more inches above the countertop.
Never Install Shelves Above Your Stove
This isn’t a design preference. It’s a safety requirement with real code implications.
The 24 to 30 Inch Rule
Building codes (NFPA) require 24 to 30 inches of clearance between any gas or electric cooktop and combustible materials. This space exists for range hoods, not shelves. Installing shelves above your stove creates a fire hazard and exposes wood finishes to heat and grease damage.
Safe Placement Near the Stove
Same wall, beside the stove: Keep at least 12 inches from the nearest burner edge. This reduces heat exposure from 150 to 200 degrees Fahrenheit down to 100 to 120 degrees.
Adjacent wall (perpendicular): Shelves can be as close as 6 inches from the corner if mounted 18 or more inches above the counter. The angle deflects heat and cuts grease buildup by 60 to 70%.
Opposite wall: No restrictions apply. Standard height and spacing rules work fine, and grease accumulation is minimal beyond 6 feet from the stove.
Step-by-Step: How to Measure and Mark Your Shelf Height
Follow this process to get accurate, level, functional shelf placement every time.
1. Clear and Position Appliances
Remove everything from your countertop. Place back the tallest appliance that will go under the shelf. This is your clearance reference point.
2. Measure Appliance Height Plus Clearance
Measure from the countertop to the top of the appliance in use. Add 3 inches for hand clearance. Mark this height with painter’s tape.
3. Draw a Level Reference Line
Use a 48-inch level to draw a horizontal line at your marked height. This line represents the bottom edge of your first shelf.
4. Account for Shelf Thickness
Add 1.5 to 2 inches (typical shelf thickness) to mark the top edge of the first shelf. From there, measure up 12 to 14 inches to mark the bottom edge of your next shelf.
5. Check Your Top Shelf Height
Verify that your top shelf doesn’t exceed 72 inches from the floor. If it does, reduce spacing or remove a shelf.
6. Locate Wall Studs
Use a stud finder to locate at least two studs within each marked area. Each shelf must anchor into two studs for safety.
7. Mark Stud Centers
Transfer stud center points to your shelf bottom lines. These marks guide your bracket or cleat installation.
Structural Safety: Studs Are Non-Negotiable

Floating shelves in kitchens carry real weight. Drywall anchors alone will fail under daily use.
Why Studs Matter
Typical kitchen shelves hold 15 to 30 pounds when fully loaded. Dynamic loads from reaching and placing items increase stress on your mounting points. Drywall anchors can pull out under repeated use, causing shelves to fall.
Always mount into at least two wall studs per shelf.
When Studs Don’t Align
Use a French cleat system to span multiple stud bays. This interlocking wooden or metal system distributes weight across the entire wall section rather than individual points. It’s stronger and more stable than hidden brackets.
Choose the Right Materials
Use solid hardwood like oak or walnut, or marine-grade plywood. Avoid particleboard or MDF in high-use kitchens. Your hardware should be heavy-duty steel brackets or cleats rated for kitchen loads. Standard depth of 10 to 12 inches works best; deeper shelves (14 to 16 inches) feel bulky in most kitchens.
Key Takeaways for Hanging Floating Shelves Above Countertops
Getting your floating shelf height right comes down to starting with the 18-inch standard and adjusting based on your specific situation. Measure your tallest appliance first, add 3 inches for hand clearance, and use that as your minimum height. Space multiple shelves 12 to 14 inches apart, keep your top shelf at or below 72 inches from the floor for daily access, and always anchor into wall studs. Never install shelves above your stove due to fire code requirements. With the right measurements and proper anchoring, your floating shelves will be both beautiful and functional for years to come.
Frequently Asked Questions About Floating Shelf Height
What is the standard height for floating shelves above a kitchen counter?
The standard height is 18 inches from the countertop to the bottom of the shelf. This aligns with traditional upper cabinet heights and works for most adults. Adjust lower to 15 to 16 inches for easier access or higher to 20 to 22 inches for appliance clearance.
How far apart should floating shelves be spaced?
Space shelves 12 to 14 inches from the top of one shelf to the bottom of the shelf above. Use 12 inches for plates, mugs, and spices. Use 14 inches for taller items like wine glasses and bottles. Avoid spacing over 16 inches in standard 8-foot ceiling kitchens.
Can I install floating shelves above my stove?
No. Building codes require 24 to 30 inches of clearance above cooktops. This zone is reserved for range hoods. You can install shelves 12 inches to the side on the same wall or 6 inches from the corner on a perpendicular wall.
How many floating shelves should I install in a kitchen?
Two shelves is the most practical choice for most kitchens. Three shelves fit under 8-foot ceilings with tight spacing, but the top shelf becomes hard to reach. One shelf works well for small spaces or dedicated display areas.
Do I need to hit wall studs when installing kitchen floating shelves?
Yes. Studs are required to support typical kitchen loads of 15 to 30 pounds per shelf. Use at least two studs per shelf. If studs don’t align with your desired shelf position, use a French cleat system to distribute weight across multiple studs.





