
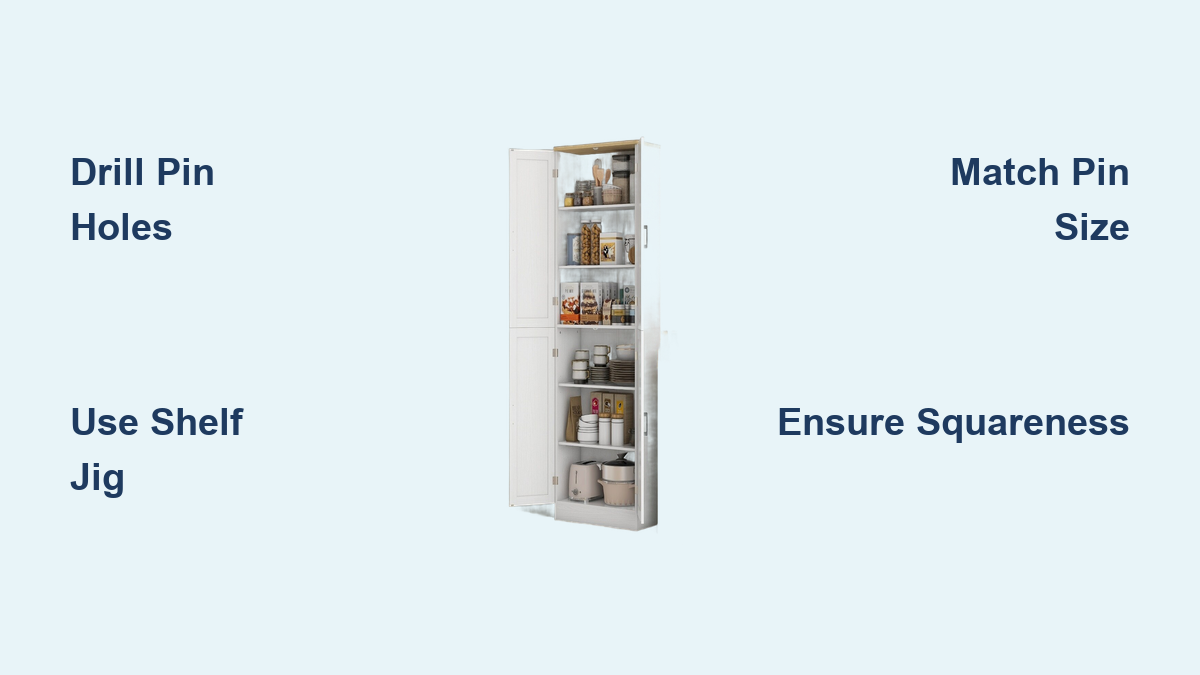
How to Build a Cabinet with Adjustable Shelves
You’ve decided to build a cabinet with adjustable shelves—smart move. Unlike fixed shelving, adjustable systems let you reconfigure storage anytime, whether you’re housing tall blenders, short spice jars, or shifting from books to display decor. Done right, your cabinet will look custom-built, function flawlessly, and adapt as your needs change.
The key to success? Precision. Every hole must align perfectly between the two side panels, depths must be consistent, and shelf support must be stable. One misaligned pin, and your shelf wobbles or fails under load. This guide walks you step by step through every phase: design, construction, drilling, finishing, and setup. You’ll learn how to use a shelf pin jig like a pro, avoid common pitfalls, and build a cabinet that performs like high-end cabinetry.
Design Your Cabinet Layout for Adjustable Shelves
Before cutting wood, plan every dimension and feature. A well-thought-out layout prevents costly mistakes and ensures your cabinet fits perfectly in its space.
Measure Installation Space Accurately
Use the two-stick method to capture exact height in tight areas. Place one stick on the floor, another against the ceiling, bring them together, and measure the total length. This gives you your maximum cabinet height. Mark a plumb line on the wall to confirm vertical alignment.
For irregular spaces like sloped ceilings or offset walls, create a template from cardboard or plywood to match contours. Transfer width measurements by placing masking tape on the wall and marking cut lines directly.
Label all parts early: left side, right side, top, bottom. This prevents confusion during assembly.
Choose Face-Frame vs Frameless Design
Your choice affects drilling access and aesthetics. Face-frame cabinets have a wooden frame around the front, providing a classic look that hides edge grain. Frameless cabinets offer a modern appearance with easier access for drilling pin holes.
Both designs support adjustable shelves, but drill holes before attaching face frames to maintain jig alignment. This gives you full access to the cabinet interior during the critical drilling phase.
Set Shelf Spacing Strategy
Common vertical spacing options include 32mm (1.26 inches), which is standard in European cabinetry and ideal for modular systems. You can also use 1 inch or 2 inch spacing for flexibility with varied item heights.
Avoid placing holes within 1 to 2 inches of the cabinet floor. This hides pins when shelves are positioned low. For tall items like vacuums or file boxes, leave wider gaps at the bottom. Ensure minimum 2-inch clearance between shelves to prevent interference.
Construct the Cabinet Carcass
Build a rigid, square box first. The carcass forms the foundation, and any flaw here amplifies during drilling and shelf placement.
Select Materials and Thickness
Use ¾-inch hardwood plywood (birch, maple, or oak) for sides, top, bottom, and shelves. This thickness prevents splitting and provides solid pin support. Use ½-inch plywood or MDF for back panels (recessed) or ¼-inch (surface-mounted).
Apply D-profile hardwood lipping to shelf fronts for durability and a solid-wood look. Glue and pin the lipping, then fill holes with squeezy filler before finishing.
Assemble with Strong Joinery
For basic screw and glue assembly, pre-drill joints and apply wood glue. Attach the bottom panel to side panels using 1¼-inch to 2-inch wood screws driven through the sides into the ends of the bottom. Secure the back panel either recessed into a rabbet cut or surface-mounted with brad nails. Attach the top panel using glue and 1½-inch to 2-inch brad nails or screws.
For pocket hole joinery, drill pocket holes on the underside of top and bottom panels. Clamp to side panels and drive 1¼-inch pocket screws. This creates strong, invisible joints ideal for face-frame or frameless builds.
Ensure Squareness and Alignment
Use corner clamps during assembly. Check for square with a framing square or by measuring diagonals—both should match exactly. Shim if needed before final fastening. Keep front edges flush.
Critical: Interior shelf width should be ¼-inch less than internal cabinet width. For example, use a 13.75-inch shelf for a 14-inch interior. This allows easy insertion and removal.
Drill Precision Shelf Pin Holes
This is the most crucial step. Misaligned or uneven holes cause wobbly shelves, even with perfect construction.
Use a Standard Shelf Pin Jig
Ensure level, evenly spaced holes using an indexing pin system. Set drill depth with a stop collar or tape. Half-inch (12 to 15mm) is standard. Attach the fence to the jig to align against the cabinet edge.
Use the left side of the jig for front-left and back-right panels. Swap to the right side for symmetry when drilling the opposite side. Set starting height using a spacer block cut to desired distance from the base.
Drill the first hole near the top of the jig range. Insert the indexing pin into that hole. Slide the jig over the pin—it locks vertical position. Drill the full row, then move the indexing pin to the new top hole and repeat.
Repeat on the opposite side, mirroring hole count from top or bottom. Don’t drill all the way to the top—stop one jig length down unless you plan short shelves.
Use a Rail-Based System for Pro Results

For repeatable, high-precision builds, use a Festool LR32 or similar system. Attach an M6-threaded 32mm aluminum disc to the rail at the lowest pin-hole height. Rest the disc on the cabinet base to ensure consistent vertical start.
Clamp the rail parallel to the front edge. Use pencil marks to guide start and end points. Drill the entire row in one pass. Repeat on the second side with identical alignment.
This advantage provides perfect alignment across multiple cabinets, ideal for kitchen pantries or built-ins.
Position Holes Correctly
Drill front holes 1.25 inches from the front edge and back holes 1.25 inches from the back edge. Offset front holes approximately 1 inch forward of rear holes to maximize usable shelf depth. Use a combination square to verify horizontal alignment across sides.
Apply painter’s tape over drill points to avoid tear-out. Use sharp brad-point bits for clean entry and exit.
Fix Common Drilling Mistakes
Holes not aligned between sides result from measurement errors. Use a combination square and count holes from the same reference point. Shelves wobble due to inconsistent hole depth or burrs. Sand hole edges and ensure all four pins seat fully. Pins fall out when holes are too large. Match pin size exactly to drill bit (5mm or ¼-inch).
Finish Before Full Assembly

Apply finish before installing doors or back panel. This ensures complete coverage, especially in corners and edges.
Sand and Prepare Surface
Progress through grits: 60 → 100 → 150 → 220. Wipe with tack cloth after sanding. Round sharp edges slightly to prevent chipping during use.
Apply Stain and Topcoat
Use pre-stain conditioner on softwoods like pine. Apply stain with cloth or brush, following grain direction. Wipe off excess after 5 to 15 minutes. Let dry 24 hours before topcoat.
Apply 2 to 3 thin coats of water-based polycrylic (clear, low odor, fast drying) or oil-based polyurethane (amber tint, longer drying, more durable). Lightly sand with 220 grit between coats. Wipe surface with a brown paper bag—white dust means it’s dry enough for the next coat. Let final coat cure 48 to 72 hours before use.
Finish before final assembly so all surfaces are protected, including back and face frames.
Install Shelves and Test Functionality
Now for the payoff: loading up your adjustable shelves.
Insert Shelf Pins Correctly
Use four metal pins per shelf: two front, two back. Match pin type to hole size: 5mm or ¼-inch. Tap gently with a hammer if tight. Always use locking or reinforced pins for heavy or frequently moved shelves.
Never use plastic pins for heavy loads—they degrade over time.
Place and Level the Shelf
Insert pins at the same hole level on both sides. Use the counting method (for example, 5th hole from bottom) to ensure alignment. Place shelf on pins—it should sit flat with no rocking. Test with typical load like books, mixer, or bottles.
Always use four pins—never rely on just front supports.
Adjust for Different Items
Lower shelves are ideal for heavy appliances like blenders or vacuums. Upper shelves store lightweight decor, files, or bins. Remove shelves entirely for cleaning or reconfiguring.
Ensure ¼-inch total clearance (⅛-inch per side) for easy insertion.
Maximize Load Capacity and Stability
Even with perfect drilling, shelves can sag, especially over long spans.
Prevent Shelf Sag
¾-inch plywood shelves span up to 24 inches without support. For spans over 24 inches, add a center support cleat or divider, metal under-shelf brackets, or thicker material like 1-inch solid wood.
Choose the Right Shelf Pins
Metal pins work best for heavy loads (30 to 50 lbs per shelf). Locking pins prevent accidental dislodging. Spoon-type pins are most common and provide secure fit with flange.
For workshop or garage cabinets, use ¼-inch steel rod cut into 1-inch lengths as DIY pins. They’re strong and cheap.
Customize for Different Rooms
Adjustable shelves work anywhere. Here’s how to tailor them.
Kitchen Pantry
Use 1-inch or 2-inch spacing for flexibility. Leave bottom shelf high for baking sheets. Add door-mounted racks to maximize space.
Home Office
Store files, books, and electronics. Use glass doors for display. Add LED strip lighting inside for visibility.
Bathroom or Laundry
Fit detergent, baskets, and small appliances. Use moisture-resistant finish. Avoid drilling near plumbing.
Garage Workshop
Hold power tools, spray cans, and containers. Use locking pins for vibration resistance. Label hole rows for quick reconfiguration.
Save Money with Smart Hacks
You don’t need expensive tools to build great cabinets.
DIY Shelf Pin Jig
Cut a scrap wood strip with accurately spaced ¼-inch holes. Clamp it to the cabinet side and use as a drilling guide. It’s reusable for future projects.
Tape Depth Guide
Wrap electrical tape around the drill bit at the ½-inch mark. This acts as visual and tactile stop—no stop collar needed.
Homemade Shelf Supports
Cut ¼-inch steel rod into 1-inch lengths with a hacksaw. Sand ends smooth. Tap into holes as durable, low-cost pins.
Retrofit Old Cabinets
Remove doors and back panel. Drill new pin holes using a jig. Upgrade storage without rebuilding.
Maintain Long-Term Durability
A well-built cabinet lasts decades. Follow these care tips.
Inspect and Replace Worn Parts
Check pins every 6 to 12 months. Replace loose or bent pins immediately. Sand rough hole edges if pins stick.
Avoid Overloading
Stay under 50 lbs per shelf for ¾-inch plywood. Distribute weight evenly—don’t stack heavy items on one side.
Reinforce Sagging Shelves
Add adhesive-backed felt strips underneath. Install metal brackets or center cleats. Replace with thicker material if needed.
Touch Up Finish
Lightly sand and reapply topcoat to worn areas. Protect from moisture and UV exposure.
Frequently Asked Questions About Building Cabinets with Adjustable Shelves
What is the best spacing for adjustable shelf holes?
The most common spacing is 32mm (1.26 inches), which is standard in European cabinetry. You can also use 1-inch or 2-inch spacing for more flexibility depending on your storage needs.
Can I retrofit adjustable shelves into existing cabinets?
Yes. Remove doors and back panel if possible. Drill new pin holes using a shelf pin jig. This upgrades functionality without full rebuild.
What size shelf pins should I use?
Two standard sizes exist: 5mm and ¼-inch. Choose based on your jig and drill bit. Match all three (jig, bit, pins) exactly to prevent wobble.
How much weight can adjustable shelf pins support?
Metal pins typically support 30 to 50 lbs per shelf. The shelf material itself is usually the limiting factor. Use locking pins for heavy or frequently moved loads.
Should I drill holes before or after assembling the cabinet?
Drill holes before final assembly whenever possible. This allows use of the jig’s fence for better alignment and easier access to both cabinet sides.
Key Takeaways for Building Cabinets with Adjustable Shelves
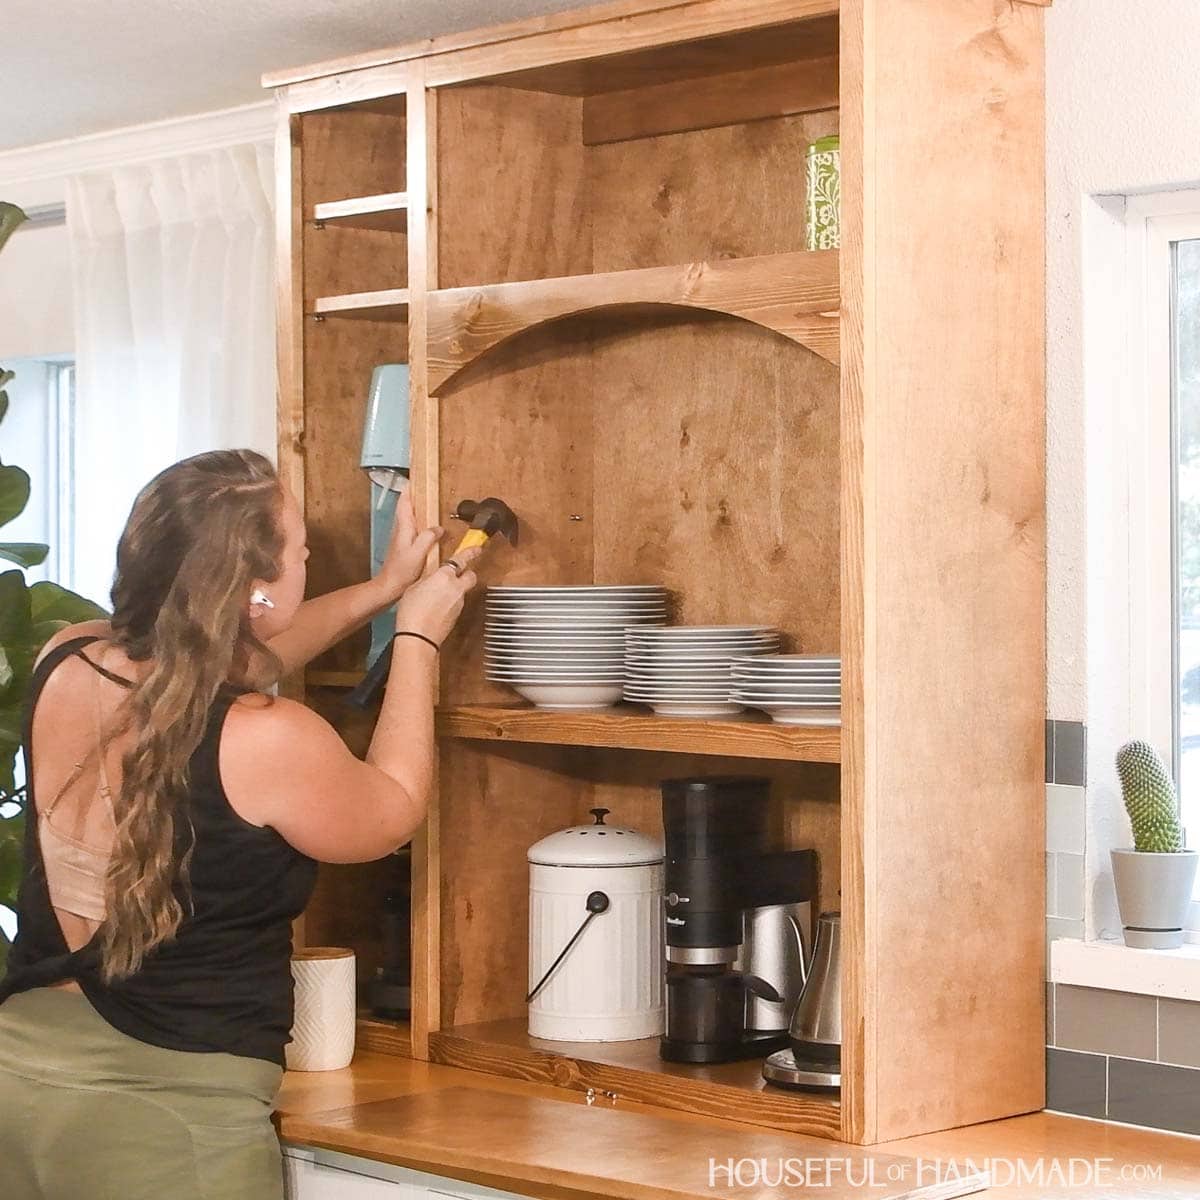
Building a cabinet with adjustable shelves combines intelligent design, precise measurement, and specialized tools like shelf pin jigs. The key to success lies in consistent hole alignment, accurate depth control, and symmetrical placement across both cabinet sides.
Focus on three critical areas. First, use ¾-inch material for sides and shelves to prevent splitting and provide solid pin support. Second, drill pin holes before attaching face frames or back panels for easier access and better alignment. Third, match pin size exactly to drill bit and jig (5mm or ¼-inch) to prevent wobbling.
With proper execution, your DIY cabinet will look professional and offer maximum utility through customizable, wobble-free shelf adjustment. Now go build something great.





