
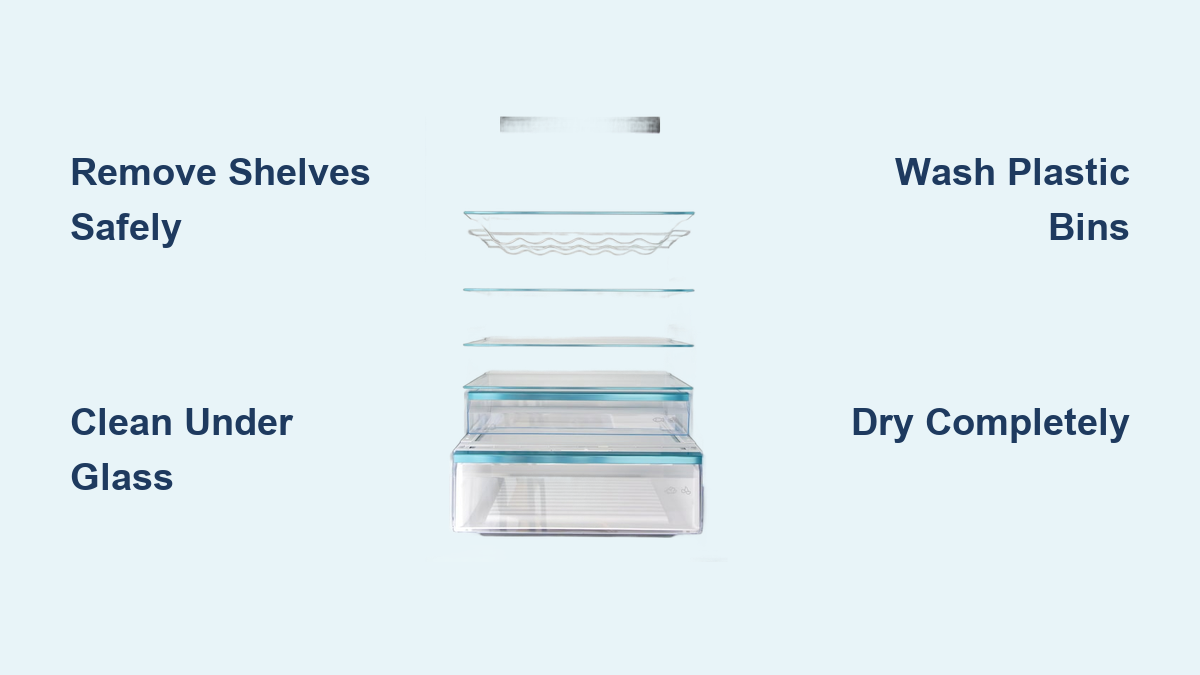
How to Clean Refrigerator Shelves: Easy Steps
A sticky drip from a spilled jar of spaghetti sauce. A mysterious odor that won’t quit. These are the everyday frustrations of a neglected fridge, and often, the culprit lies beneath the surface: dirty refrigerator shelves. Knowing how to clean refrigerator shelves properly isn’t just about appearance, it is essential for food safety, odor control, and appliance longevity. Over time, spills seep into edges, bacteria grow in hidden crevices, and glass trapped under plastic frames becomes a breeding ground for grime.
This guide delivers a complete, step-by-step approach to cleaning every type of refrigerator shelf across top-freezer, side-by-side, French door, and bottom-freezer models. You will learn how to remove shelves safely, choose the best cleaning solutions, deep-clean under glass panels, and avoid common mistakes that could damage your appliance.
Remove Refrigerator Shelves Safely
Before cleaning, shelves must be removed carefully to prevent damage. The method varies by refrigerator type, but the goal is the same: protect glass, avoid bending supports, and maintain alignment for reinstallation.
Standard Top-Freezer and Side-by-Side Models
Most traditional refrigerators use simple bracket-supported glass shelves. Follow these steps for safe removal.
- Clear the shelf of all food and containers.
- Open the door fully to give yourself room to work.
- Grip the front edge firmly with both hands.
- Lift the front upward slightly to disengage from rear supports.
- Slide the shelf straight forward and out of the brackets.
Pro Tip: Support the full weight of the glass as you pull it out. Tempered glass is strong but can crack if dropped or unevenly stressed.
French Door Refrigerator Shelves
These models often have collapsible or adjustable shelves designed for flexibility.
- Fold up the front lip if the shelf is hinged or slideable.
- Tilt the back edge upward at a 30-degree angle.
- Pull forward gently, sliding the shelf out of side-mounted rails.
Warning: If the shelf resists, double-check for locking tabs or consult your user manual. Forcing removal can break support clips.
Bottom-Freezer Refrigerator Shelves
With drawers occupying lower space, removal requires a diagonal maneuver.
- Lift the front edge of the shelf.
- Pull forward slightly to release from rear hooks.
- Lift one side and slide the shelf out at an angle.
Note: Avoid pressing down on closed drawers below. You could damage the drawer glide mechanism.
Remove Door Bins
Plastic bins store condiments, jars, and dairy, making them prime spots for spills.
- Grip both sides of the bin with steady hands.
- Lift straight up to disengage from vertical tracks.
- Remove completely and set aside for washing.
Never pull outward or yank sideways. This can snap plastic retaining tabs.
Deep Clean Glass and Plastic Shelves
Once removed, shelves can be cleaned thoroughly, beyond what wiping inside the fridge allows. This section covers the best solutions and techniques for sparkling results.
Choose Safe, Effective Cleaning Solutions
Select cleaners that remove grime without damaging surfaces.
- Mild dish soap and warm water: Best for daily buildup
- White vinegar and water (1:1 ratio): Natural disinfectant and deodorizer
- Baking soda paste (2:1 ratio with water): For stuck-on stains
- Glass cleaner: Only on exposed glass, avoid plastic and seals
Test first: Apply any solution to a small area to check for discoloration or clouding.
Avoid Harmful Chemicals
Never use these substances on refrigerator surfaces.
- Bleach (unless approved by manufacturer)
- Abrasive powders or steel wool
- Window sprays with ammonia
- Paint thinner or solvents
- Concentrated detergents
These can crack plastic, dull glass, or degrade rubber seals, leading to costly repairs.
Step-by-Step Cleaning Process
Follow this sequence for thorough cleaning.
- Wash with soapy water using a soft sponge.
- Target stains with baking soda paste, let sit 10 minutes.
- Scrub gently in circular motions with a soft-bristle brush.
- Rinse with clean water (especially after vinegar or soap).
- Dry completely with a microfiber cloth before reinstalling.
Why dry? Moisture left on shelves leads to water spots and condensation that attracts mold.
Clean Under Glass Shelf Frames

The hidden space between glass and plastic trim traps spills, crumbs, and odors. This area is often missed during routine cleaning but harbors significant grime.
Disassemble Framed Shelves
- Place shelf upside down on a towel-lined surface.
- Locate retainer clips at the back corners.
- Press inward on the tab (facing the center) to release each clip.
- Slide out the glass panel from the plastic frame.
Safety First: Support the glass fully. Do not let it hang off the edge.
Wash Both Components Separately
- Glass panel: Clean with vinegar solution or glass cleaner.
- Plastic frame: Scrub inside grooves with a toothbrush and soapy water.
- Check for mold in corners. Use vinegar soak if needed.
Visual Cue: Look for dark spots, sticky residue, or white mineral deposits. These are signs of long-term moisture buildup.
Reassemble Correctly
- Slide glass back into the frame until flush.
- Reattach retainer clips by snapping them into back corners.
- Ensure clips are secure. They prevent shifting during use.
Common Mistake: Forgetting to reattach clips can cause the shelf to wobble or collapse under weight.
Clean Plastic Bins and Drawers
Bins collect more bacteria than any other fridge part due to porous plastic and frequent spills. Thorough cleaning protects your family’s health.
Remove and Soak
- Take out all bins and empty contents.
- Soak in warm, soapy water for 10 to 15 minutes.
- Scrub corners with a soft brush to remove trapped gunk.
Hidden Spot: Check under bin rails. Food particles often get stuck here.
Deodorize with Vinegar
After washing, follow these steps to eliminate odors.
- Rinse thoroughly.
- Wipe with vinegar solution to kill odor-causing bacteria.
- Air-dry completely before replacing.
Fact: Seventy-six percent of users do not clean under bins until odors appear. Do not wait.
Wipe Down Interior Surfaces
Cleaning shelves is not complete without sanitizing the spaces they occupied. This step ensures no grime remains behind.
Clean Shelf Supports and Walls
- Use a vinegar-dampened cloth to wipe brackets and tracks.
- Target drip zones, areas under drawers or meat compartments.
- Dry with a clean towel to prevent mold growth.
Bonus Tip: Use a cotton swab for tight corners around light covers or vents.
Check Door Gaskets
Rubber seals collect grime and can harbor mold.
- Wipe with soapy water, then vinegar.
- Inspect for tears or stiffness. Replace if cracked.
- Ensure seal is tight when door closes.
Leaky gasket: Cold air escapes, making your fridge work harder and raising energy bills.
Reinstall Shelves Properly
A poorly reinstalled shelf can collapse, leak, or block airflow. Take time to do this step correctly.
Align and Secure
- Ensure all parts are dry. No dampness on glass or supports.
- Slide shelf in horizontally at the correct height.
- Lower gently into brackets. Do not drop or force it.
Stability Test: Press lightly on the center. If it wobbles, remove and reseat.
Verify Level Placement
- Shelves should sit flat, not tilted.
- Adjustable brackets: Make sure both sides are at the same level.
- For French door models, ensure hinged shelves lock into place.
Misalignment Risk: Uneven shelves can cause bottles to roll or containers to spill.
Prevent Odors and Buildup
Cleaning is only half the battle. Prevention keeps your fridge fresh longer between cleanings.
Use Shelf Liners
- Cut-to-fit liners catch spills before they spread.
- Washable mats are ideal for high-use shelves.
- Avoid wax paper or cardboard. They absorb liquids and grow mold.
Pro Move: Replace liners every three to six months or when stained.
Store Food Properly
- Seal leftovers in airtight containers.
- Wrap strong-smelling items (onions, fish) in double layers.
- Do not overfill shelves. Air needs to circulate for even cooling.
Result: Fewer spills, less odor transfer, easier cleaning.
Follow a Cleaning Schedule
Timing matters. Clean too rarely, and grime takes over. Too often, and you risk wear from handling.
Recommended Cleaning Frequency
- Routine maintenance: Every six months
- Heavy use or spills: Every three months
- After major leak or expired food: Immediately
- Odor development: Clean shelves, bins, and seals
Set a reminder: Mark your calendar or link cleaning to seasonal changes (April and October work well).
Annual Deep Clean Checklist
- Remove all shelves and bins.
- Disassemble framed shelves.
- Clean under glass panels.
- Wash door gaskets and drip pans.
- Vacuum condenser coils (back or bottom).
- Check temperature settings (should be forty degrees Fahrenheit or four degrees Celsius or below).
Outcome: Extended appliance life, better food safety, zero mystery smells.
Troubleshoot Common Issues
Even after cleaning, problems can linger. Here is how to fix the most frequent complaints.
Lingering Odors
Cause: Mold in hidden areas or degraded gaskets.
Fix:
- Clean behind shelves and under crisper drawers.
- Place an open box of baking soda inside.
- Replace gaskets if cracked or musty.
Test: Close the fridge with a damp cloth inside for twenty-four hours. If odor returns, deep clean again.
Cloudy or Hazy Glass
Cause: Mineral deposits from hard water or vinegar residue.
Fix:
- Soak glass in vinegar for five to ten minutes.
- Wipe with microfiber cloth using straight lines.
- Rinse and dry thoroughly.
Do not use abrasive pads. They scratch glass permanently.
Wobbly or Unstable Shelf
Cause: Misaligned brackets or missing retainer clips.
Fix:
- Remove shelf and inspect supports.
- Realign brackets evenly.
- Reattach any dislodged clips.
Tool Tip: Use a level app on your phone to check shelf alignment.
Frequently Asked Questions About Cleaning Refrigerator Shelves
How often should I clean my refrigerator shelves?
Clean refrigerator shelves at least once every six months for routine maintenance. If your fridge sees heavy use or experiences frequent spills, clean every three months. Clean immediately after any major leak or when odors develop.
Can I use bleach to clean refrigerator shelves?
Avoid bleach unless your refrigerator manufacturer specifically approves it. Bleach can damage plastic surfaces, dull glass, and degrade rubber seals. Stick with mild dish soap, white vinegar solution, or baking soda paste for safe and effective cleaning.
How do I clean under the glass on my refrigerator shelves?
Remove the shelf and place it upside down on a towel. Locate retainer clips at the back corners, press the inner tabs to release them, and slide out the glass panel. Clean both the glass and the frame separately, then reassemble before reinstalling.
Why do my refrigerator shelves still smell after cleaning?
Lingering odors usually mean mold or bacteria in hidden areas. Check door gaskets, drip pans, and spaces behind or under crisper drawers. Place an open box of baking soda inside the fridge, and replace gaskets if they are cracked or musty.
Are refrigerator shelf liners worth using?
Yes, shelf liners are worth the investment. They catch spills before they reach the glass or plastic, making cleanup easier and preventing stains. Replace liners every three to six months or when they become stained.
Can I clean refrigerator bins in the dishwasher?
Most plastic refrigerator bins are top-rack dishwasher safe, but check your manufacturer guidelines first. Hand washing with warm soapy water often provides a deeper clean and reduces the risk of warping or damage.
Key Takeaways for Cleaning Refrigerator Shelves
A clean refrigerator shelf is not just spotless, it is a safeguard for your food, your health, and your appliance’s performance. By removing shelves carefully, using safe cleaning solutions like mild dish soap or vinegar, and addressing hidden areas like under glass frames and door gaskets, you eliminate the grime and odors that compromise your fridge.
Remember to clean shelves every three to six months depending on use, always dry components completely before reinstalling, and address odors immediately rather than waiting. Use shelf liners to prevent future spills, and do not forget to check door seals during each cleaning cycle.
Now that you know how to clean refrigerator shelves like a pro, make it a habit, not a chore. Your food will stay fresher, your fridge will run more efficiently, and you will eliminate those mystery odors for good.





