
How to Connect Wire Shelves Together: Easy Steps
You’ve unpacked your wire shelving system and realized these units do not snap together like LEGO. How do you connect wire shelves together securely? The answer is not always obvious, because most wire shelving systems do not come with built-in side-to-side connectors. But with the right techniques, tools, and hardware, you can create a unified, stable storage system that functions as one solid unit.
Connecting wire shelves properly ensures safety, prevents wobbling, and maximizes load capacity, especially in garages, pantries, or closets where heavy or frequently accessed items are stored. This guide covers every proven method using factory hardware and smart DIY reinforcements.
Align and Stabilize Adjacent Wire Shelf Units
When placing wire shelves side by side, they will not connect automatically. Without reinforcement, each unit moves independently, creating instability. Proper alignment and bracing turn separate units into a single, rigid system.
Match Shelf Heights Precisely
For seamless integration, all shelves must be at identical heights across both units. Even a 1-inch difference prevents effective bracing and creates visual imbalance.
• Use a laser level or bubble stick level to mark consistent shelf positions on both sets of posts
• Install shelf clips at the same notch level on every post
• Press each shelf firmly into place until it clicks
Pro Tip: Start from the bottom. Install the lowest shelf first, then use it as a reference for upper levels.
Use S-Hooks for Modular Expansion
Many brands like ClosetMaid, Rubbermaid, and Uline support lateral expansion using S-hooks, simple strong connectors that link add-on units to base shelves.
Install S-Hooks Correctly
- Attach two S-hooks to the underside of the base unit’s bottom shelf, one near each end
- Align the add-on unit so its top shelf or support frame hooks onto the S-hooks
- Slide the add-on’s posts into position beside or behind the base unit
- Secure shelves with clips at matching heights
Critical Rule: S-hook connections only work when shelves are perfectly aligned. Any height mismatch compromises stability.
Note: S-hooks are designed for lateral expansion, not full vertical stacking. Always verify compatibility between base and add-on units.
Reinforce with Zip Ties or L-Brackets
Since most systems lack factory side connectors, use heavy-duty zip ties or L-brackets to bond adjacent posts.
Apply Heavy-Duty Zip Ties
• Wrap 10-inch stainless steel zip ties around corresponding posts at each shelf level
• Pull tight with pliers and trim excess
• Provides invisible stabilization, ideal for closets and pantries
Install L-Brackets for Permanent Setups
- Position brackets across the top edges of connected shelves
- Drill pilot holes through shelf grids
- Secure with screws, using plastic anchors if no stud is available
- Ensure brackets do not interfere with basket or bin access
Warning: Never rely on friction or gravity alone, especially in homes with children or pets. Reinforcement is mandatory for safety.
Extend Wire Shelf Height with Post Connectors
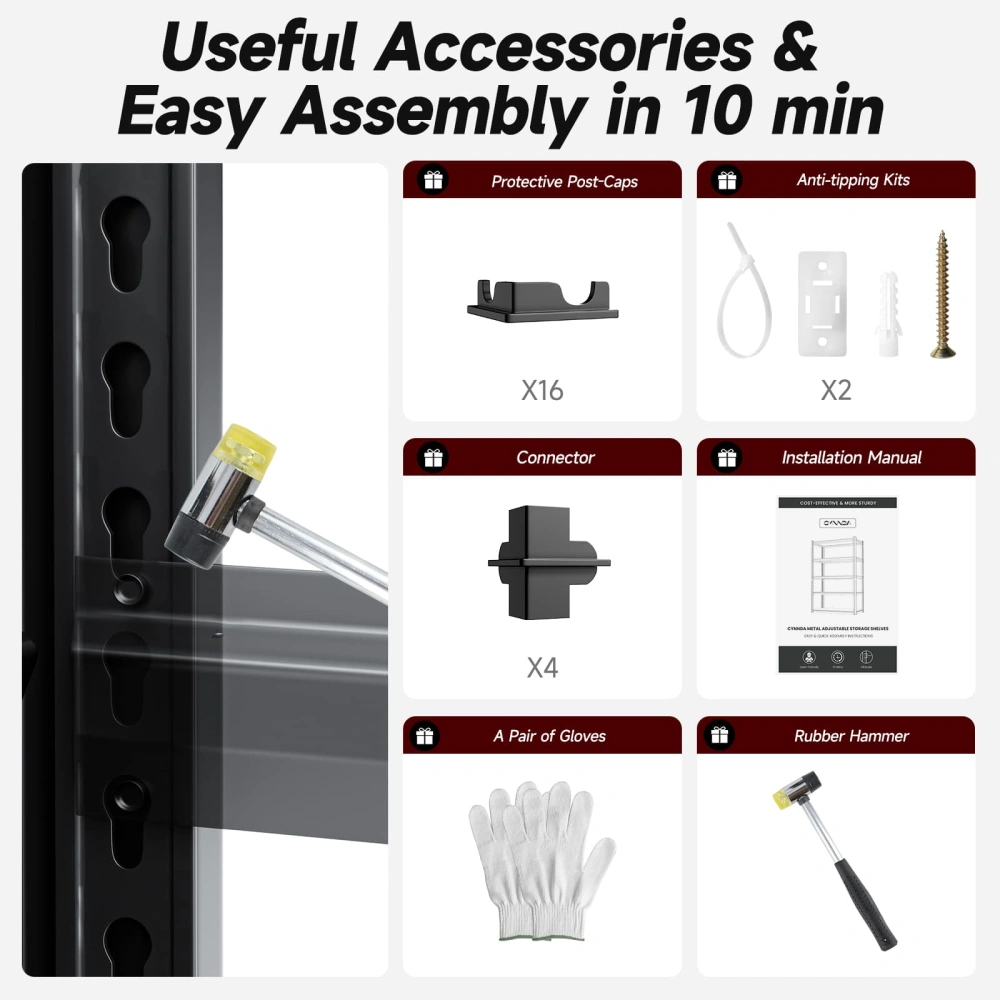
Tall storage needs like linen closets or warehouse racks require extending shelf height beyond standard 64-inch posts. That is where post extenders, also called splice connectors, come in.
Join Two-Piece Posts Securely
Most systems use double-threaded splice connectors to join upper and lower leg sections seamlessly.
Connect Posts Step-by-Step
- Remove end caps from the top of the lower post
- Insert the splice connector into the hollow end
- Screw the upper post clockwise onto the connector
- Turn until fully seated, which should lock with firm resistance
Visual Check: Notches on both post segments must align perfectly after connection. Misalignment prevents shelf clips from seating.
Pro Tip: Apply a drop of thread-locker to prevent loosening over time, especially in high-vibration areas.
Use Shelf Support Poles for Vertical Stability
When stacking multiple units, shelf support poles maintain alignment and prevent lateral sway.
Install Support Poles
- Place poles every 24 to 36 inches along the front edge
- Attach shelf clips to the pole at each shelf level
- Snap shelves into the clips just like regular posts
Best Practice: Anchor the top of each pole to the ceiling or wall with a bracket in seismic zones or for extra-heavy loads.
Build L-Shaped and Corner Wire Shelf Systems

An L-shaped wire shelf system maximizes corner space while creating a continuous storage unit. But unlike cabinets, wire shelves do not have corner frames, so you must calculate dimensions and reinforce joints carefully.
Size Shelves for Perfect Corner Fit
• First shelf: Run full length along one wall
• Second shelf: Subtract shelf depth, for example 16 inches, from the adjacent wall’s length
Example: Wall measures 48 inches, shelf depth is 16 inches. Order a 32-inch shelf.
This ensures both units meet cleanly in the corner without overlap.
Reinforce with Corner Brackets
The free end of the second shelf needs support, otherwise it sags under load.
Install Corner Brackets
- Position bracket where the two shelves meet
- Attach one arm to the end of the second shelf
- Secure the other arm to the wall using a back wall clip or angle bracket
Critical: Anchor into a wall stud if supporting heavy items like books or tools.
Alternatively, install a shelf support brace angled from the free end to the wall for added rigidity.
Secure Wire Shelves to Walls for Safety
No matter how well you connect wire shelves together, wall attachment is non-negotiable for safety and stability.
Use Back Wall Clips (Versa-Clips)
These drywall anchors secure the rear edge of each shelf without needing studs.
Install Versa-Clips
- Mark shelf height with a level line
- Place clips 1 to 2 inches from ends, then every 10 inches
- Drill quarter-inch holes
- Insert clip, then drive screw until it strips, which expands the anchor behind the drywall
Key Advantage: Works reliably in drywall. No stud required.
Mistake to Avoid: Over-tightening screws can crack drywall. Stop when resistance drops suddenly.
Anchor Front Ends with Angle Brackets
Whenever a shelf touches a wall at the front, use angle brackets to prevent tipping.
Mount Brackets Properly
- Install back clips first and temporarily seat the shelf
- Lower shelf to correct height
- Slide bracket into grid, mark holes, then remove shelf
- Drill holes, insert plastic anchors if no stud is hit
- Screw in bracket and reseat shelf
Rule: At least one bracket per shelf must be anchored into a wall stud, especially for heavy loads.
Pro Tip: Use a stud finder before drilling. Mark stud locations with blue tape.
Prevent Wire Shelf Tipping with Braces and Poles
Even well-connected shelves can tip forward if overloaded, especially long spans or units in high-traffic areas.
Install Shelf Support Braces
These diagonal front supports resist tipping forces and are required by safety standards for shelves over 24 inches deep.
Space Braces Correctly
• Every 36 inches for light loads like clothes or linens
• Every 24 inches for heavy loads like tools or canned goods
• One brace near every free end
Mount with Tri-Loc Anchors
- Insert brace into shelf grid
- Rotate backward toward wall
- Mark holes, drill quarter-inch hole, insert Tri-Loc anchor
- Tighten screw with power driver until flush
Why Tri-Loc?: These anchors expand behind drywall and resist pull-out better than standard plastic anchors.
Add Retaining Clips for Load Security
On long shelves like 8 feet, front-heavy loads can lift the back edge, especially with hanging clothes.
Use Retaining Clips
• Install one retaining clip into a wall stud near the center of the shelf
• Slide the back lip of the shelf into the clip
• Prevents upward movement under front load
Best Practice: One clip per long shelf is sufficient. Pair with back wall clips for full immobilization.
Cut and Customize Wire Shelves Safely
Sometimes shelves are too long. You can cut them, but only if done correctly.
Cut with a Bolt Cutter
• Support shelf on sawhorses or feet
• Cut along the outer wire to preserve grid integrity
• Cut slightly long, then fine-tune
Safety First: Wear cut-resistant gloves. Cut ends are extremely sharp.
Finish with End Caps
After cutting, slide plastic end caps onto all exposed wires. This prevents snags on clothing and skin, and improves appearance.
Pro Tip: Home Depot offers free shelf cutting. Bring your measurements and let them do it.
Maximize Load Capacity and Safety
Wire shelves are not all equal. Load ratings depend on installation method and bracing.
Know Your Weight Limits
• Standard wire shelf 16 inches deep: 180 lbs with fixed mounts
• ShelfTrack system: Up to 300 lbs per shelf
• General range: 50 to 175 lbs depending on brand and support
Never exceed manufacturer ratings, especially with glass, tools, or appliances.
Distribute Weight Wisely
• Place heavy items near the wall and centered
• Avoid loading front edges
• Keep top shelves light to lower center of gravity
Maintain Stability on Uneven Floors
Even with perfect wall mounting, an unlevel floor causes wobbling.
Use Adjustable Leveling Feet
• Screw level leg inserts into the bottom of posts
• Turn each foot individually to compensate for slope
• Check with a bubble stick level across multiple shelves
Add Anti-Slip Pads
• Place rubber floor protectors under feet
• Prevents sliding on tile, hardwood, or laminate
• Also reduces noise and scratches
Optional: Upgrade to locking casters for mobility, then lock them after positioning.
Final Tips for Professional Results
Buy Extra Hardware Upfront
Shelf clips, back supports, and anchors are easy to lose or misinstall. Purchase a 10 to 20 percent surplus to avoid mid-project trips.
Use a Template Board for Speed
Pros use a custom jig with pre-drilled holes and built-in level. Ensures perfect bracket alignment across multiple units. Costs about 190 dollars from ClosetMaid dealers, but pays off on large jobs.
Cap Pantry Shelves with Pegboard
Prevents small items from falling through open grids. Cut quarter-inch pegboard sheet to size and secure with white zip ties for a clean look.
Inspect and Tighten Annually
Check clips, posts, and anchors for looseness. Re-seat loose shelves with a rubber mallet. Replace corroded or damaged parts immediately.
Frequently Asked Questions About Connecting Wire Shelves
Can You Connect Two Wire Shelves Side by Side?
Most wire shelving systems do not include factory-designed connectors for side-to-side joining. You can achieve stability through reinforcement methods like heavy-duty zip ties, L-brackets, or by ensuring all shelves are perfectly aligned and wall-mounted.
What Is the Best Way to Connect Wire Shelves Together?
The best method depends on your setup. Use S-hooks for modular expansion, post extenders for height, zip ties for quick stabilization, and L-brackets for permanent connections. Always wall-mount for safety.
Do Wire Shelves Need to Be Anchored to the Wall?
Yes. Wall attachment is non-negotiable for safety. Use back wall clips for rear support and angle brackets for front ends. At least one bracket per shelf should anchor into a wall stud for heavy loads.
How Much Weight Can a Wire Shelf Hold?
A standard 16-inch wire shelf holds up to 180 lbs with fixed mounts. ShelfTrack systems support up to 300 lbs. General ranges fall between 50 and 175 lbs depending on brand and support configuration.
Can You Cut Wire Shelves to Size?
Yes. Use a bolt cutter to cut along the outer wire, then finish with plastic end caps. Wear cut-resistant gloves and cut slightly long, then fine-tune for accuracy.
Key Takeaways for Connecting Wire Shelves Together
Connecting wire shelves is not just about convenience. It is about safety, durability, and performance. By using S-hooks, post extenders, bracing, and wall anchors, you transform individual units into a unified storage system that lasts for years.
Always follow manufacturer guidelines, prioritize wall attachment, and reinforce every connection point. Use heavy-duty zip ties or L-brackets for side-by-side stabilization, and never rely on friction alone. For tall units, splice posts with connectors and anchor the top to wall or ceiling.
Whether you are organizing a closet, pantry, or garage, a properly connected wire shelving system delivers maximum strength and seamless functionality. Measure twice, secure every connection, and inspect annually to keep your system stable for the long haul.





