
How to Decorate Shelves Above Toilet: Easy Tips
You’ve seen it in stylish bathrooms across Pinterest and Instagram: a sleek shelf perched neatly above the toilet, stacked with fluffy towels, trailing plants, and elegant decor. But it’s not just for show. Decorating shelves above the toilet is one of the smartest small-space upgrades you can make, transforming dead wall space into a functional design feature that works in any bathroom.
The key is balancing function with beauty. Done right, your over-the-toilet shelf becomes a curated display that feels intentional, not cluttered. Done wrong, it turns into a dumping ground for spare rolls and forgotten bottles. With a few simple principles, anyone can upgrade this overlooked spot on a budget and without renovation.
Choose the Right Shelf Type for Your Bathroom
Not all shelves work for every bathroom. The best choice depends on your layout, wall type, and whether you can drill into your walls. Here’s how to pick the right option for your space.
Match Shelf to Your Space and Needs
Consider these popular options based on your situation:
- Floating wood shelves offer a clean, modern look and work well in small spaces. They require secure mounting but create a minimalist built-in effect.
- Over-the-toilet units are freestanding, multi-tiered cabinets that sit behind the tank, perfect for renters or when studs are not accessible.
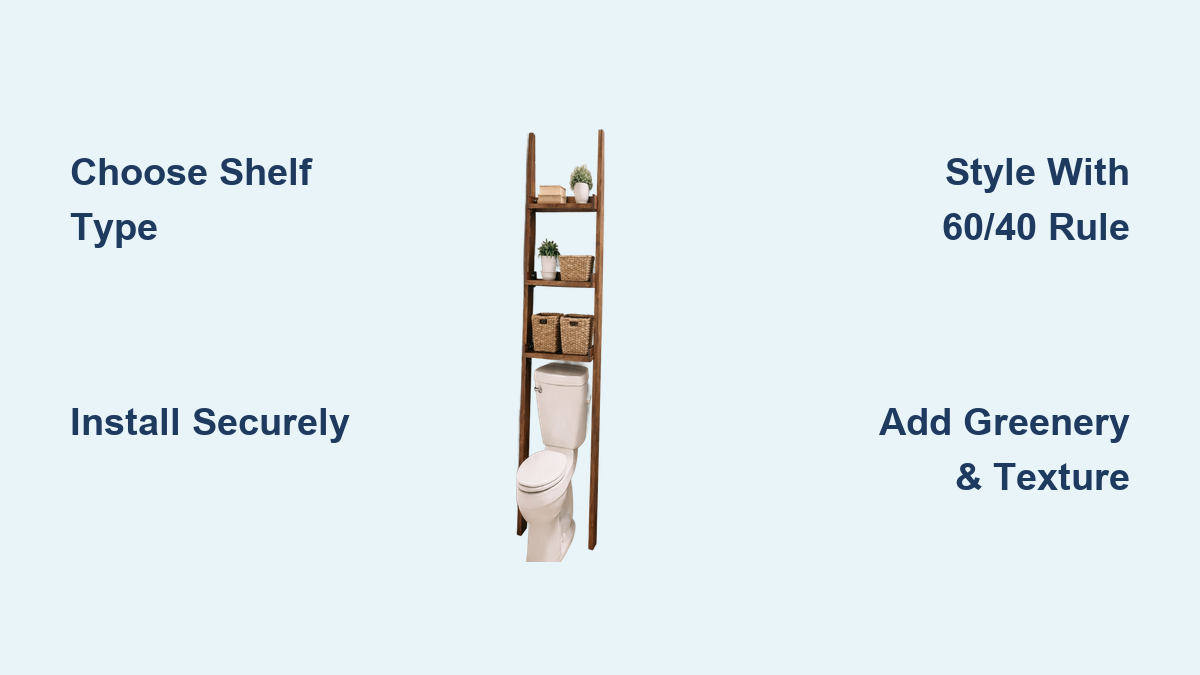
- Ladder shelves lean against the wall with staggered tiers, adding height and visual interest without drilling.
- Wall-to-wall shelves span the full space above the toilet, maximizing storage and creating a custom look in narrow bathrooms.
- Barn door cabinets conceal clutter behind sliding doors while adding rustic charm.
Pro Tip: Measure the space above your toilet first. Standard clearance is 12 to 18 inches from the tank to the shelf bottom, with 16 to 24 inches of width available.
Install Floating Shelves Securely
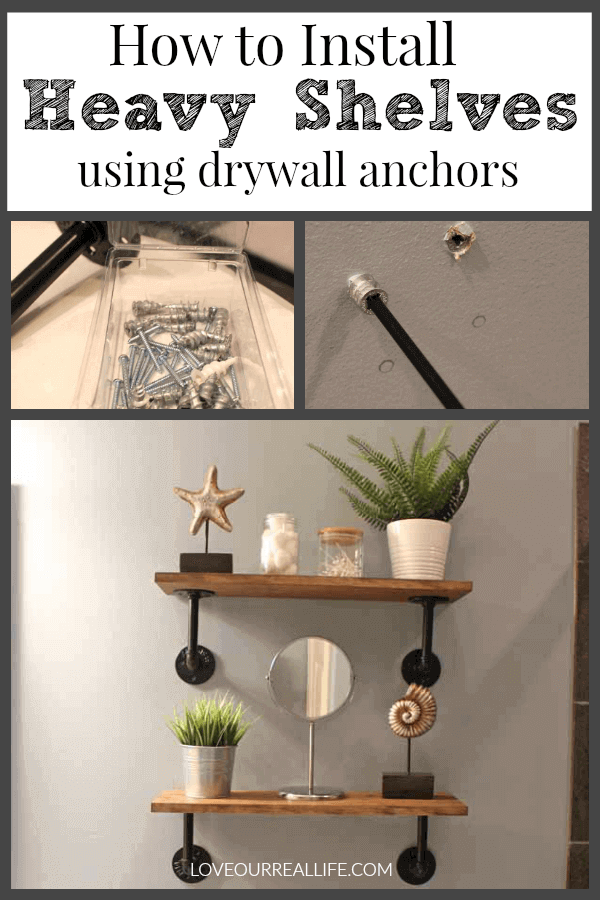
If you have drywall without accessible studs, you can still install a floating shelf safely using plastic wall anchors. This method works for most bathrooms and requires basic tools.
Gather Essential Tools
Before starting, collect these items:
- 19-inch wooden board (pre-cut or custom)
- Decorative brackets (brushed gold, titanium, or matte black)
- Plastic wall anchors and screws
- Stud finder, level, drill, screwdriver
Follow These Installation Steps
- Mark bracket positions 16 inches apart on the wall above the toilet. Use a level to ensure the marks are perfectly horizontal.
- Run a stud finder across the area. If a stud aligns, drill directly into it for maximum strength.
- When no stud is available, drill pilot holes at your marks and tap in plastic anchors until flush with the wall.
- Attach brackets by opening them with a screwdriver. Place the shelf between the top and bottom bracket plates, then screw tightly to sandwich the wood in place.
Visual Cue: The shelf should sit level and not wobble when lightly pressed. Test by placing a small item on it before adding heavier decor.
Style With Proven Design Rules

A beautifully styled shelf balances usefulness and aesthetics. Follow these designer-approved principles to create a cohesive look.
Apply the 60/40 Function-to-Decor Ratio
Keep your shelf practical while elevating the room’s appearance:
- 60 percent functional items: rolled towels, toilet paper, baskets with toiletries
- 40 percent decorative touches: plants, candles, art, sculptural objects
This ratio keeps the shelf useful while making it a design highlight.
Create a Vignette With Layering
Treat your shelf like a mini scene. Layer items for depth by starting with a backdrop such as a small framed print or mirror leaning against the wall, then adding a centerpiece like a ceramic vase, candle, or stacked books, and finishing with a soft accent such as a trailing faux plant or folded linen.
Pro Tip: Place taller items toward the back so they do not block the mirror or wall behind.
Group in Odd Numbers
Designers swear by odd-number groupings because they feel more natural. Try three stacked hand towels, a cluster of three decor items like a candle plus vase plus small statue, or five faux succulents in staggered pots. Avoid symmetrical pairs, which can look stiff or staged.
Add Greenery and Texture
Bathrooms are full of hard surfaces like tile, glass, and porcelain. Warm them up with natural elements and varied textures.
Use Faux Plants for Low Maintenance
Most bathrooms lack direct sunlight, making real plants difficult to sustain. Faux is a smarter choice:
- Trailing varieties like ivy or pothos drape beautifully over the shelf edge
- Potted faux succulents add color and shape without watering
- Eucalyptus bundles give a spa-like scent when using dried or faux with essential oils
Place greenery near the front of the shelf so it cascades down, drawing the eye upward.
Mix Textures for Visual Interest
Add these elements to create warmth and dimension:
- Woven baskets (seagrass, wicker, bamboo) hide toilet paper or cleaning supplies
- Ceramic vases or stone coasters add weight and elegance
- Wooden signs or trays bring organic warmth
Warning: Avoid fabric items if the shelf is in a steamy shower zone. They will mildew over time.
Organize by Shelf Level
If you have a multi-tiered unit, organize each level intentionally for both function and style.
Top Shelf: Decor Zone
This is your showcase level. Keep it light and intentional:
- Mini framed art or motivational sign (Breathe, Live Your Best Life)
- Small candle or diffuser (battery-operated for safety)
- Sculptural object like a geode, ceramic bust, or glass orb
Avoid heavy items or anything you touch daily.
Middle Shelf: Mixed Use
Balance beauty and utility here:
- Rolled washcloths or hand towels in neutral or accent colors
- Apothecary jars with cotton balls, bath salts, or q-tips
- Glass soap dispenser or lotion pump
Use a small tray or dish to corral loose items and prevent clutter.
Bottom Shelf: Functional Zone
Closest to the toilet? Make it practical:
- Spare toilet paper in a matching basket
- Daily-use towels or guest robe
- Hidden cleaning supplies in labeled bins
Pro Tip: Use closed baskets to hide mess but leave the front open for airflow and visual breathing room.
Match Shelf to Your Decor Theme
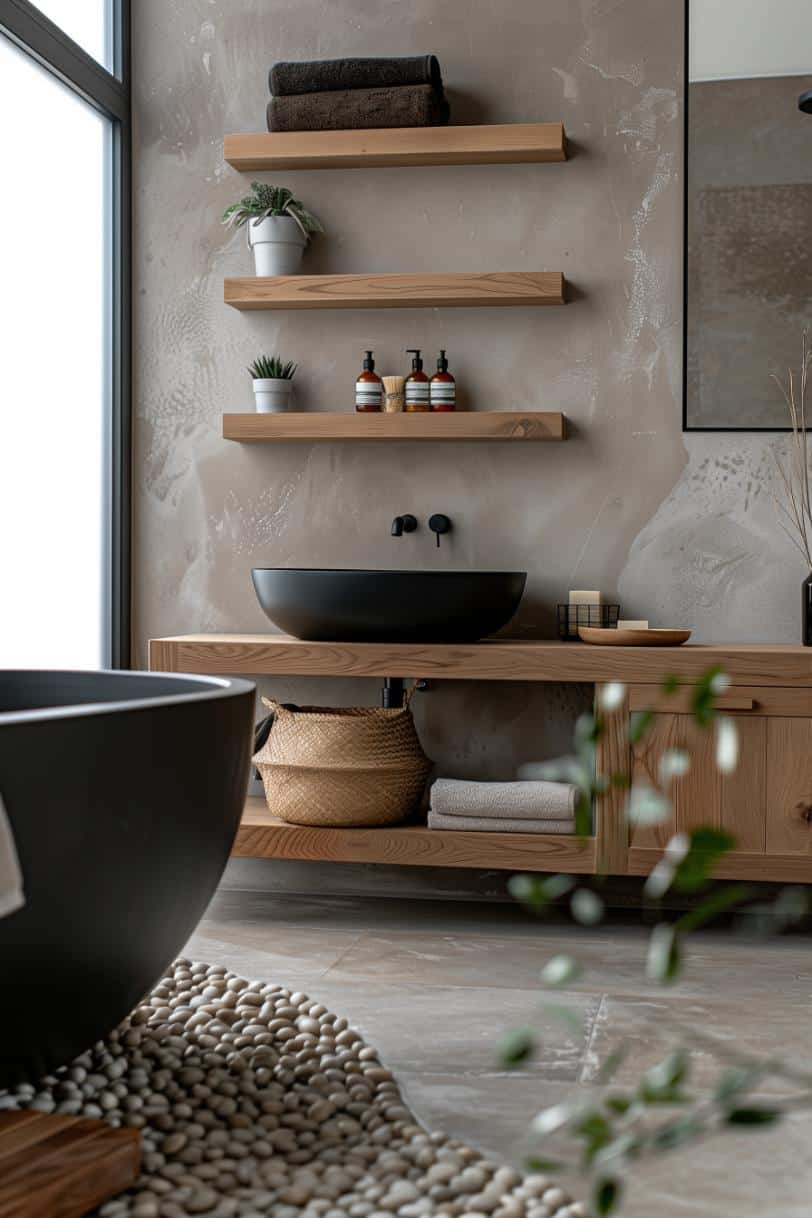
Your over-the-toilet shelf should complement your existing bathroom style. Here is how to achieve the most popular looks.
Farmhouse: Rustic and Warm
- Shelf type: Reclaimed wood or pallet shelf with metal brackets
- Decor: Live Your Best Life sign, galvanized buckets, eucalyptus in glass bottles
- Finishes: Whitewashed wood, black iron, brushed nickel
Modern Minimalist: Clean and Simple
- Shelf type: Floating wood, acrylic, or glass
- Decor: One sculptural vase, monochrome towels, single trailing plant
- Rule: If it does not serve a purpose or spark joy, do not display it.
Spa-Like: Calm and Serene
- Shelf type: Bamboo or light wood floating shelf
- Decor: Essential oil diffuser, rolled white towels, smooth stones in a bowl
- Bonus: Hang eucalyptus from the showerhead for aromatherapy.
Industrial: Edgy and Functional
- Shelf type: Black metal brackets or pipe shelving
- Decor: Matte black soap dispenser, wire baskets, Edison bulb lantern
- Materials: Steel, concrete, exposed hardware
Japandi: Natural and Balanced
- Shelf type: Light wood or bamboo
- Decor: Low ceramic dish with a single stem, linen basket, minimalist clock
- Vibe: Quiet luxury with zero clutter.
Update Seasonally for Freshness
One of the biggest perks of over-toilet shelves is easy seasonal updates without renovation.
Swap Decor Without Renovating
Refresh your shelf with these simple changes:
- Spring: Pastel towels, faux tulips, eucalyptus
- Summer: Seashells, coral, navy-and-white stripes
- Fall: Mini pumpkins, cinnamon sticks, warm-toned linens
- Winter: Pine boughs, faux snow, red-and-white towels
Time-Saving Shortcut: Store off-season decor in a labeled bin under the sink.
Maintain for Long-Term Use
Regular upkeep keeps your shelf looking fresh and prevents damage in humid bathroom environments.
Clean Regularly to Prevent Dust
- Wipe wood shelves weekly with a dry microfiber cloth
- For glass or acrylic, use a streak-free cleaner
- Wash decorative towels monthly
Avoid wet cloths on wood. Moisture causes warping over time.
Prevent Moisture Damage
- Use sealed or water-resistant wood (teak, bamboo, vinyl-wrapped MDF)
- Choose rust-resistant brackets (stainless steel, coated metal)
- Do not place electronics or paper-based decor in steamy zones
Expert Note: If your bathroom lacks a vent fan, opt for closed cabinets instead of open shelves to protect contents.
Make It Renter-Friendly
If you cannot drill into walls, try these damage-free alternatives:
- Leaning ladder shelf behind the toilet
- Over-the-toilet cabinet that rests on the tank
- Adhesive LED lights under a floating shelf for ambient glow
These options are portable, damage-free, and still stylish.
Save Money With Budget Finds
You do not need designer pieces to create a high-end look. Smart shopping yields quality results:
- Wood shelf: $8 to $15 at Home Depot
- Chalk paint: $10 at Walmart (2 coats cover fully)
- Brackets: $12 to $20 per set (titanium or gold finish)
- Level: $1 to $3 at Dollar Tree
- Decor: Ginger jar ($15), faux tulips ($5), sign ($10) at Home Goods
Total DIY shelf project: As low as $40 with smart shopping.
Avoid Common Mistakes
Do Not Overcrowd the Shelf
Clutter kills the look. Leave at least 30 percent of the shelf empty for negative space.
Do Not Ignore Scale
Tiny decor on a wide shelf looks lost. Use larger items or group small ones closely together.
Do Not Mount Too High
If the shelf is above eye level, it is hard to reach and looks disconnected. Ideal height is 12 to 18 inches above the tank.
Key Takeaways for Decorating Shelves Above Your Toilet
Decorating shelves above the toilet is a small change with a big impact. With the right shelf type, secure installation, and thoughtful styling, you can turn dead space into a design feature that is both useful and beautiful. Whether you are a renter, DIYer, or design lover, this upgrade costs little, takes less than a weekend, and instantly elevates your bathroom.
Start with a floating shelf or freestanding unit, style with a mix of function and decor, and refresh seasonally to keep it feeling new. Follow the 60/40 rule, use odd-number groupings, and add texture. Your shelf will look intentional, not accidental.
Now go make that space above your toilet work for you, not just above you.
Frequently Asked Questions About Decorating Shelves Above Toilet
What is the best height to install a shelf above the toilet?
The ideal height is 12 to 18 inches from the top of the toilet tank to the bottom of the shelf. This places the shelf within easy reach while leaving enough clearance for decor items.
Can I install a floating shelf without finding a stud?
Yes. Use plastic wall anchors designed for drywall. Drill pilot holes, insert anchors, then mount the brackets. This method provides secure support even without a stud.
How do I prevent my over-the-toilet shelf from looking cluttered?
Apply the 60/40 rule: 60 percent functional items and 40 percent decorative touches. Leave 30 percent of the shelf empty, use matching baskets to hide clutter, and group decor in odd numbers for a natural look.
What items should go on each shelf level?
Reserve the top shelf for decorative items like candles and plants. Use the middle shelf for mixed items like rolled towels and apothecary jars. Keep the bottom shelf functional with toilet paper, daily towels, and hidden storage.
Are over-the-toilet shelves safe for renters?
Yes. Freestanding options like ladder shelves and over-the-toilet cabinets require no drilling. Adhesive mounting strips also work for lightweight decor without damaging walls.





