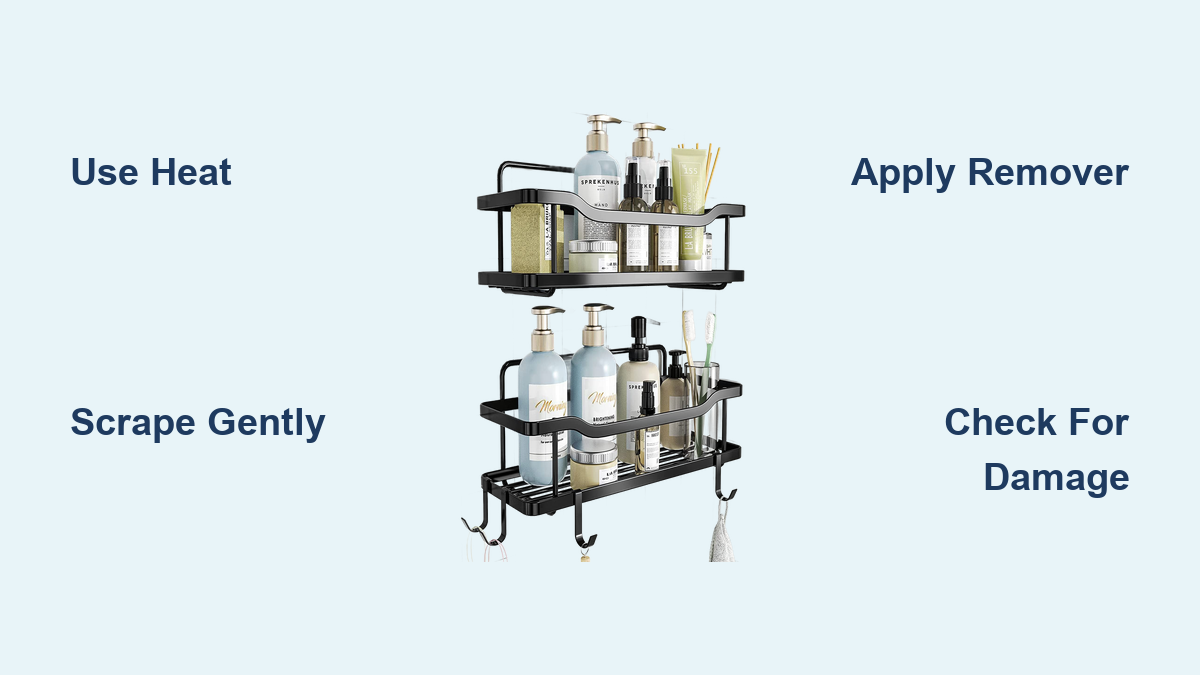
How to Remove Sticky Shower Shelves
Finding a stubborn, sticky shelf glued to your shower wall can be frustrating, especially when you want to refresh your bathroom. These adhesive-backed shelves are designed to hold strong in wet environments, but that same durability makes them challenging to remove without damaging tiles or grout. The residue left behind often feels gummy, looks unsightly, and can trap moisture, leading to mold growth over time.
The good news is that with the right tools and techniques, you can remove sticky shelves and adhesive from shower walls safely and effectively without chipped tiles or harsh scrubbing. This guide walks you through a proven step-by-step process using heat, gentle scraping, and targeted adhesive removers to restore your shower wall to its original condition.
Heat the Adhesive to Loosen Bond
Heat is your first and most important tool for removing sticky shelves. Over time, bathroom adhesives cure and harden, bonding tightly to tile, fiberglass, or acrylic. Direct heat softens the glue, making it pliable and far easier to remove without applying force.
Use a Blow Dryer on High Heat
Hold the blow dryer two to three inches from the adhesive base. Apply heat in ten to fifteen second bursts, then test the stickiness with your finger. Reheat as needed, but do not overheat one spot, which can damage grout or discolor surfaces. Focus on the edges first, where the bond is weakest.
Pro Tip: If the shelf is still attached, pop it off after heating. The mounting pad usually stays behind, allowing you to target the glue directly.
Heat Gun (Optional, Use with Caution)
Set the heat gun to low or medium heat. Never use high settings on tile or plastic walls. Keep the nozzle moving in circular motions to avoid melting or warping. This method works well for large or thick adhesive pads that resist blow dryer heat.
Warning: Never use metal scrapers on heated surfaces. A hot blade can scratch or gouge tile glaze. Always use a plastic putty knife.
Scrape Off Adhesive Gently

Once the glue is warm and tacky, it is time to remove the bulk of the adhesive. Aggressive scraping leads to scratches and damage, especially on glossy or textured surfaces.
Use a Plastic Putty Knife
Slide the edge under softened adhesive and lift slowly. Work in small sections, reheating as the glue cools and stiffens. Apply light pressure. Let the heat do the work, not force.
Visual Cue: The adhesive should peel or roll up like tape, not crumble or leave deep pits.
Repeat Heat-and-Scrape Cycles
Complete removal often takes three to five rounds of heating and scraping. For large bases, divide the area into quadrants and tackle one at a time. Avoid rushing. Patience prevents wall damage.
Common Mistake: Using a razor blade or metal scraper. Even stainless steel can scratch ceramic glaze or gouge fiberglass.
Dissolve Sticky Residue with Adhesive Remover
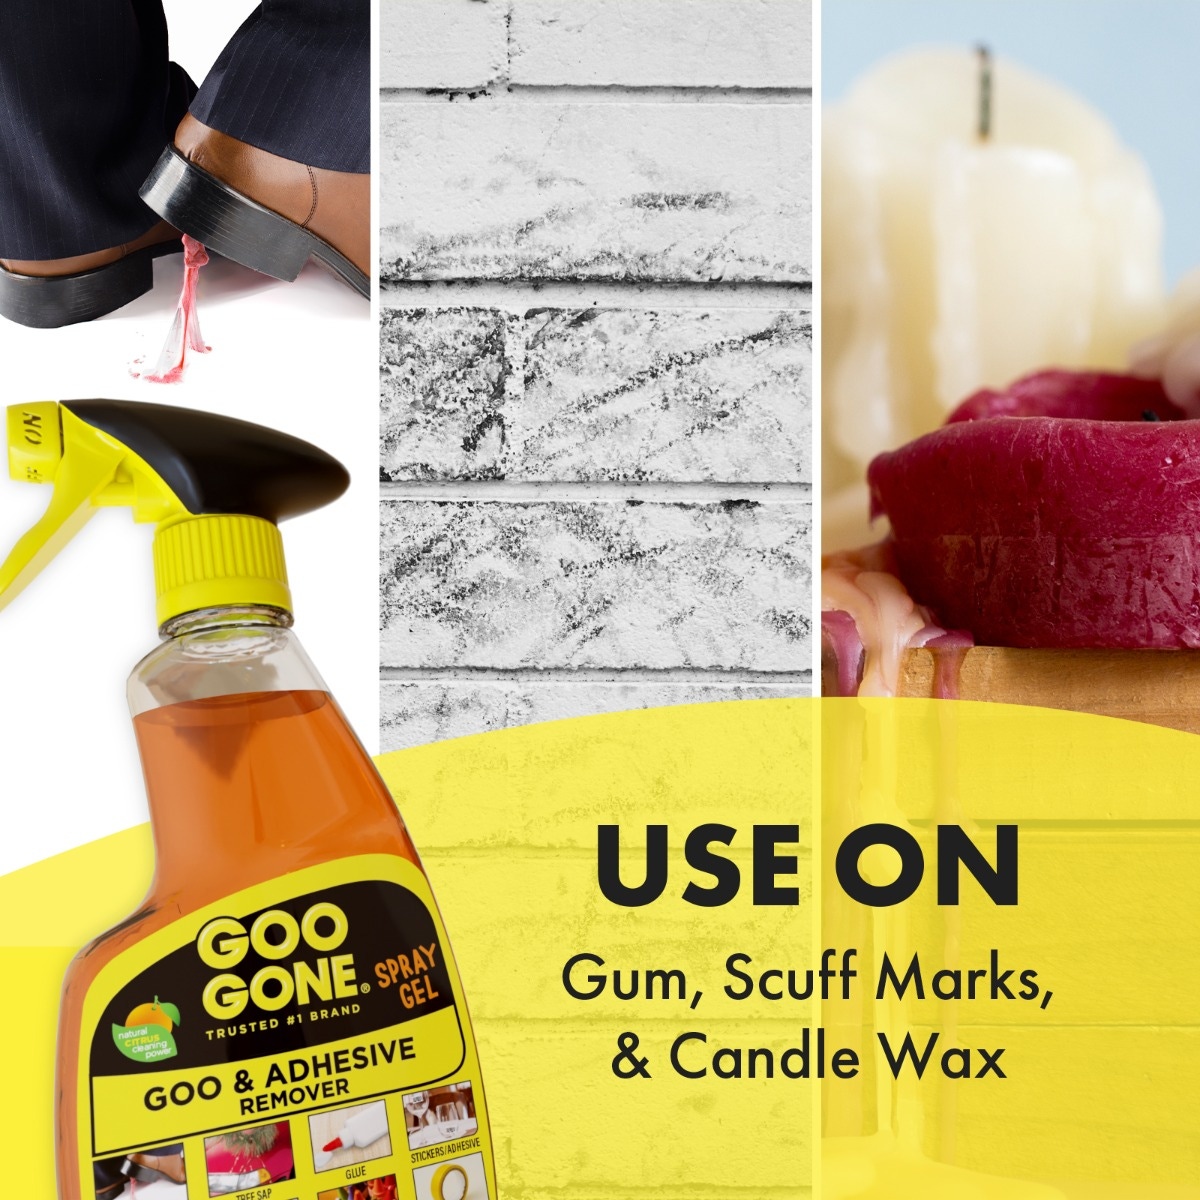
After bulk removal, a tacky film often remains, especially in grout lines or textured tile. This residue attracts soap scum and moisture, making it both unattractive and unhygienic.
Apply Goo Gone or Similar Remover
Soak a paper towel with Goo Gone. Press it onto the residue and let it sit for ten to fifteen minutes. Wipe with a cloth or plastic scraper to lift dissolved glue.
Why It Works: Goo Gone is formulated to break down synthetic adhesives without harming most surfaces.
For Stubborn Spots: Try Acetone (Carefully)
Test acetone on a hidden area first. Some acrylic or painted surfaces can discolor or soften. Dab a small amount on a cotton ball. Do not pour. Rub gently in circular motions, then wipe clean immediately.
Safety First: Acetone is flammable and emits strong fumes. Use only in well-ventilated bathrooms. Wear nitrile gloves and eye protection.
| Solvent | Best For | Risk Level |
|---|---|---|
| Goo Gone | General adhesive removal | Low |
| Acetone | Tough, cured glue | Medium (use with caution) |
| Mineral spirits | Light residue (limited effectiveness) | Low |
| Paint thinner or gasoline | Not recommended | High (flammable, toxic) |
Bottom Line: Stick with Goo Gone for safety and effectiveness. Reserve acetone for final touch-ups only.
Clean and Inspect the Wall Surface
Now that the adhesive is gone, it is time to restore your wall’s appearance and assess its condition.
Rinse and Wash Thoroughly
Wipe the area with clean water to remove any chemical residue. Follow with your regular shower cleaner to disinfect and brighten tiles. Dry completely with a microfiber towel.
Why It Matters: Leftover solvents can interfere with new adhesives or cause discoloration over time.
Check for Hidden Damage
Look closely at the tile and grout. Are tiles cracked, loose, or discolored? Does the wall feel soft or spongy behind the tile? Is there a musty smell or visible mold?
Expert Insight: There is likely a reason the last owner glued that shelf there. Adhesive shelves are often used to hide water damage, peeling grout, or leaks.
Decide: Repair or Renovate?
Minor issues like re-grouting or patching tiles and resealing may be sufficient. Major damage such as cracked tiles, soft backing, or mold behind walls may require full tile removal and re-tiling.
DIY Opportunity: Modern tile kits and waterproof membranes make re-tiling more accessible than ever. It is time-consuming but rewarding and ensures long-term durability.
Prevent Future Adhesive Problems
Once your wall is clean and repaired, avoid repeating the same issue with new shelves.
Choose Removable Alternatives
Suction cup shelves are easy to install and remove with no residue. Tension-mounted corner shelves use pressure instead of glue. Over-the-shower caddies hang from the curtain rod with zero wall contact.
If You Must Use Adhesive
Use removable mounting strips like 3M Command. Ensure the wall is clean, dry, and grease-free before applying. Follow manufacturer instructions and never exceed weight limits.
Pro Tip: Label adhesive strips with removal dates. Most last six to twelve months in humid environments before failing.
Restore and Upgrade Your Shower Space
Removing a sticky shelf is not just about cleaning. It is an opportunity to improve your bathroom’s function and safety.
Install Secure, Long-Term Fixtures
Drill into wall studs or use tile anchors for heavy shelves. Consider built-in niches during renovation for a waterproof and sleek option. Add LED lighting or waterproof Bluetooth speakers for luxury.
Time Estimate: Full adhesive removal and cleaning takes thirty to sixty minutes. Renovation projects may take one to three days depending on scope.
Maintain a Clean, Dry Environment
Wipe down walls after each shower to reduce moisture buildup. Use an exhaust fan or open the door to improve airflow. Re-seal grout every six to twelve months to prevent water intrusion.
Key Takeaways for Removing Sticky Shower Shelves
You can remove sticky shelves from shower walls safely and effectively using heat, plastic scrapers, and adhesive removers like Goo Gone. The key is patience. Rushing leads to damage. Always inspect the wall afterward because adhesive may be hiding deeper issues like mold or water damage. When in doubt, consider upgrading to a more durable, long-term solution. With the right approach, your shower wall can look clean, smooth, and ready for whatever comes next.
Frequently Asked Questions About Removing Sticky Shelves from Shower Walls
Can I use a razor blade to scrape off adhesive from shower tiles?
No. Razor blades and metal scrapers can scratch ceramic glaze or gouge fiberglass surfaces. Always use a plastic putty knife to avoid permanent damage to your shower walls.
How long does it take to remove a sticky shelf from a shower wall?
The complete process takes thirty to sixty minutes, including multiple heat-and-scrape cycles and final cleaning. Stubborn adhesives may require additional time.
Is Goo Gone safe for all types of shower wall materials?
Goo Gone is generally safe for ceramic tile, fiberglass, and most acrylic surfaces. Always test a small inconspicuous area first, especially on painted or delicate finishes.
What should I do if I find mold or water damage behind the adhesive?
If you discover mold, soft spots, or water damage behind the adhesive, simple cleaning will not suffice. You may need to remove tiles, repair the underlying wall structure, and potentially re-tile the area for a long-term solution.
Can I reuse adhesive-backed shelves after removing them?
Adhesive-backed shelves lose their bonding strength once removed. It is better to choose an alternative mounting method like suction cups, tension mounts, or drill-in anchors for a secure fit.