
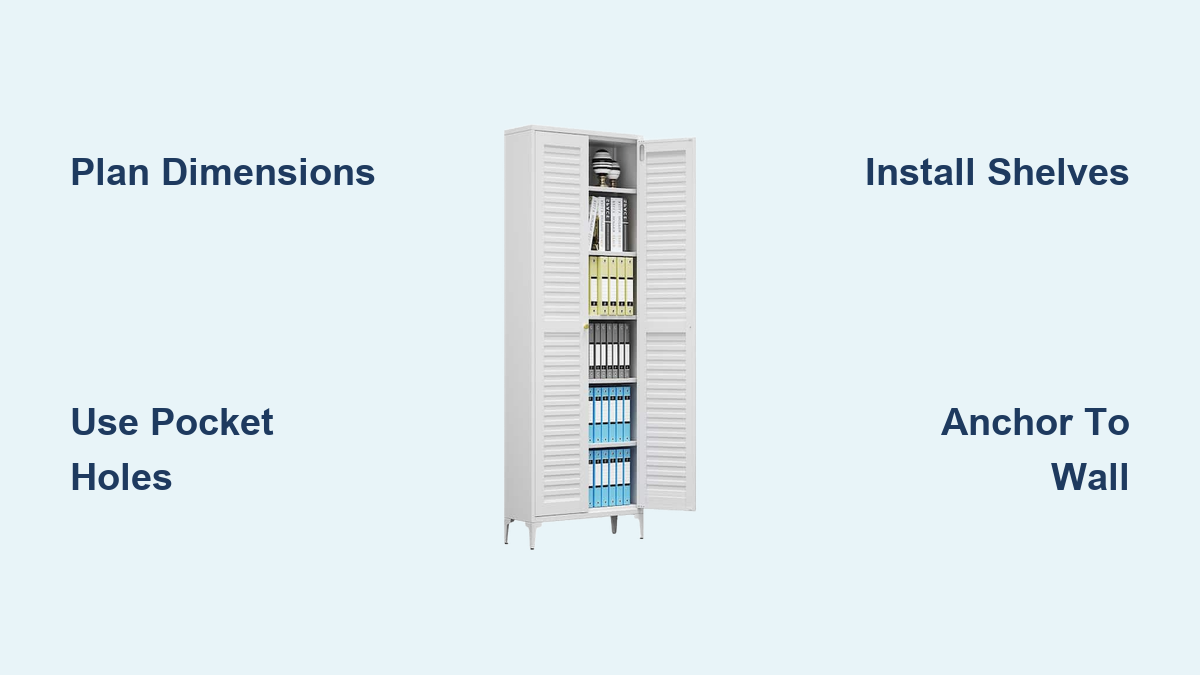
How to Build a Storage Cabinet with Shelves
You’ve got clutter piling up, wasted wall space, and zero organization. Building a storage cabinet with shelves is one of the most practical, customizable, and rewarding DIY projects you can tackle. Whether you need a pantry cabinet for your kitchen, a freestanding bookcase for the living room, or a heavy-duty shop unit for tools, this guide shows you exactly how to build it from scratch.
Using proven techniques from expert builders, we’ll walk you through planning dimensions, selecting materials, cutting joints, assembling the box, installing shelves, adding doors, and finishing like a pro. You’ll learn how to make it strong, square, and stylish while saving 30–60% compared to buying custom.
Plan Your Cabinet Dimensions
Define Purpose and Space Requirements
Before cutting any wood, decide where your cabinet will go and what it will store. A garage tool cabinet needs rugged construction and pull-out trays. A bathroom linen unit benefits from enclosed doors and soft-close hinges. A living room bookcase may prioritize open shelving and visual appeal.
Measure the available space carefully. Standard depths include 24″ for base cabinets, 12″–16″ for wall cabinets, and 14″–24″ for workshop units. Leave at least ½” clearance on all sides if fitting between walls.
Create a Cut List
Write down every piece you will need. For a basic 24″ wide × 32″ tall × 14″ deep pantry cabinet, you need side panels, top and bottom panels, a back panel, shelves, and optional face frame material. Use a digital sketch or graph paper to visualize the layout and confirm measurements before cutting.
Choose the Right Materials
:max_bytes(150000):strip_icc()/new20plywood20chart-46e7699d0d47402bb8518468d6af8126.jpg)
Match Material to Use Case
Not all cabinets need solid oak. Pick material based on budget, durability needs, and finish preference.
• Budget-friendly builds work well with laminated particle board
• Mid-range projects benefit from ¾” pre-finished maple plywood
• High-end builds use solid white oak with ¼” oak plywood
• Workshops thrive with ¾” birch plywood plus 2×2 supports
Avoid particle board in humid areas like bathrooms or garages where impact is likely.
Use Solid Wood for Trim and Edging
Raw plywood edges look unfinished. Conceal them with iron-on edge banding for quick budget jobs. Use ¼” solid oak strips glued and flush-trimmed for a professional look. For a built-in appearance, use 1×3 on the wall side to create clearance for baseboards.
Gather Essential Tools

Must-Have Tools for Accuracy
You do not need a full shop, but precision matters. A track saw or table saw cuts large panels straight. A miter saw handles cross-cuts on trim and face frames. A Kreg pocket-hole jig creates fast, strong joints without complex joinery.
Other essential tools include a router with a straight bit for dados and rabbets, a drill and driver with a countersink bit, various clamps for holding pieces square during glue-up, an orbital sander for smoothing surfaces, a shelf-pin jig for adjustable shelves, and a concealed hinge jig for Euro hinges.
Build Strong Joints
Use Pocket-Hole Joinery
Pocket-hole joinery works ideal for plywood boxes and face frames. Set the Kreg jig to ¾” thickness and drill pocket holes on both ends of top, bottom, and shelf pieces. Space holes 6–8″ apart, apply wood glue to the joint, then clamp and drive 1¼” pocket screws into side panels.
Orient wood grain in opposite directions on adjacent pieces to prevent splitting. Reinforce outer edges with a 1×2 trim strip using glue and screws for extra strength.
Cut Dados for Fixed Shelves
Dados lock shelves in place and are stronger than screws alone. Use a table saw with a dado stack or router to cut ½” wide × ¾” deep grooves into side panels. Test fit on scrap wood first, then tap the shelf into the dado with a rubber mallet and scrap wood.
Assemble the Cabinet Box
Step-by-Step Assembly
Attach one side to the bottom panel using pocket screws and glue. Add the middle panel at the desired height, then attach the top panel flush with the side. Flip the unit and attach the second side. Check for square by measuring diagonals. Both measurements should match. Clamp and reinforce with corner braces if needed.
Add Structural Supports
For heavy loads or wall mounting, install 2×2 support strips beneath top and middle panels. These give you solid points to screw into when attaching the cabinet to the wall.
Install Shelves and Interior Features
Fixed vs Adjustable Shelves
Fixed shelves work best for permanent storage like paint cans or books. Use ¾” plywood for spans up to 36″. Adjustable shelves require drilling shelf-pin holes using a jig. Space holes 1″–2″ apart vertically to allow reconfiguration as needs change.
Build Pull-Out Shelves
Pull-out shelves work great for heavy items like appliances or cleaning supplies. Install 20″ full-extension drawer slides inside the cabinet. Mount slides on ¾” plywood spacer blocks attached to side panels. Build a shallow drawer box from ¾” plywood and attach slides to shelf sides. These can handle up to 50 lbs without sagging.
Add Face Frame for Strength and Style
Assemble and Attach
A face frame hides raw plywood edges, adds stiffness, and provides a mounting surface for doors and hardware. Cut stiles and rails to size, then label each piece to avoid mix-ups. Drill pocket holes in rail ends and dry-fit before applying glue and clamping.
Attach the face frame to the cabinet front with brad nails and glue. Use a three-way clamp to align everything perfectly before nailing.
Install Doors and Hardware
Mount Concealed Hinges
European hinges are adjustable and clean-looking. Use a concealed hinge jig for perfect placement. Drill a 35mm cup hole with a Forstner bit, then install three hinges per door to prevent sag. Mount the door to the face frame and adjust screws for a perfect 1/8″ gap. Always pre-drill hinge screws because plywood splits easily.
Finish for Durability and Beauty
Sand Before and After Assembly
Sand before assembly to reach all surfaces easily. After assembly, fill screw holes, gaps, and dents with wood filler, then sand smooth. Progress through 120 → 180 → 220 grit if staining. Wear a dust mask and eye protection.
Choose the Right Finish
Paint works well for pine and budget builds. Stain plus polyurethane enhances natural grain. Oil wax provides easy application with low sheen, perfect for shop furniture. Pre-finished plywood needs no finishing at all.
Ensure Long-Term Stability
Anchor to the Wall
Every tall cabinet must be secured to prevent tipping. Locate wall studs and attach L-brackets to the top support strip. Screw through the back panel into studs. Never skip this step because unanchored cabinets have caused fatal accidents.
Prevent Shelf Sag
The maximum unsupported span is 36″. For heavy loads, use ¾” plywood shelves and add center support or a vertical divider. Limit span to 24″–30″ for heavy items.
Frequently Asked Questions About Building Storage Cabinets
What is the best wood for a storage cabinet?
The best wood depends on your budget and use case. Pre-finished maple plywood offers the best balance of cost, durability, and finish quality. Solid white oak works for premium builds requiring heirloom quality.
How much does it cost to build a storage cabinet?
DIY construction typically costs $150–$300 for a mid-range build using plywood and pocket-hole joinery. This saves 30–60% compared to custom store-bought cabinets that can cost $500 or more.
Can I build a cabinet with just basic tools?
Yes. Beginners can successfully build a storage cabinet with a Kreg pocket-hole jig, a circular saw or miter saw, a drill, clamps, and basic hand tools. Precision jigs help compensate for limited equipment.
How do I make adjustable shelves?
Drill shelf-pin holes using a jig like the Kreg Shelf-Pin Jig. Space holes 1″–2″ apart vertically. Insert shelf pins into the holes and rest the shelf on the pins.
Key Takeaways for Building Your Storage Cabinet
Building a storage cabinet with shelves is a versatile project that delivers superior organization, long-term value, and personal satisfaction. Success starts with accurate planning, clear dimensions, and a detailed cut list before making any cuts.
Choose appropriate materials based on your budget and use case. Use pocket-hole joinery for speed and strength, or dados for professional-grade precision. Always install a back panel for rigidity and anchor tall cabinets to the wall for safety.
Whether you construct a simple open shelf unit or craft a high-end solid wood hutch, the principles remain consistent. With proper tools, methodical execution, and attention to detail, a custom storage cabinet transforms clutter into organized space while looking like it cost twice as much.





