
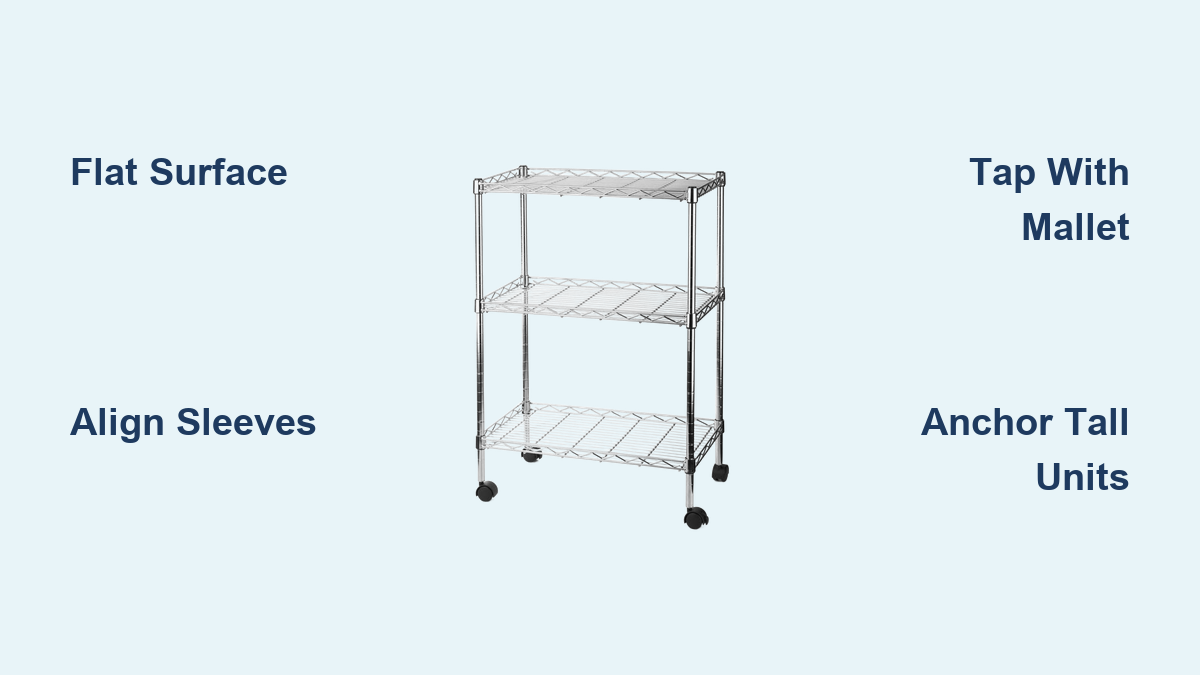
How to Assemble Metal Shelves: Quick Guide
You’ve purchased your metal shelving unit and now face the assembly phase. Whether organizing a garage, pantry, or warehouse, knowing how to put together metal shelves efficiently and securely makes all the difference. These systems use boltless, wire-frame, or rivet-style designs built for strength and adjustability, often requiring no tools beyond a rubber mallet. Most 3 to 4-tier units take just 15 to 30 minutes to build. This guide walks you through every phase, from unboxing and alignment to leveling, anchoring, and adding casters.
Prepare Your Workspace and Components
Setting up properly before assembly begins prevents frustration and misalignment later.
Clear a Flat, Level Surface
Assemble on a solid, flat floor like concrete or tile. Avoid carpet or uneven ground, which throws off alignment and causes wobbling. Ensure ample space around the unit to move freely and align posts accurately.
Lay Out and Count All Parts
Spread out all components and sort them into categories:
- Posts (uprights)
- Shelf decks or wire trusses
- Sleeve halves or beam connectors
- Beams (short and long)
- Adjustable feet, casters, or reinforcement sleeves
- S-hooks, support bars, and anti-tip brackets
Cross-check with the manufacturer’s parts list. Missing a single sleeve or beam halts progress.
Review Instructions and Watch Videos
Read the manual even if you’re experienced. Models vary significantly between brands. Some use sleeve-based locking while others use rivet-style beam connections. Watch any assembly videos provided for visual guidance.
Install Base Supports Correctly
A stable base prevents wobbling and ensures long-term durability.
Attach Adjustable Feet or Casters
For stationary units, insert adjustable feet or leveling inserts into the bottom of each post. Twist until they click fully into place.
For mobile units, use caster wheels with reinforcement sleeves. Install locking casters on one side, especially if the unit will sit near a wall.
Pro Tip: Always use four leveling points. If one foot does not touch the ground, the shelf will wobble under load.
Position and Lock the First Shelf Level
This step differs slightly between wire shelving and boltless rivet systems.
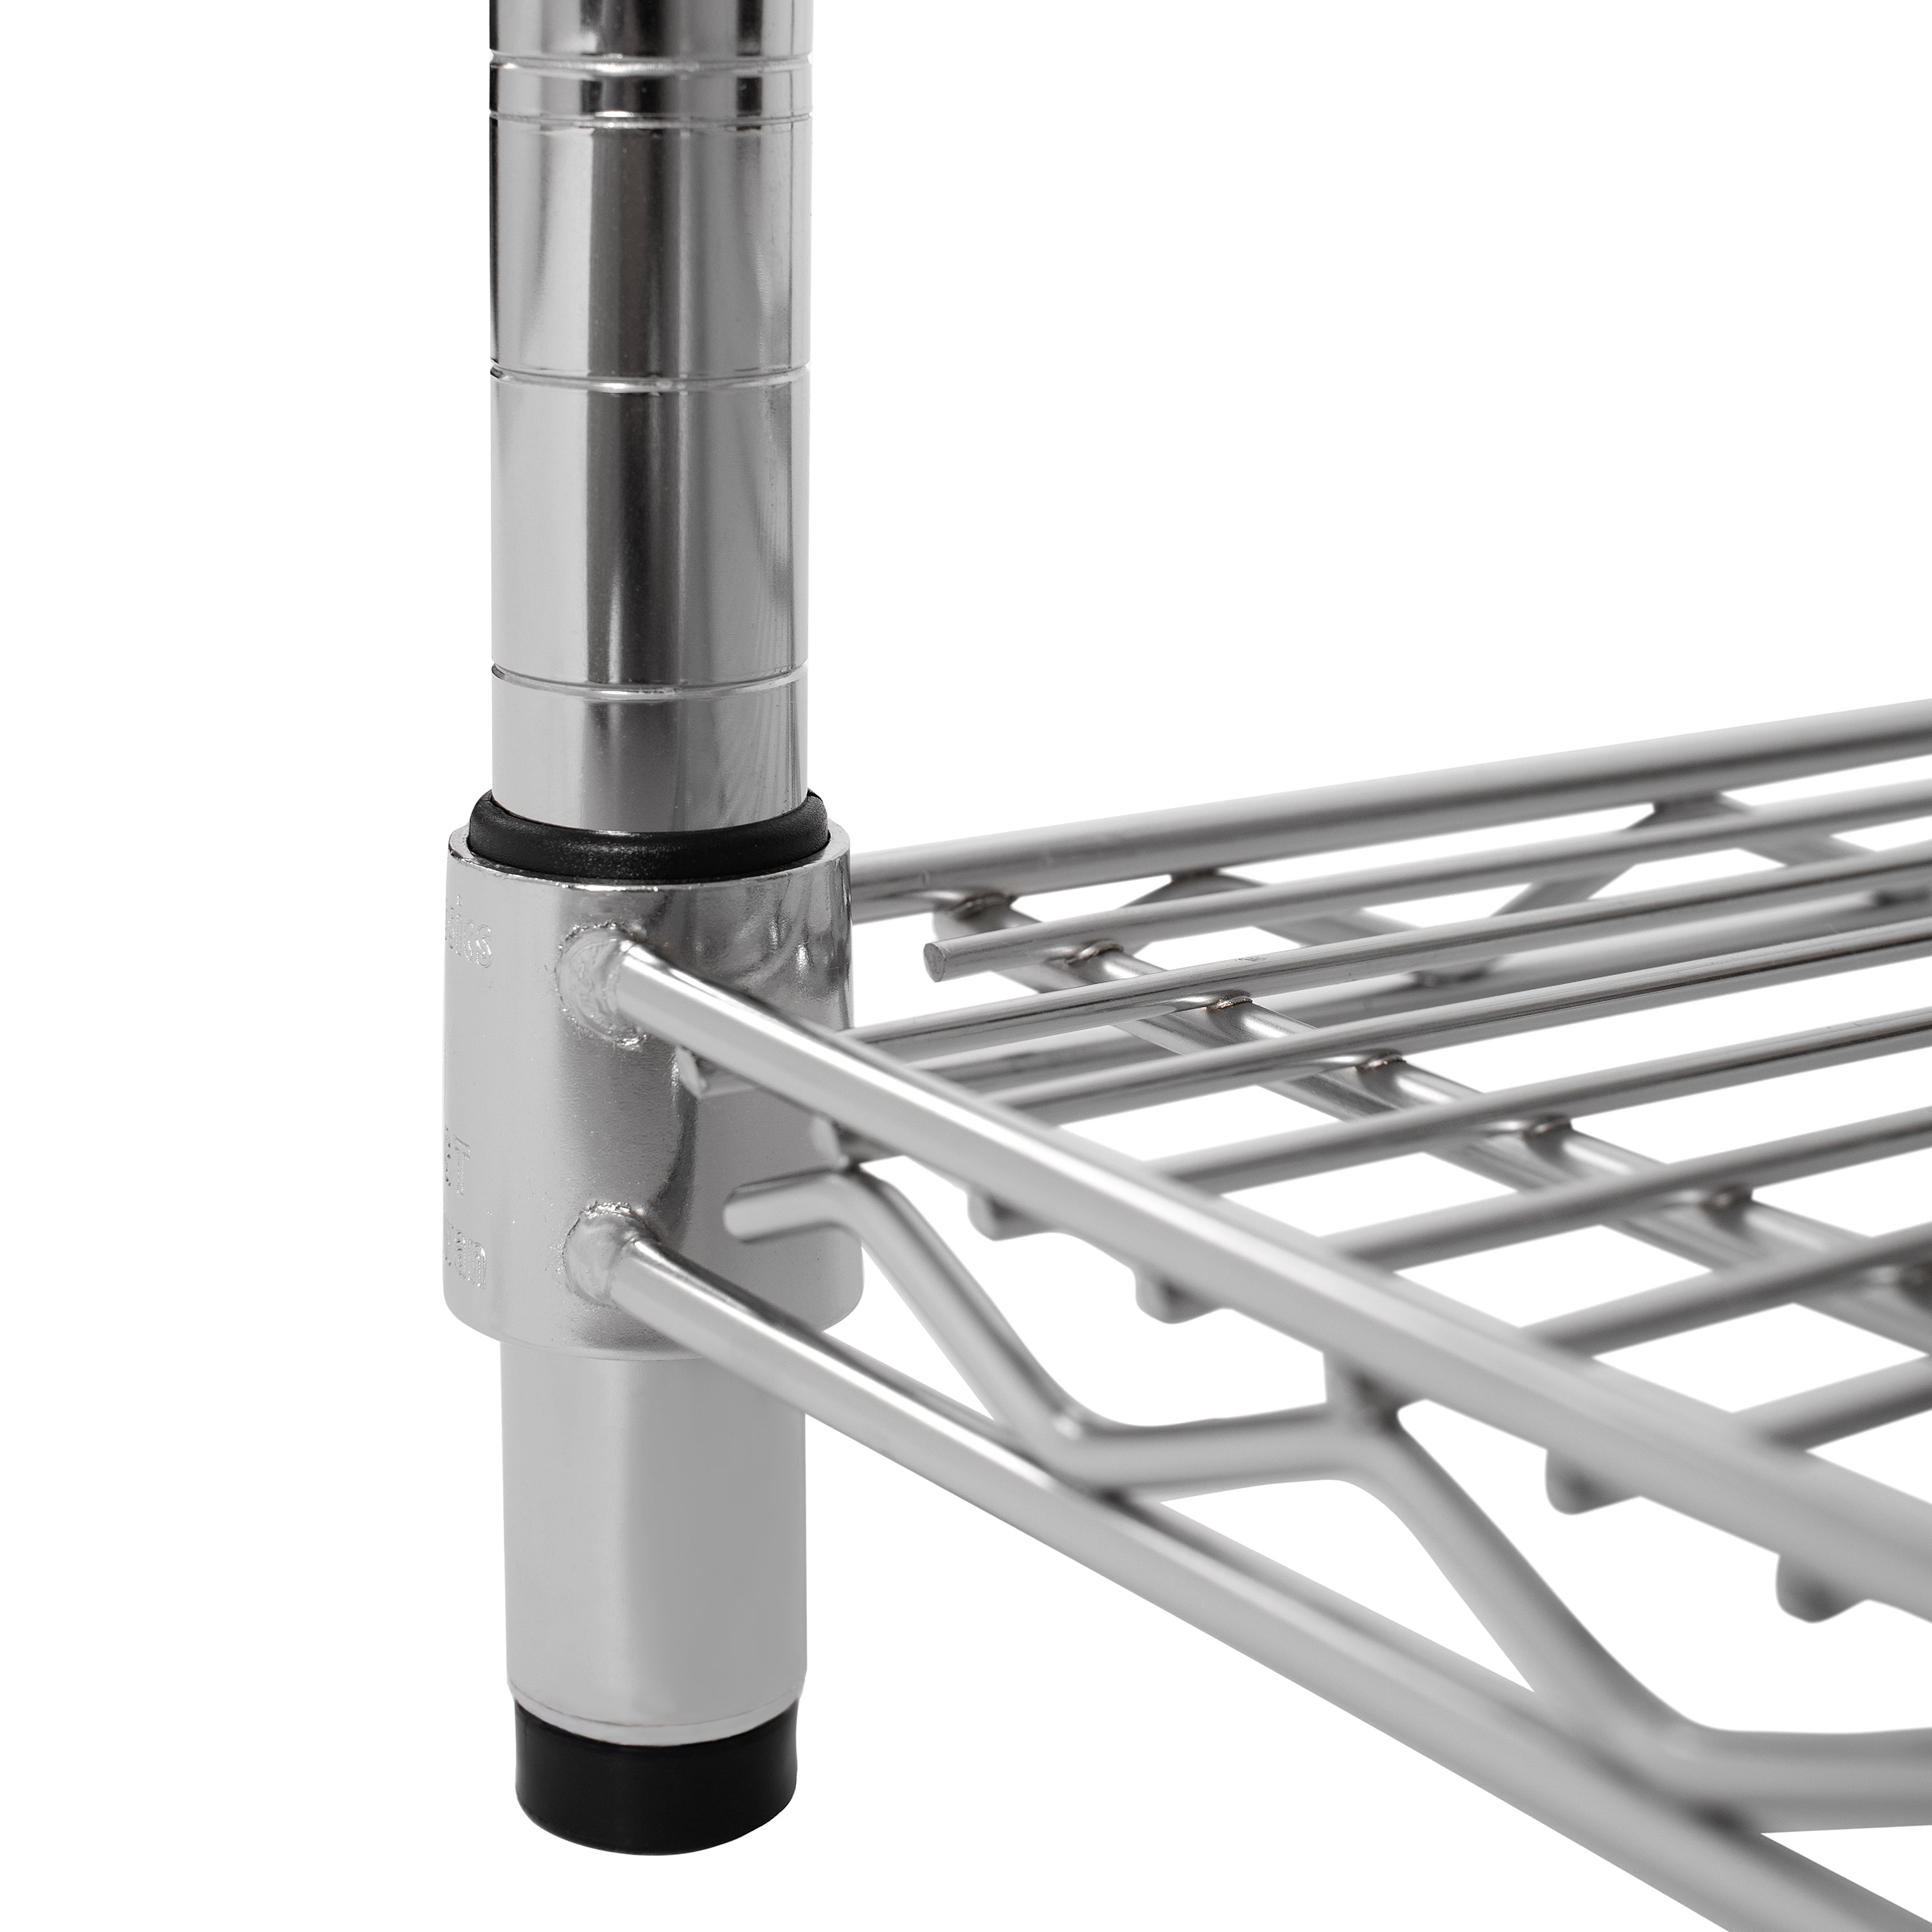
For Wire Shelving: Install Sleeve Halves
- Decide the bottom shelf height. Never place it more than 12 inches from the base for stability.
- On each post, place two sleeve halves into the groove at the desired height.
- Ensure the narrow end faces upward to create a ledge for the shelf frame.
- Slide the halves together until they click securely into the groove.
- Repeat for all four posts, matching groove numbers exactly.
Warning: Misaligned sleeves are the number one cause of uneven shelves. Use the 1-inch groove markers to double-check alignment.
For Rivet Shelving: Assemble the Base Frame
- Position two uprights at the desired width.
- Insert a short (double-rivet) beam into the bottom holes of both posts.
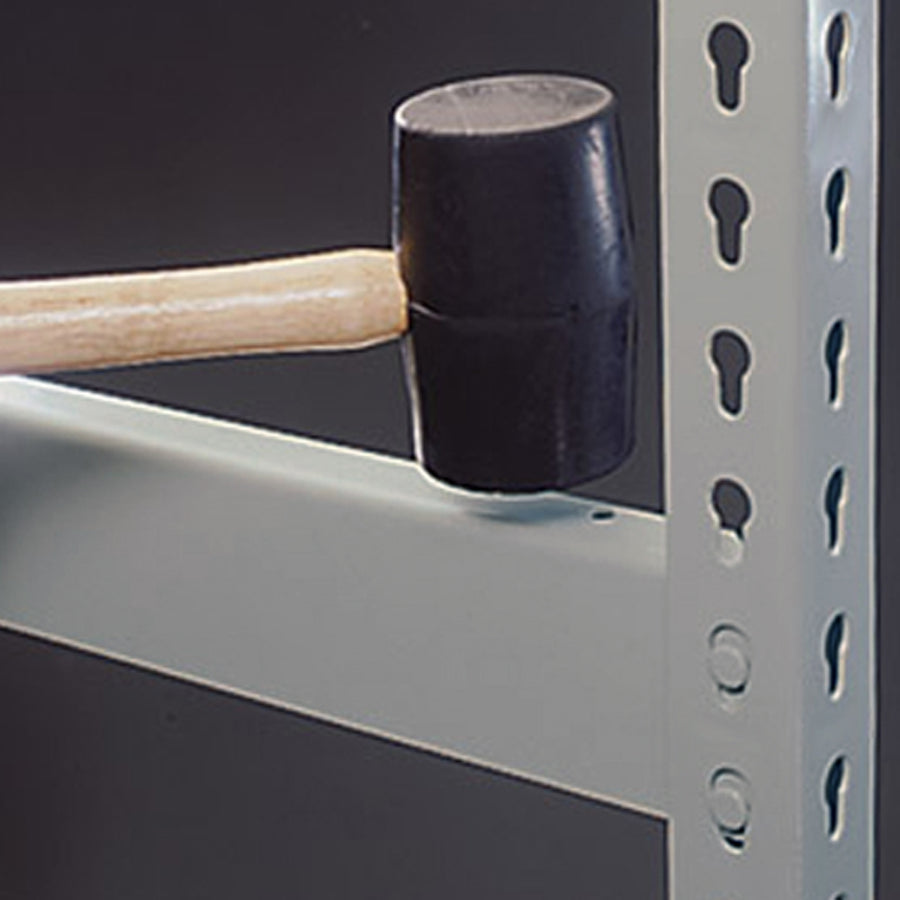
- Tap each end downward with a rubber mallet until it locks.
- Add the third and fourth posts, connecting with beams in a clockwise sequence.
- Once the rectangle is complete, install the top beam in the uppermost holes to prevent racking.
Critical: Never use a metal hammer. It chips powder coating and weakens joints.
Build Upward with Middle Shelves
Now construct upward while maintaining alignment at each level.
Install Additional Sleeve Halves
Choose shelf spacing using 1-inch increments for wire shelving or 1.5-inch holes for rivet systems. Install eight sleeve halves total (two per post corner) at the same groove height on all posts. Use a tape measure or spirit level to confirm evenness.
Slide and Lock Shelves into Place
- Lift the wire truss shelf and slide it down over the posts.
- It should rest on the sleeve halves.
- Apply firm downward pressure at each corner.
- Tap each corner with the rubber mallet to fully seat the shelf.
Solo Assembly Hack: If working alone, assemble the lower section first using shorter posts. After securing bottom shelves, attach upper post extensions via double-thread connectors, then install top shelves.
For Rivet Systems: Insert Support Beams
- At desired height, insert long beams into matching holes on opposite posts.
- Tap both ends with the mallet until fully seated.
- Repeat on the other side.
- For heavy loads, add cross bracing or diagonal support bars underneath.
Secure Shelf Decks in Place
Now add the actual storage surface.
Place Wire or Particle Board Decks
Lay wire mesh shelves, perforated steel, or particle board with steel edging onto the beams. Ensure full contact with all supports. Avoid excessive overhang, typically no more than 1 to 2 inches.
Safety Note (Bulk Racks): If your system uses safety clips, slide them onto beam ends before inserting the beam into the uprights. This prevents accidental dislodging under heavy loads.
Avoid Deck Sagging
For wide spans, use support bars that clip beneath the deck. Distribute weight evenly, especially with particle board, which warps in humid environments.
Level and Stabilize Your Unit
Even a small imbalance leads to instability and safety risks.
Check Each Shelf with a Spirit Level
Place a spirit level across the front, back, and diagonals of each shelf. If unlevel, recheck sleeve or beam height alignment. Adjust foot levelers at the base by unscrewing to extend or tightening to retract. Repeat until the unit sits flat.
Add Support Bars for Heavy Loads
Slide support bars beneath each shelf, especially when storing tools, cans, or equipment. These help achieve up to 150 kg (330 lbs) per shelf safely.
Anchor Tall Units to the Wall
Units over 5 feet (1.5 m) tall should be secured with anti-tip brackets or wall anchors. Attach the bracket to the top of the uprights and screw into wall studs. This is essential in homes with children or pets.
Consequence: An unanchored tall shelf can tip forward when weight is pulled from the front. This is a leading cause of home injuries.
Add Casters for Mobile Shelving
Make your shelf mobile without sacrificing strength.
Why Reinforcement Sleeves Are Mandatory
Standard plastic sleeves cannot handle the stress of casters. Reinforcement sleeves (metal or heavy-duty plastic) distribute load and prevent post damage.
Step-by-Step Caster Installation
- Tip the fully assembled unit on its side.
- Gently tap the bottom shelf upward to unseat it from the sleeves (keep it on the post).
- Remove plastic sleeves and adjustable feet from the bottom 4 to 5 inches of each post.
- Slide reinforcement sleeve over the base of each post (approximately 4.5 inches from bottom).
- Screw caster assembly into the reinforcement sleeve.
- Re-seat the bottom shelf and tap corners to lock.
- Upright the unit.
Result: A durable, mobile workstation perfect for tool carts or supply trolleys.
Safety Upgrade: Use locking casters on two wheels, especially if the unit will not move frequently.
Expand Your System with S-Hooks
Turn one unit into a modular storage system.
Connect Units in a Line
- Insert two S-hooks into the center of the existing rack.
- Slide them outward toward the edge where the new unit will attach.
- Align the sleeve positions of the second unit with the first.
- Press the new shelf firmly downward until stable.
- Secure with S-clips if required.
Build L-Shaped or U-Shaped Configurations
Use corner connectors or dual S-hooks to join units at 90-degree angles. Ensure shelf heights match exactly. Even a 1-inch difference causes instability.
Pro Tip: Label post positions during assembly to avoid confusion when expanding later.
Troubleshoot Common Assembly Issues
Even with care, problems arise. Here is how to fix them fast.
Shelf Won t Lock into Place
Cause: Insufficient pressure or misaligned sleeves.
Fix: Tap each corner firmly with a rubber mallet. Recheck that all eight sleeve halves are correctly installed and facing up.
Shelves Are Unlevel
Cause: Uneven sleeve height or floor.
Fix: Reinstall sleeves at identical grooves. Adjust foot levelers until stable.
Unit Wobbles
Cause: Loose connections or uneven floor.
Fix: Ensure all beams and sleeves are fully seated. Use support bars and levelers.
Sleeve Does Not Click
Cause: Wrong orientation or debris in groove.
Fix: Rotate so narrow end faces up. Clean groove with a cloth.
Caster Fails Prematurely
Cause: Missing reinforcement sleeve.
Fix: Disassemble and retrofit with reinforcement sleeves. Do not skip this step.
Maximize Load Capacity and Safety
Your shelf is only as strong as its weakest link.
Keep Weight Low and Even
Place heavier items on lower shelves to maintain a low center of gravity. Avoid overloading. Check the manufacturer’s rating (often 150 kg per shelf for residential models).
Use Support Bars for Long Spans
Support bars are essential for shelves over 36 inches wide. They prevent sagging and increase usable capacity.
Inspect Regularly
Check for cracked plastic sleeves, bent beams, worn casters, and loose connections. Replace damaged parts immediately.
Maintain Your Metal Shelves Long-Term
Proper care ensures 10 or more years of service.
Clean Without Damage
Wipe wire shelves with a damp cloth. Avoid harsh chemicals that strip powder-coated finishes.
Reconfigure as Needed
Shelves can be repositioned after assembly. Remove the deck, tap the beam upward to unseat, reposition at new height, and re-lock.
Upgrade for Durability
Replace cracked plastic sleeves with metal clips in high-stress areas. Use chrome-coated or stainless steel units in humid environments like commercial kitchens.
Key Takeaways for Assembling Metal Shelves
- Start on a flat surface to prevent misalignment.
- Match sleeve or beam heights using groove markers.
- Tap, do not hammer. Use a rubber mallet only.
- Build layer by layer for control and stability.
- Use reinforcement sleeves with casters. This is non-negotiable.
- Level the unit with adjustable feet.
- Anchor tall shelves to the wall.
- Expand smartly with S-hooks and matching heights.
- Inspect and maintain regularly for long life.
By following these steps, you will assemble a strong, level, and safe metal shelving unit perfect for garage tools, pantry goods, or warehouse inventory. Whether you are a DIY beginner or seasoned pro, mastering how to put together metal shelves saves time, prevents frustration, and keeps your space organized for years.
Frequently Asked Questions About Putting Together Metal Shelves
How long does it take to assemble a metal shelving unit?
Most 3 to 4-tier metal shelving units take 15 to 30 minutes to assemble. Assembly time depends on your experience level, the complexity of the system, and whether you are working alone or with a helper.
What tools do I need to put together metal shelves?
Most boltless metal shelving systems require only a rubber mallet. No screws, bolts, drills, or wrenches are needed. Optional tools include a spirit level for verification and a tape measure for confirming alignment.
Can I add casters to my metal shelving unit?
Yes, casters can be added, but you must use reinforcement sleeves. Standard plastic sleeves cannot handle the concentrated stress from casters and will fail prematurely. Reinforcement sleeves distribute the load and prevent post damage.
How do I connect two metal shelving units together?
Use S-hooks or S-clips to link units. Insert S-hooks into the center of the existing rack, slide them toward the edge, align sleeve positions with the second unit, and press downward until stable. Ensure shelf heights match exactly between connected units.
Why is my metal shelf wobbling after assembly?
Wobbling usually results from loose connections, uneven floor, or misaligned sleeves. Ensure all beams and sleeves are fully seated. Use adjustable foot levelers to compensate for uneven floors. Check that all eight sleeve halves are at identical heights.
Do I need to anchor my metal shelving unit to the wall?
Units over 5 feet (1.5 m) tall should be secured with anti-tip brackets or wall anchors. This is especially important in homes with children or pets. An unanchored tall shelf can tip forward when weight is pulled from the front, creating a serious safety hazard.





